How to Make Reusable “Un-Paper” Towels: Easy Sewing Tutorial for Beginners
These reusable paper towels or un-paper towels are a great project for beginners. They come together fast, they are actually useful and they make great gifts!
What is an Un-paper towel you might ask? It’s basically a large wipe made from fabric that you use in place of store bought, disposable paper towels – so they are the eco-friendly version. Use them to wipe up spills, remove streaks from mirrors…basically for whatever you would use a paper towel for!
Added bonus – because these reusable paper towels are made with toweling, you can also use them to handle warm bowls or plates too!
Fabric Requirements
- Cotton fabric (12 1/2″ x 10 1/2″)
- Towelling fabric (you can use an old towel) (12 1/2″ x 10 1/2″)
Note: These measurements will make a reusable paper towel about the size of a standard paper towel, but you can adjust to make them bigger or smaller.
Un-Paper Towels Video Tutorial
Watch the video tutorial or scroll down for the written instructions and photos.
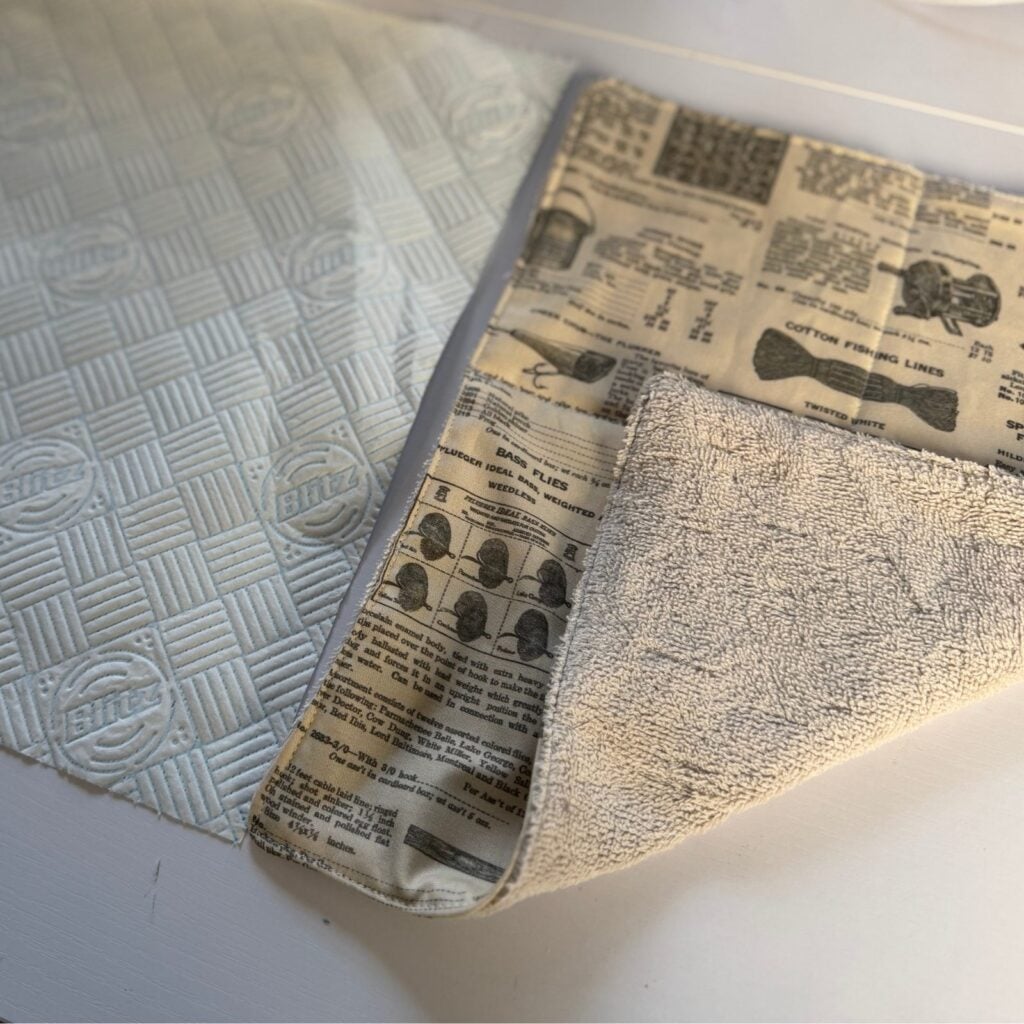
Step 1: Prepare Your Fabrics
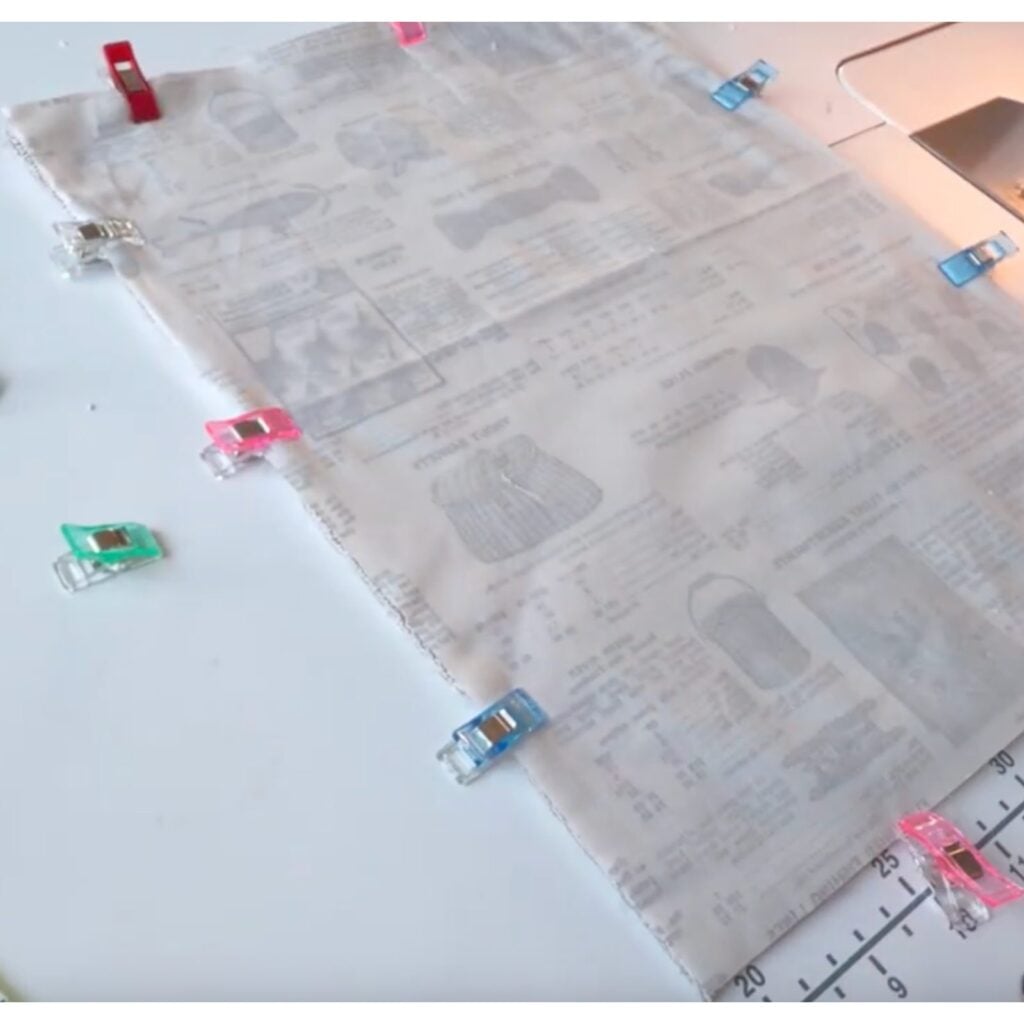
Place your toweling and cotton fabrics right sides together. The towelling can shift a bit while sewing, so I recommend clipping around most of the perimeter to hold everything in place.
Leave about a hand’s width unclipped – this will be your turning gap. You might want to use different colored clips to mark where your turning gap will be.
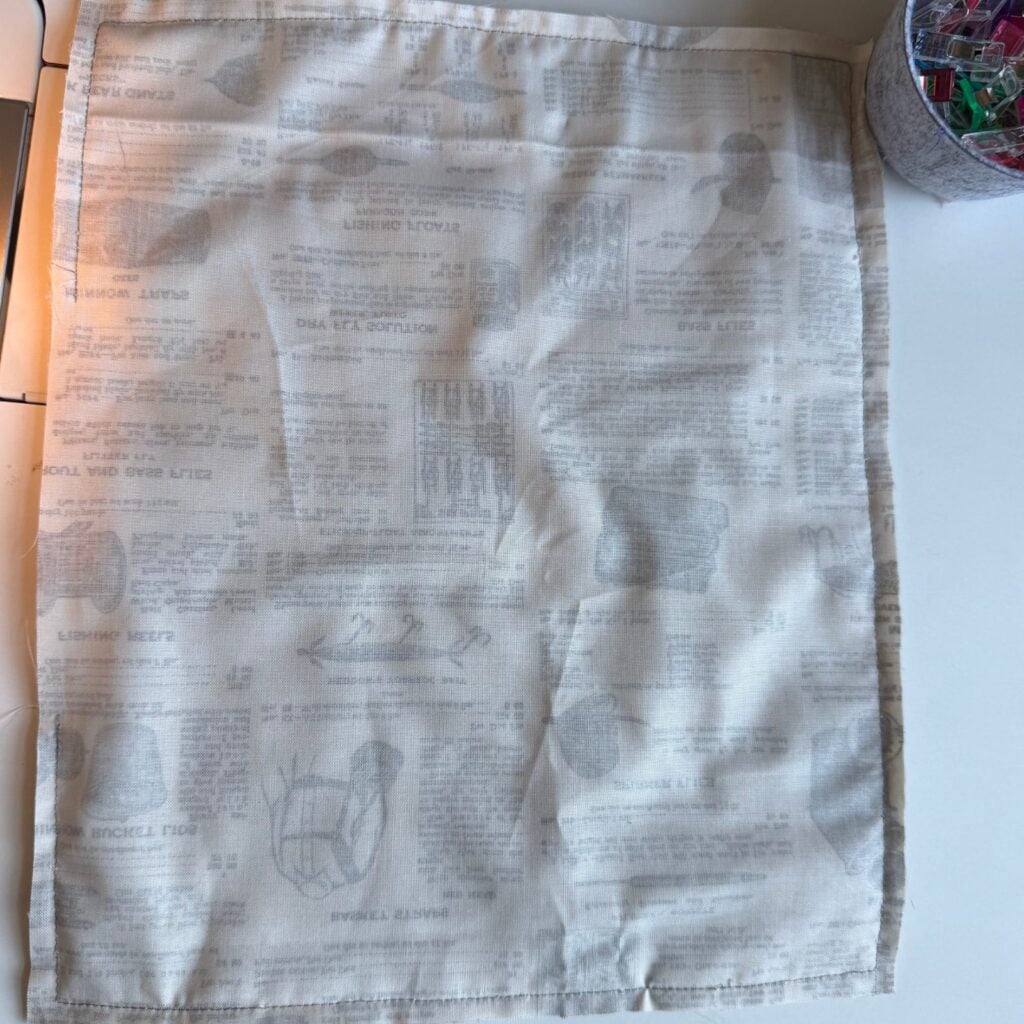
Step 2: Sew Together – leave a turning gap!
Turn your fabrics over so the toweling side is facing up. I find it shifts less when the cotton is on the bottom against the feed dogs.
Start at the beginning of your turning gap with a backstitch, then sew with a 1/4″ seam allowance.
As you sew, adjust the towelling if it shifts.
When you reach about 1/4″ from the corner, stop with your needle down, lift your presser foot, and pivot. If your toweling has stretched over the corner, adjust it so your seam stays at 1/4″ on the cotton side.
Continue sewing around all four sides until you reach the last clip that marks where your turning gap starts. Backstitch to secure.
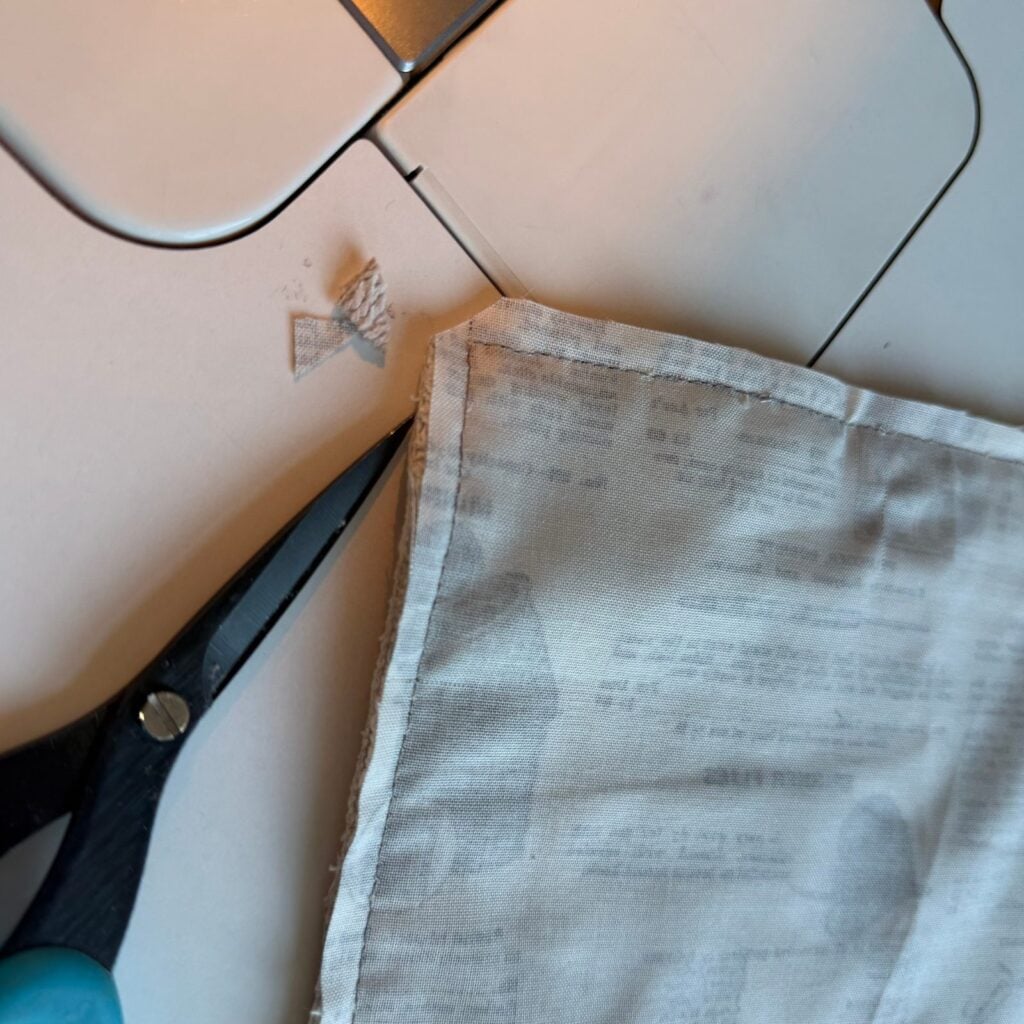
Step 3: Trim Corners & Seam Allowances
If a bit of your towelling shifted when you were sewing (it does that sometimes) and it’s sticking out further than your cotton into the seam allowance – just clip that off so that it matches the cotton seam allowance. Your project will still turn out great – it’s just that towelling can be stretchy and misbehave sometimes!
Then clip the corners diagonally, being careful not to cut through your stitching. Don’t worry about perfection here – this is a beginner-friendly project and we are going to be using these unpaper towels to wipe up spills!
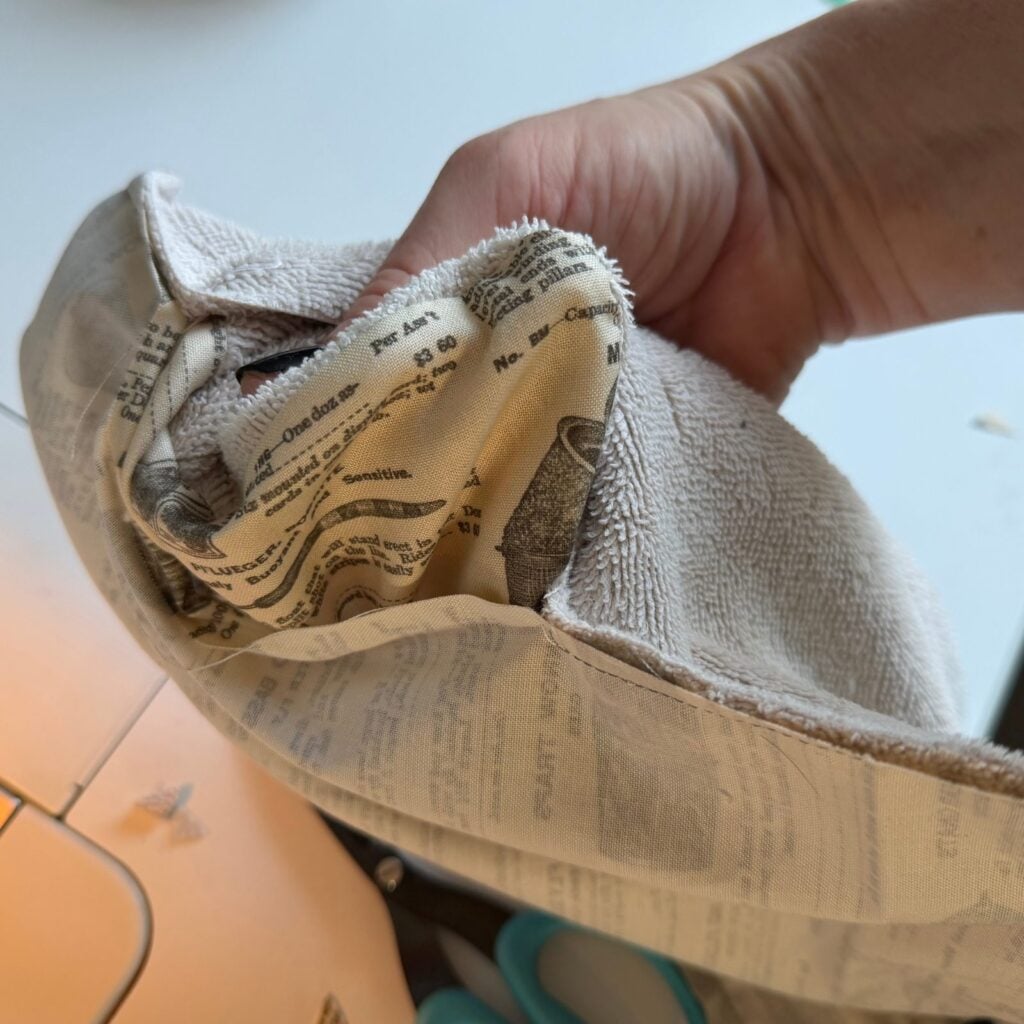
Step 4: Turn Right Side Out
Reach inside through the turning gap, grab the far corner, and pull it through. Poke out all four corners gently.
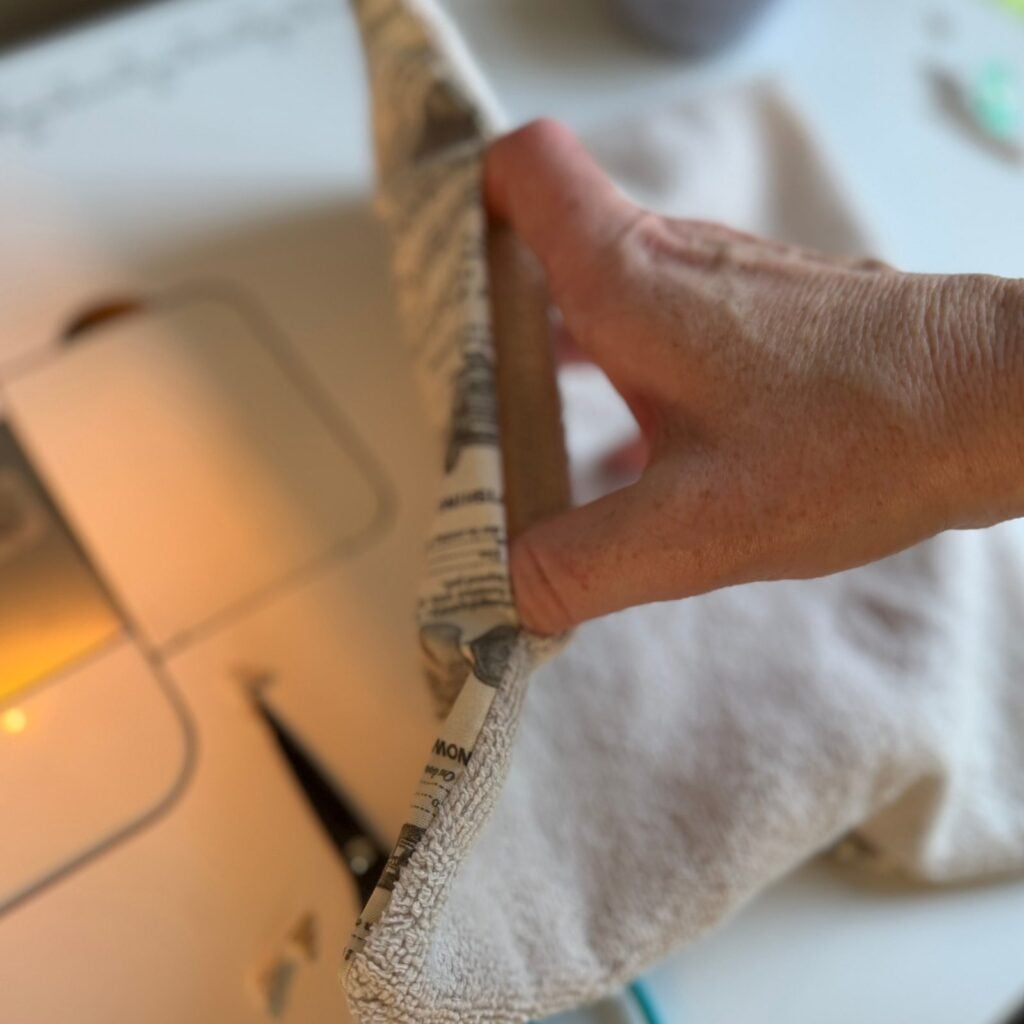
Then use your fingers to shape your towel flat and roll the seams so the towelling sits toward the back.
Step 5: Topstitch
At the turning gap, put two fingers inside and pull so the raw edges fold inward. Clip in place – one clip at each end and one in the middle.
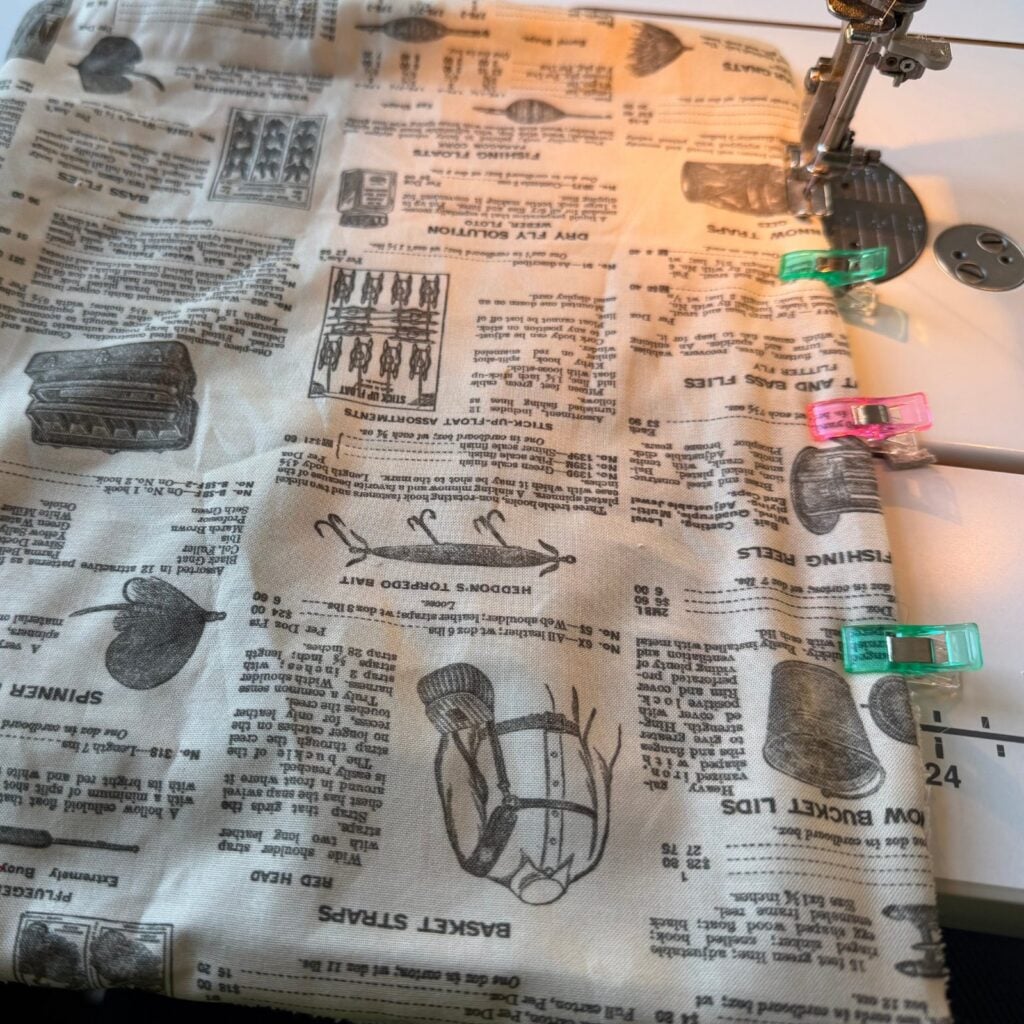
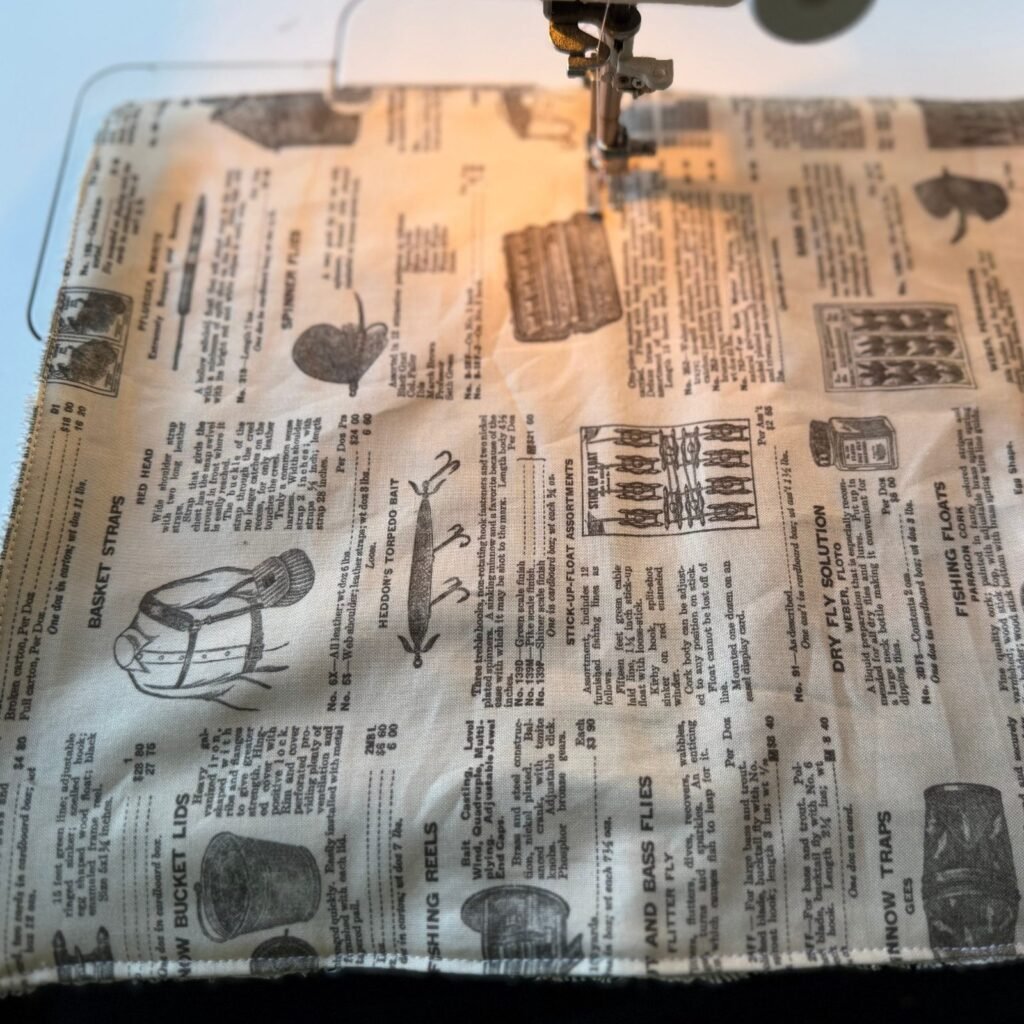
Starting at the turning gap, topstitch very close to the fold all the way around. This closes the turning gap and gives a neat finish.
My corners tend to come out a bit rounded with this project, so I just follow that shape rather than trying to force sharp corners.
As you sew, roll the towelling to the back if needed. Backstitch when you return to your starting point.
Step 6: Last Step!
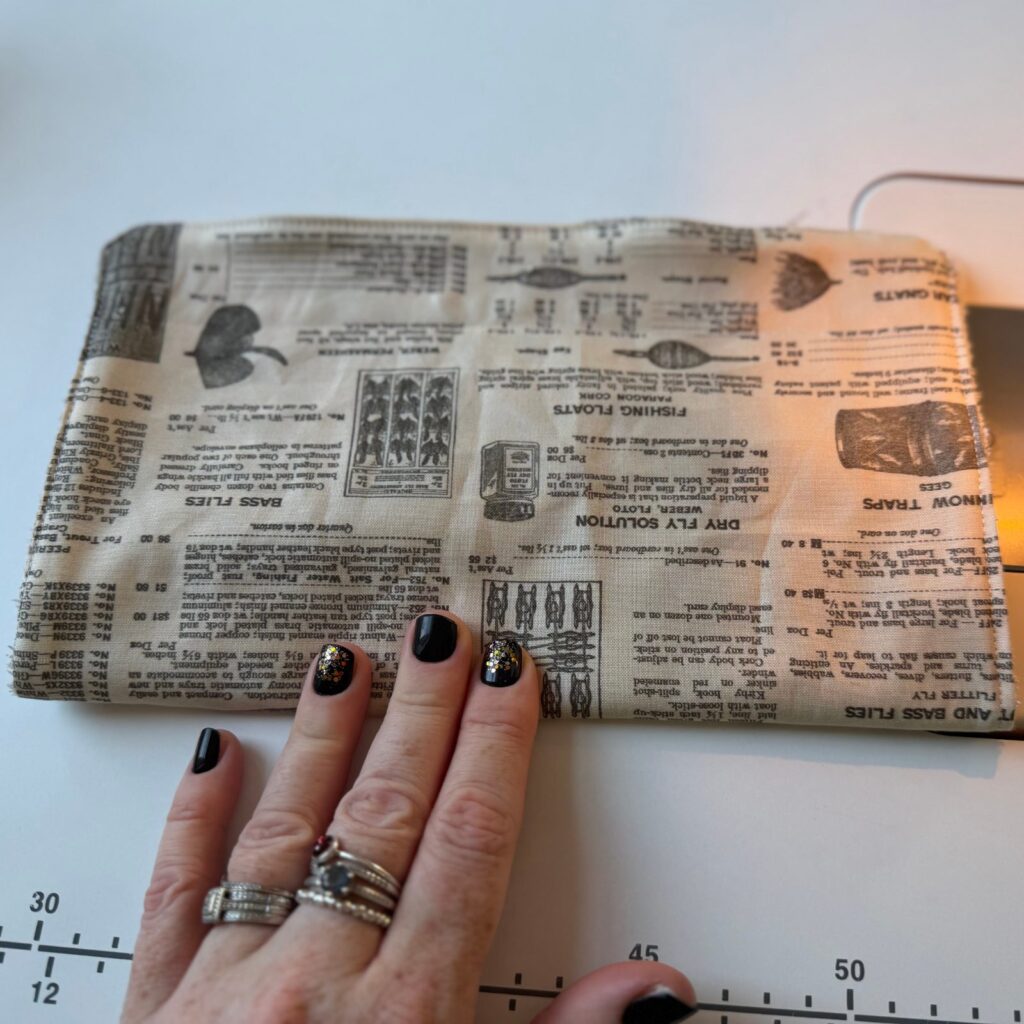
To keep the two layers from separating during use, fold the towel in half one way and press a crease.
Then fold it in half the other way and press another crease. This creates guidelines for your securing stitches.
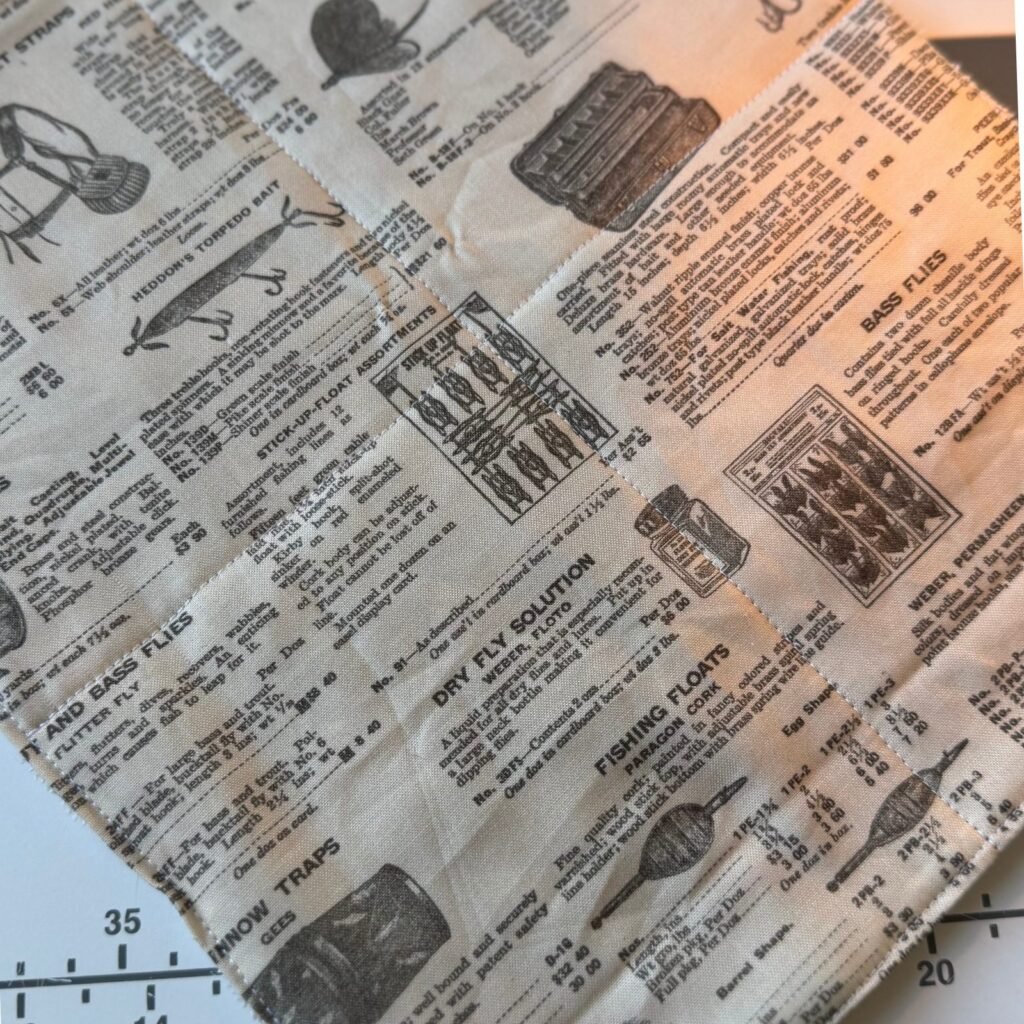
Stitch along both crease lines, backstitching at the beginning and end of each line. You could also stitch an X or wavy lines if you prefer!
You’re Done!
Clip your threads and you’re finished! Use the cotton side for polishing and the toweling side for cleaning up wet spills. When they’re dirty, just toss them in the wash and use them again.
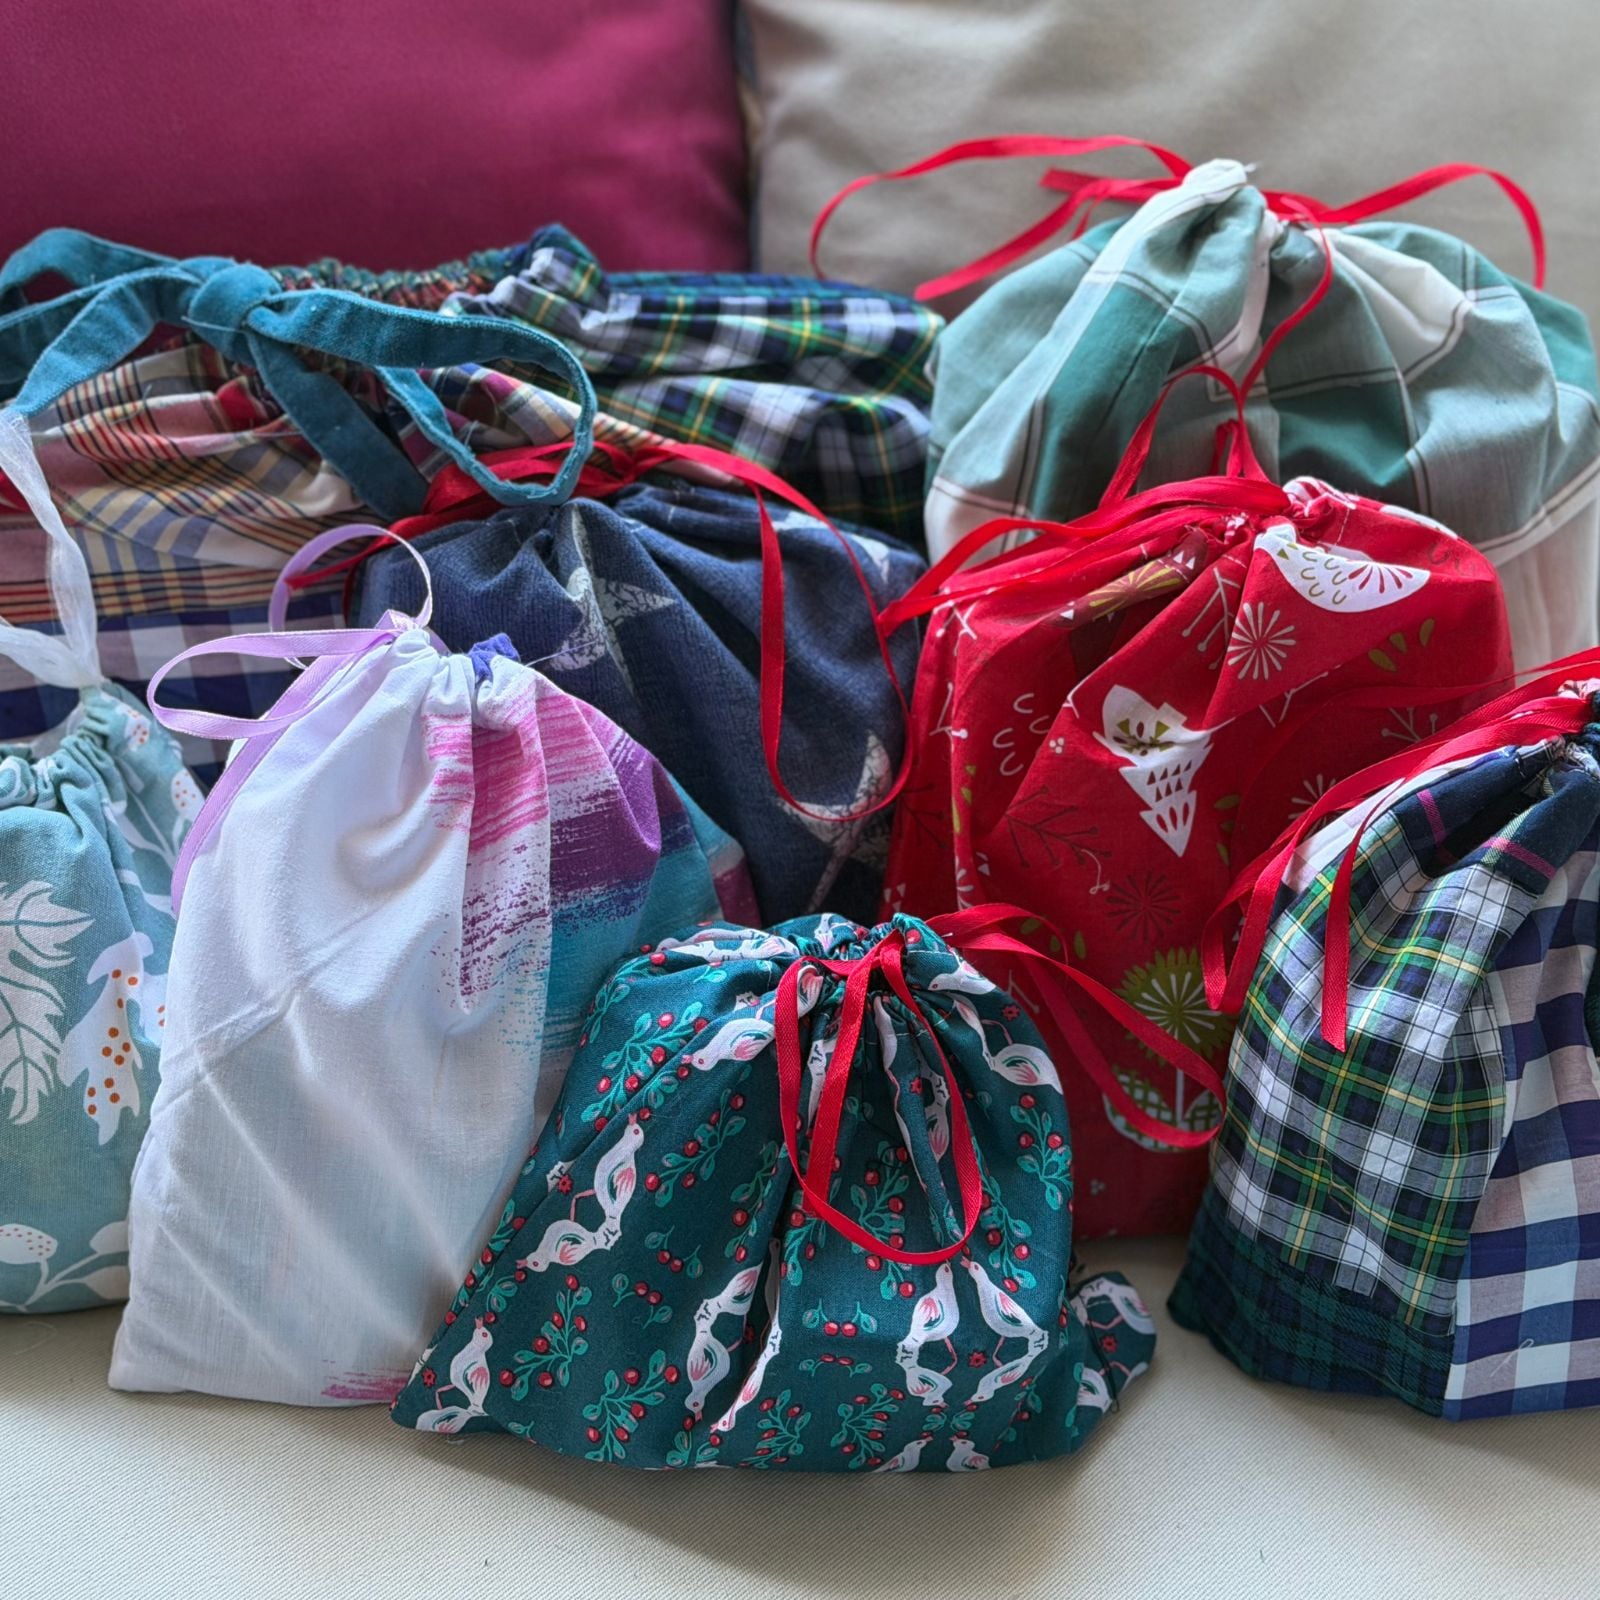
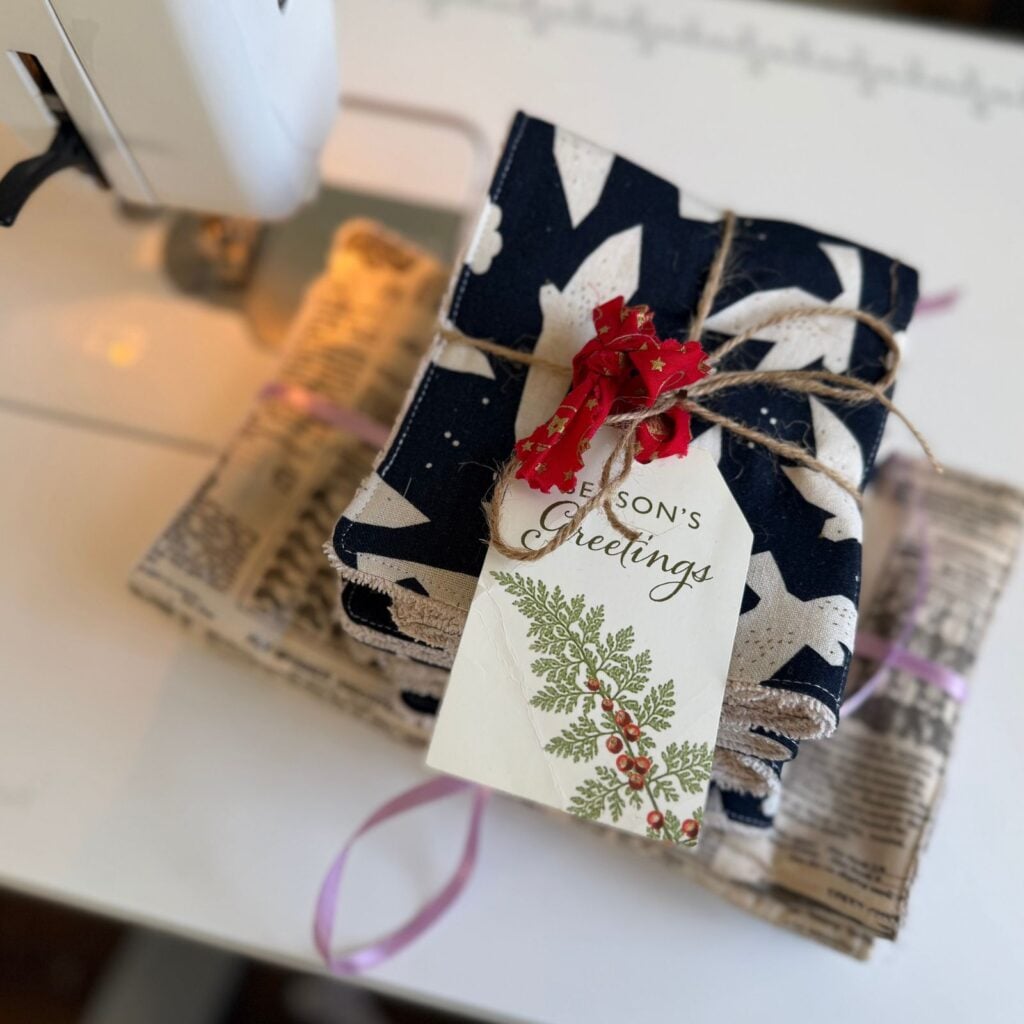
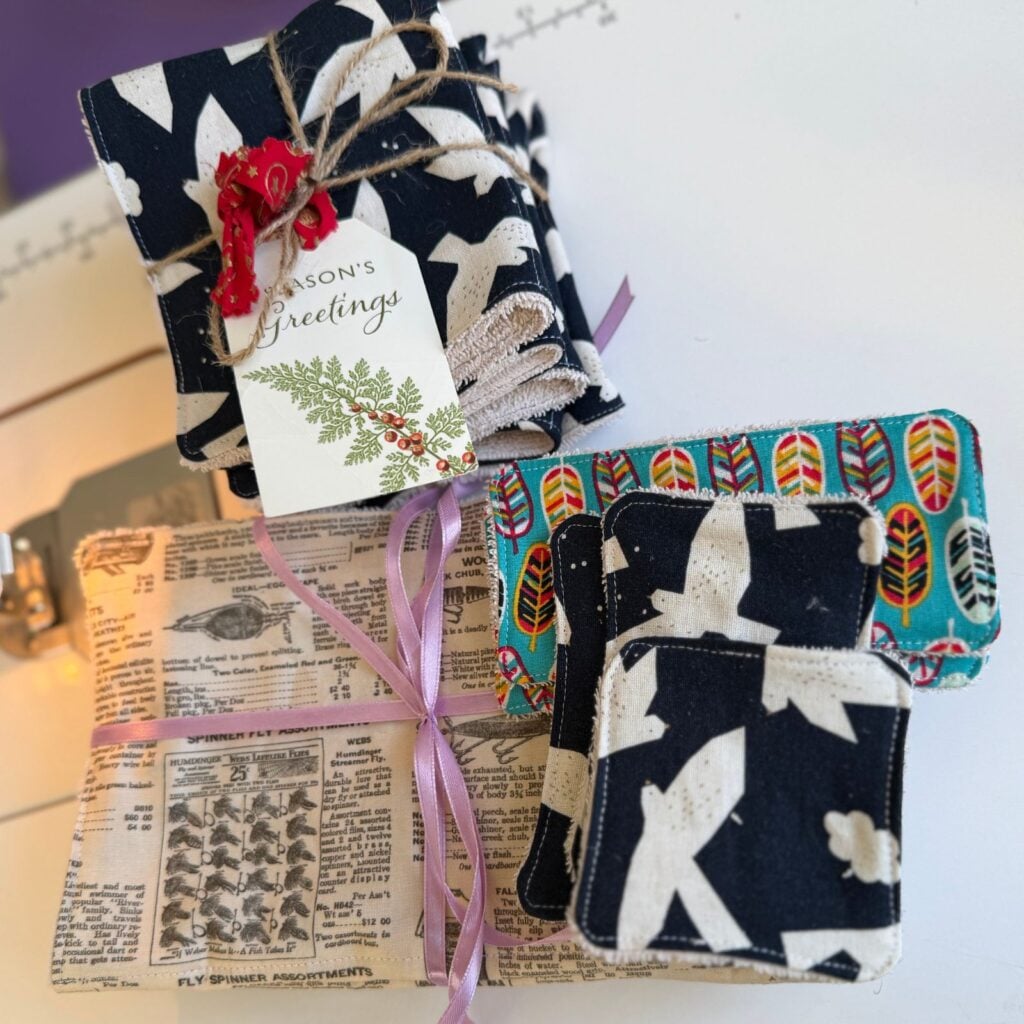
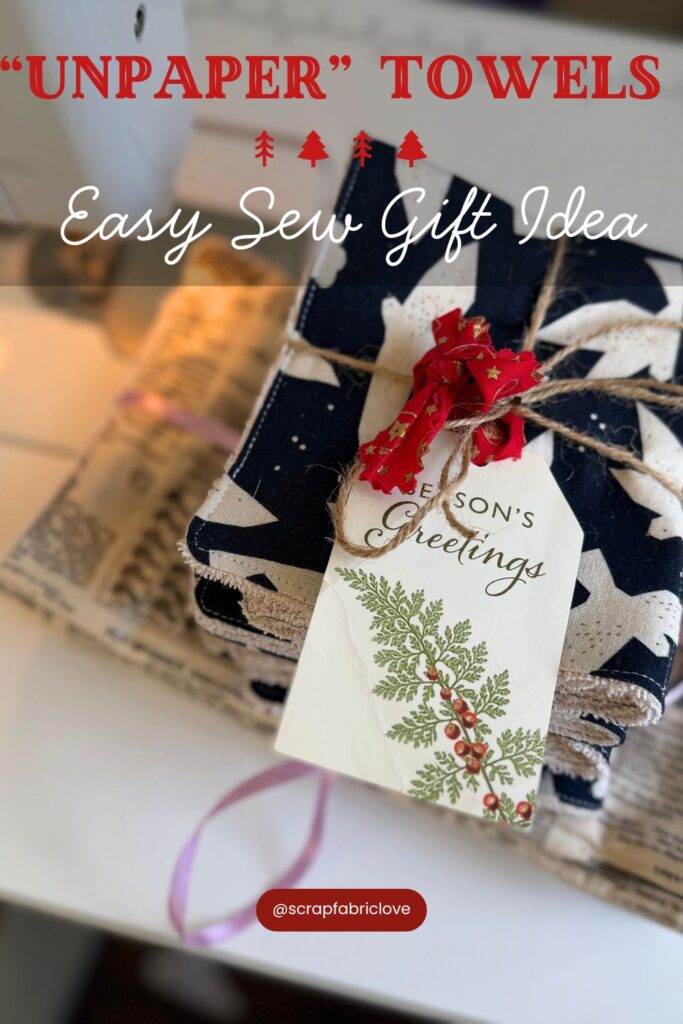
I love to give these in sets of four, wrapped with a ribbon or twine. They’re the kind of gift people don’t know they need until they receive them!
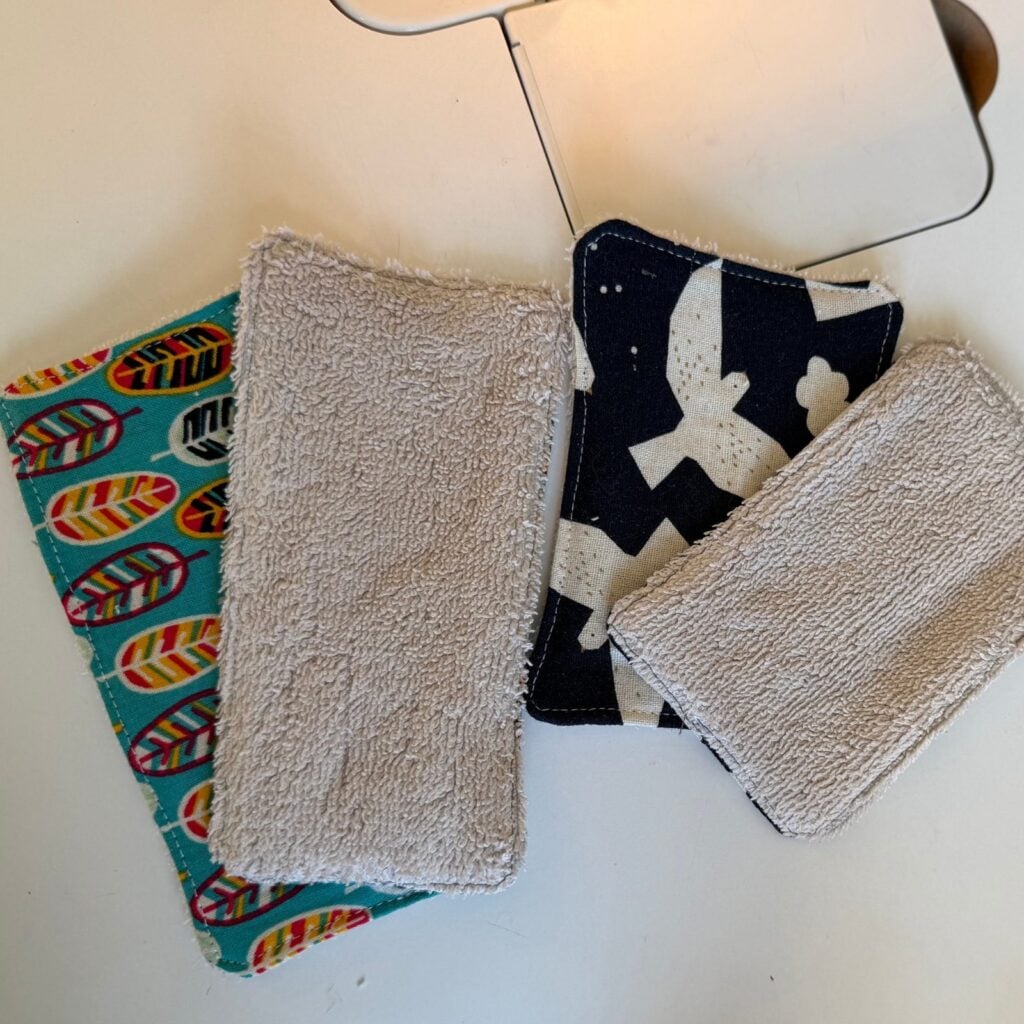
You can also make smaller versions from leftover toweling – perfect as makeup remover pads or for washing dishes.
Why Make Reusable Paper Towels?
- Eco-friendly: Reduces waste from disposable paper towels
- Cost-effective: Use them over and over instead of buying disposables
- Easy beginner project: No need for perfection
- Quick to make: Perfect 5-minute gift
- Uses what you have: Old towels and scrap fabric
This is such a practical project that uses materials you probably already have at home. An old towel you don’t need anymore and some pretty cotton fabric – we all have too much of that, right?
If you’re looking for more quick gift projects, check out my tutorial for simple fabric gift bags to package these in!
Want more scrap fabric projects and quilting inspiration? Join my online quilting community, Scrap Club, on Patreon where we have live Zoom meetings, collaborative group quilts, and lots of fun. We don’t follow a lot of quilting rules – just creativity and community!
MORE POSTS YOU MIGHT LIKE: