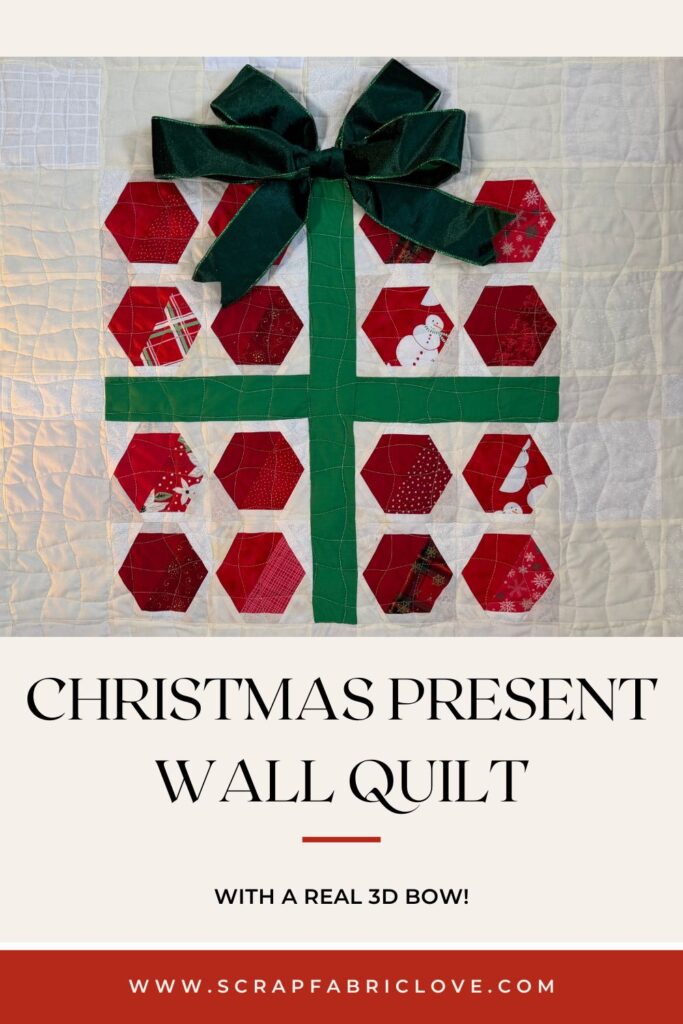
Hexagon Christmas Present Wall Hanging Tutorial
This festive wall hanging was created as part of Quiltmas 2025. It is my present to everyone who purchased my Scrap-a-gone quilt pattern – it’s an extra Christmas Quilty Project you can make with your pattern.
If you already have the pattern, you can follow along with this bonus project below.
If you don’t have it yet, you’ll need it buy the pattern to make the foundation paper pieced hexagon blocks that form the center of this wall hanging.
Finished Size
36.5″ x 36.5″ (baby quilt size, designed as a wall hanging)
Materials Required
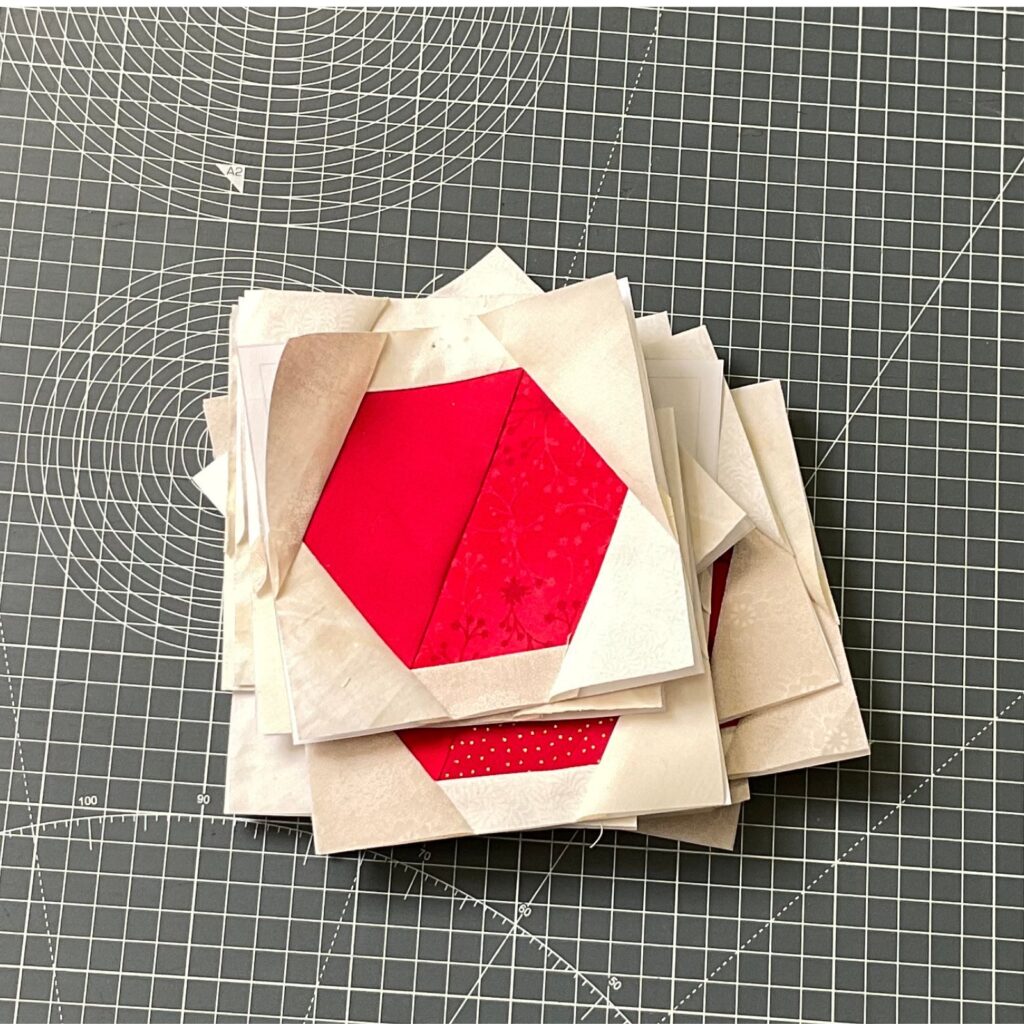
For the Hexagon Blocks
- Follow the Scrap-a-gone quilt pattern instructions to make 16 foundation paper pieced hexagon blocks (the equivalent of one quadrant of the throw quilt size).
- For the hexagon centres of the blocks I used 16 patches (A1) of red solid fabric (they don’t have to be all the same red) and 16 patches (A2) of a mix of red Christmas patterned fabrics.
- Refer to the pattern for fabric requirements for these blocks.
Background Fabric
- (48) Charm Pack Squares (5″ x 5″) in cream/off-white background fabric (can be scrappy).
- (8) 2.5″ x 5″ rectangles in the same background fabric.
- Again, feel free to use what you have and cut these background pieces from a mix of fabrics in the same color family.
Ribbon/Bow Fabric
- (1) 20.5″ x 2.5″ strip in green (or your chosen bow color).
- (2) 9.5″ x 2.5″ strips in the same green fabric.
For the 3D Bow
- (1) 70-80 inch length of 2.5″ wide velvet ribbon with wire edges (green or your chosen color).
- (1) 3.5″ length of the same velvet ribbon
- Small piece of twine or thin ribbon for cinching the bow center.
- Thread to match your ribbon color.
Additional Supplies
- Backing fabric (approximately 40″ x 40″).
- (2) 7″ squares of backing fabric for hanging corners (optional).
- Batting (approximately 40″ x 40″).
- Binding fabric (approximately 160″ of 2.5″ wide strips).
- 35″-36″ wooden dowel for hanging (optional).
Hexagon Present Wall Hanging Video Tutorial
Follow along with the video below or scroll down for the quick reference steps and instructions.
Hexagon Present Wall Hanging Instructions – Quick Reference
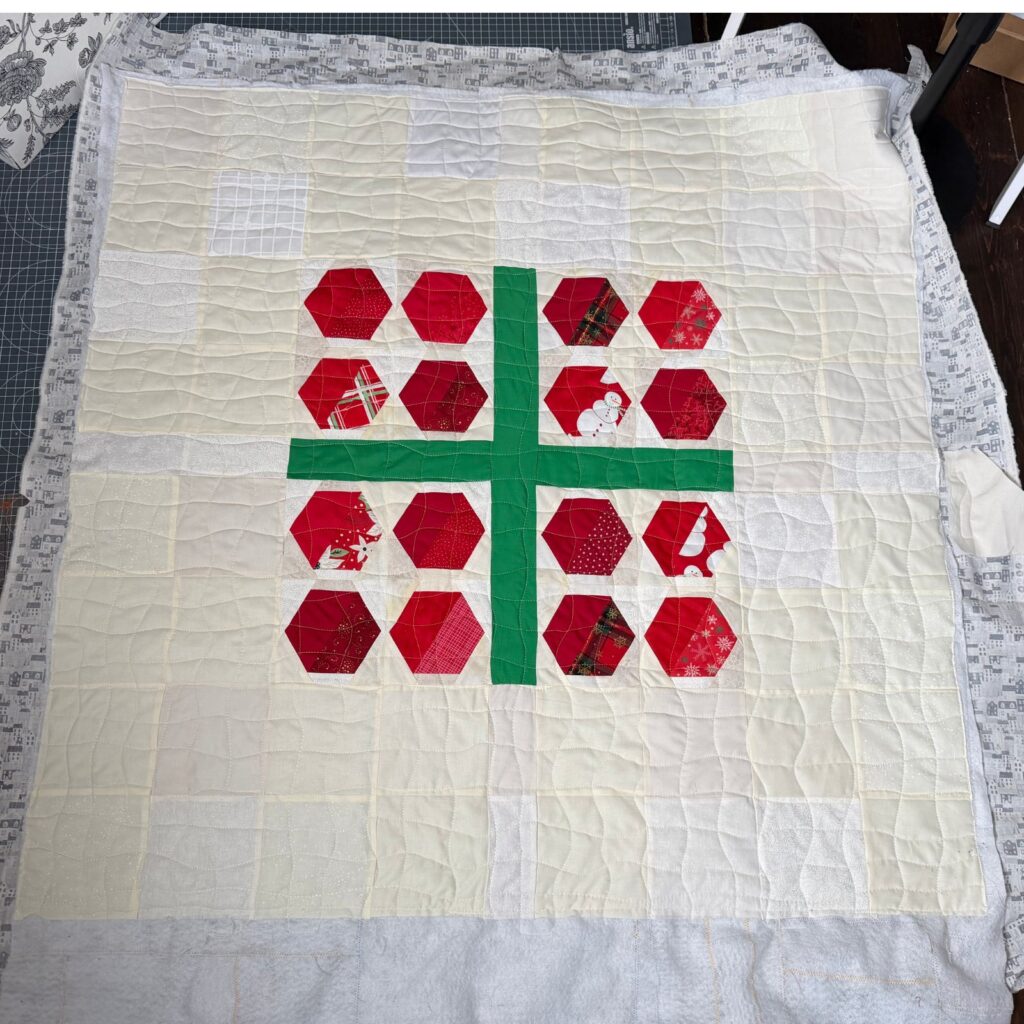
Step 1: Make the Hexagon Center
- Create 16 hexagon blocks following the Scrap-a-gone pattern instructions
- Arrange blocks into 4 groups of 4, distributing prints and solids evenly
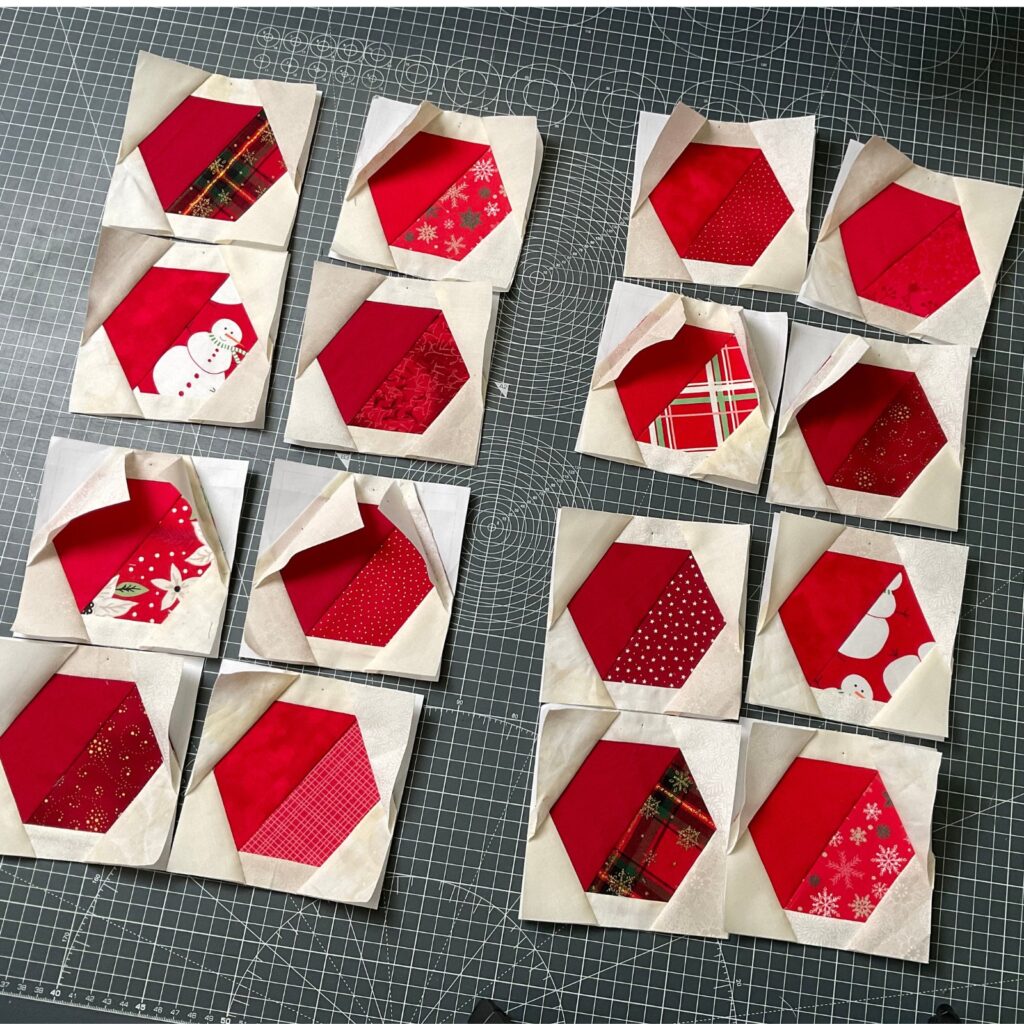
- Sew blocks into pairs, then join pairs into rows of 4
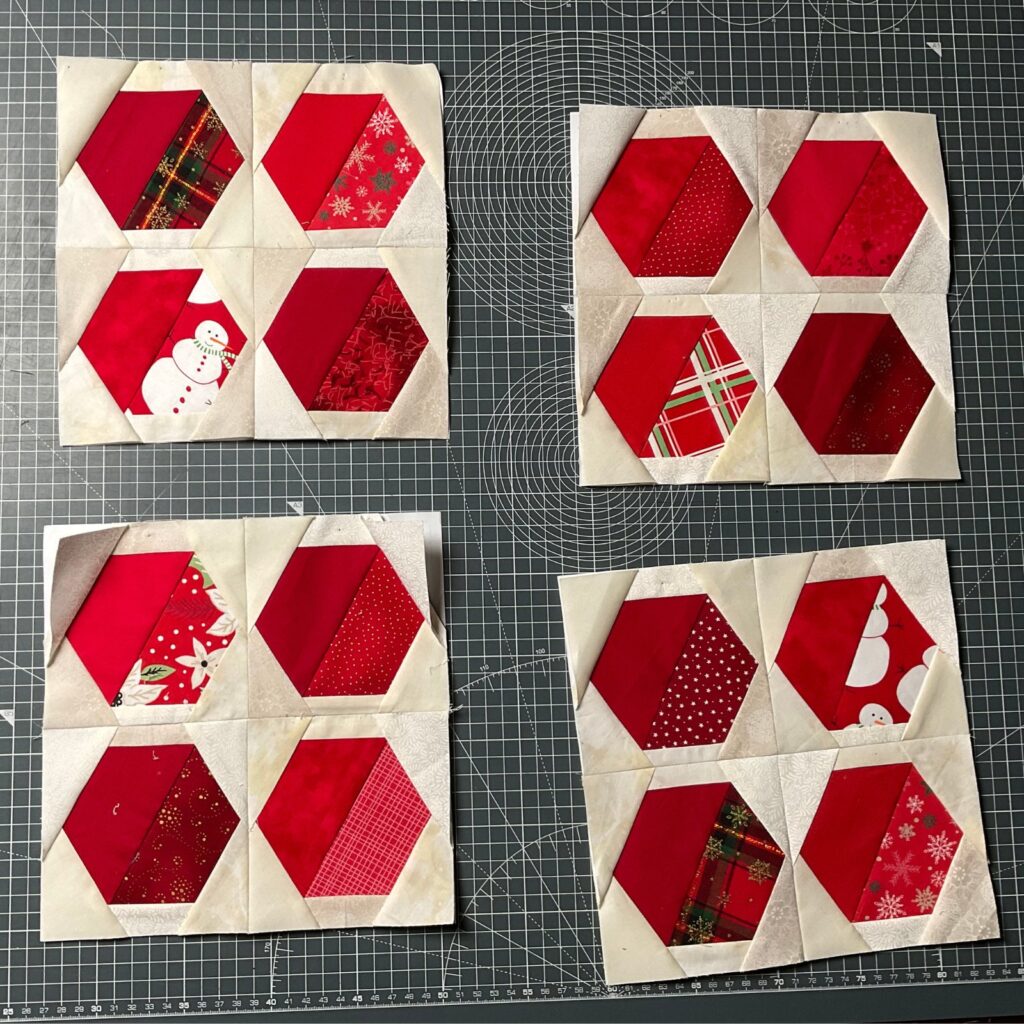
- Keep solids positioned in the upper left of each block and prints in the bottom right.
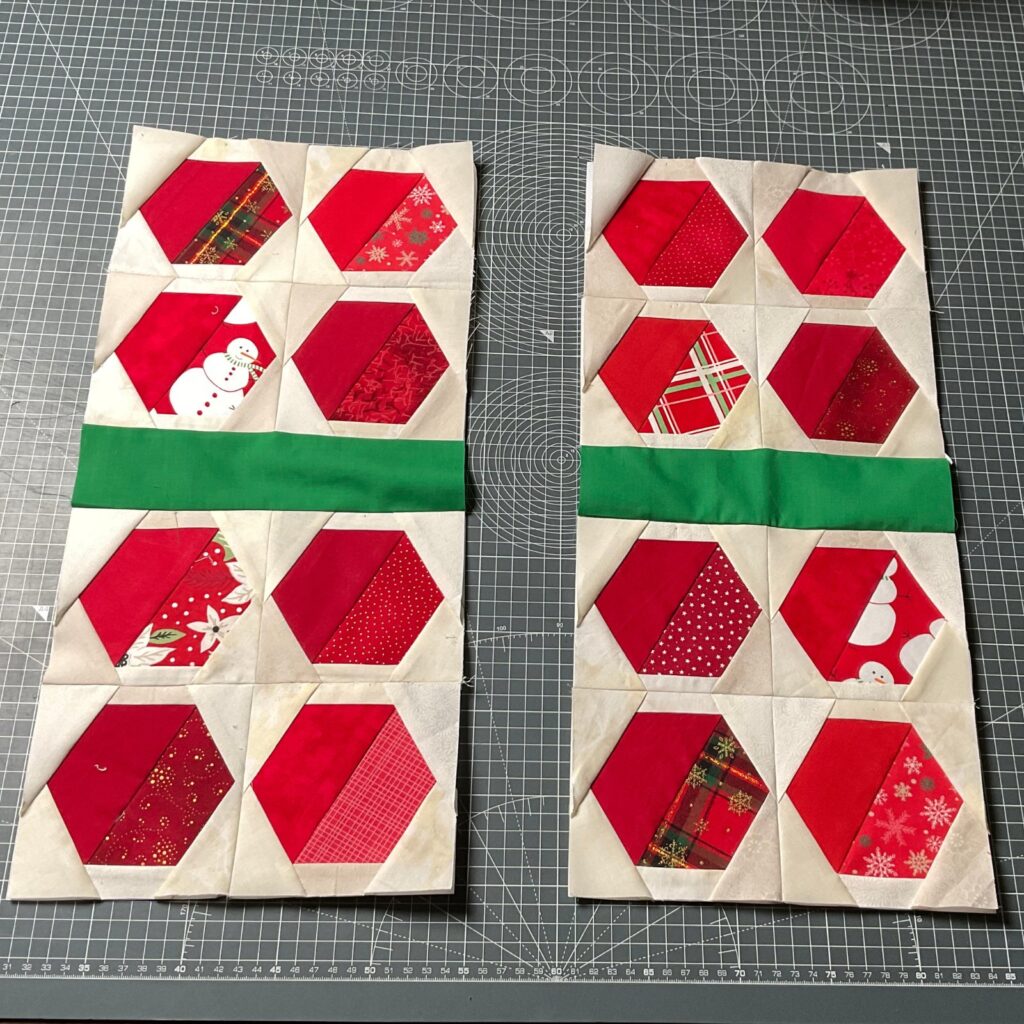
Step 2: Add the Green “Ribbon”
- Sew one 9.5″ x 2.5″ green strip between two quadrants (left and right sides).
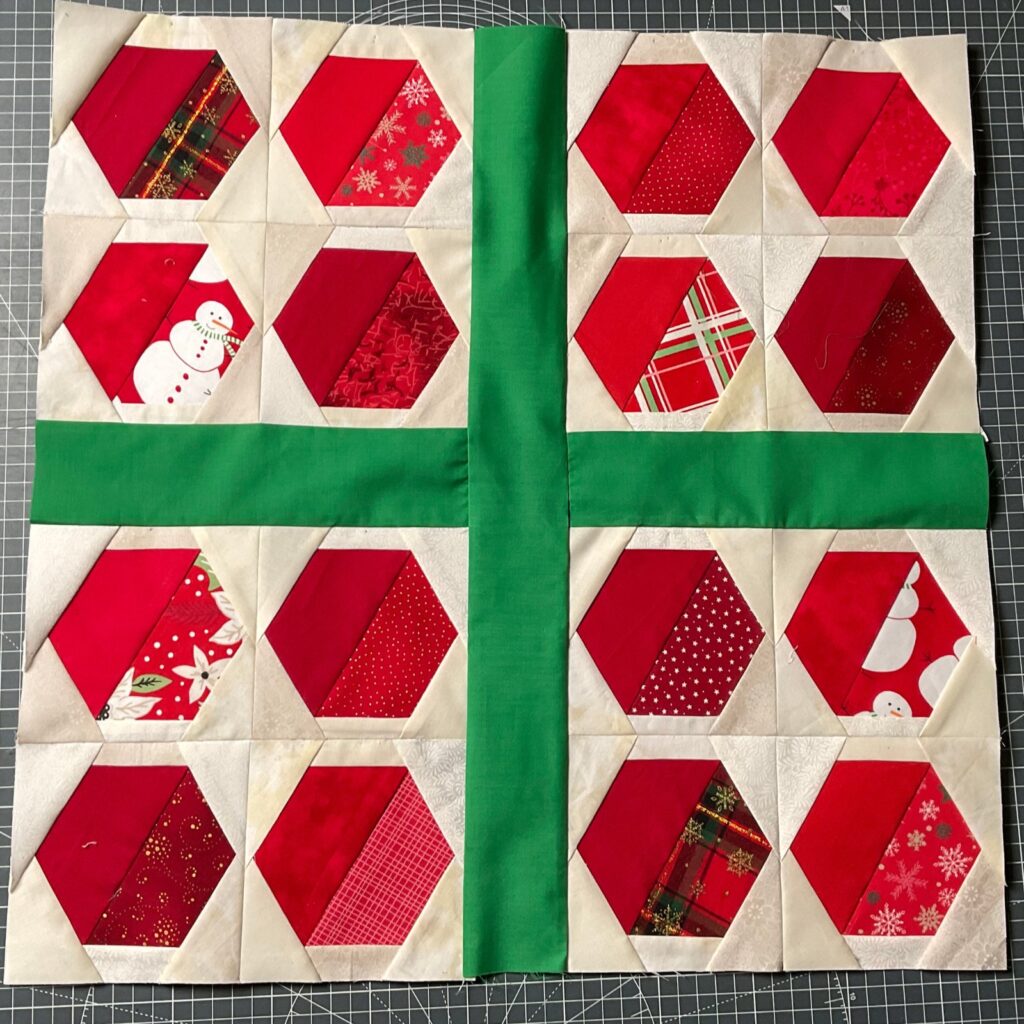
- Join the center section by sewing the 20.5″ x 2.5″ green strip first to one side of your centre, right sides together with a 1/4″ seam, and then to the other side in the same way.
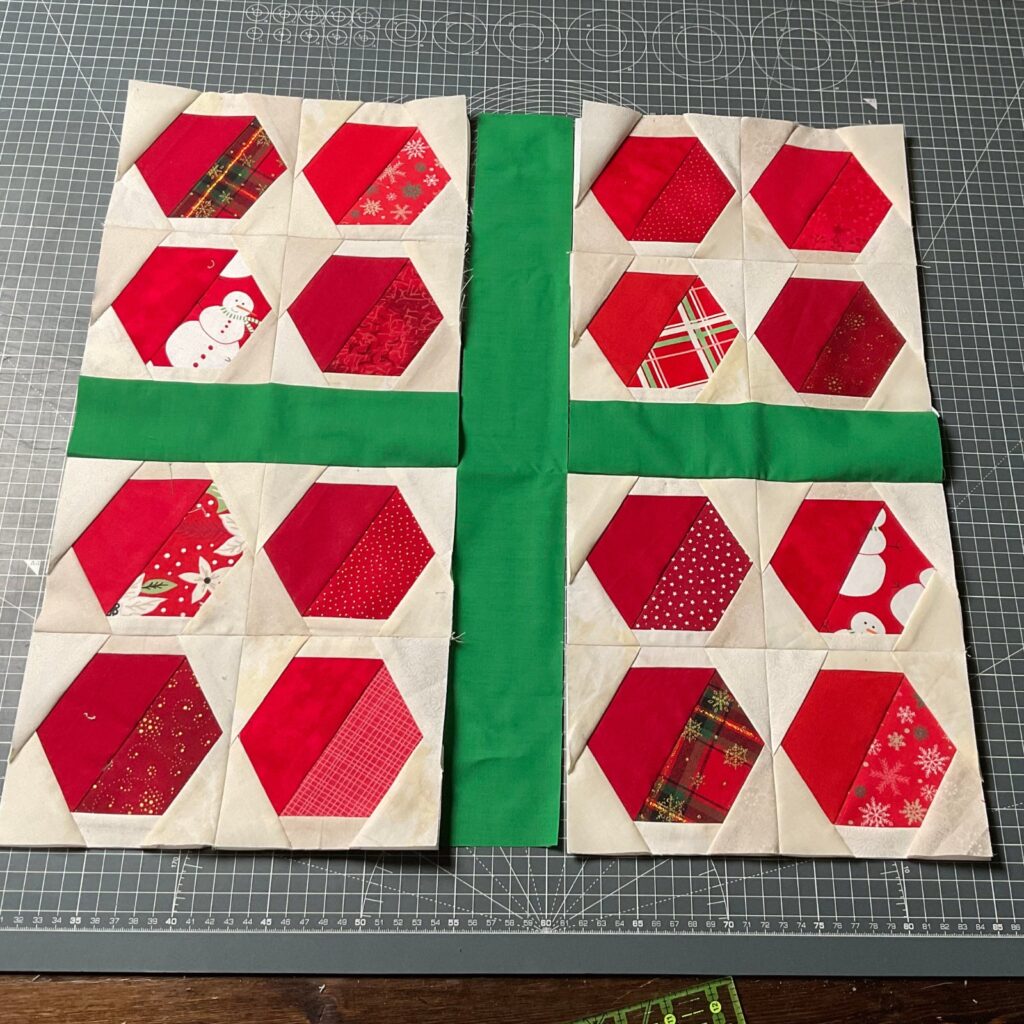
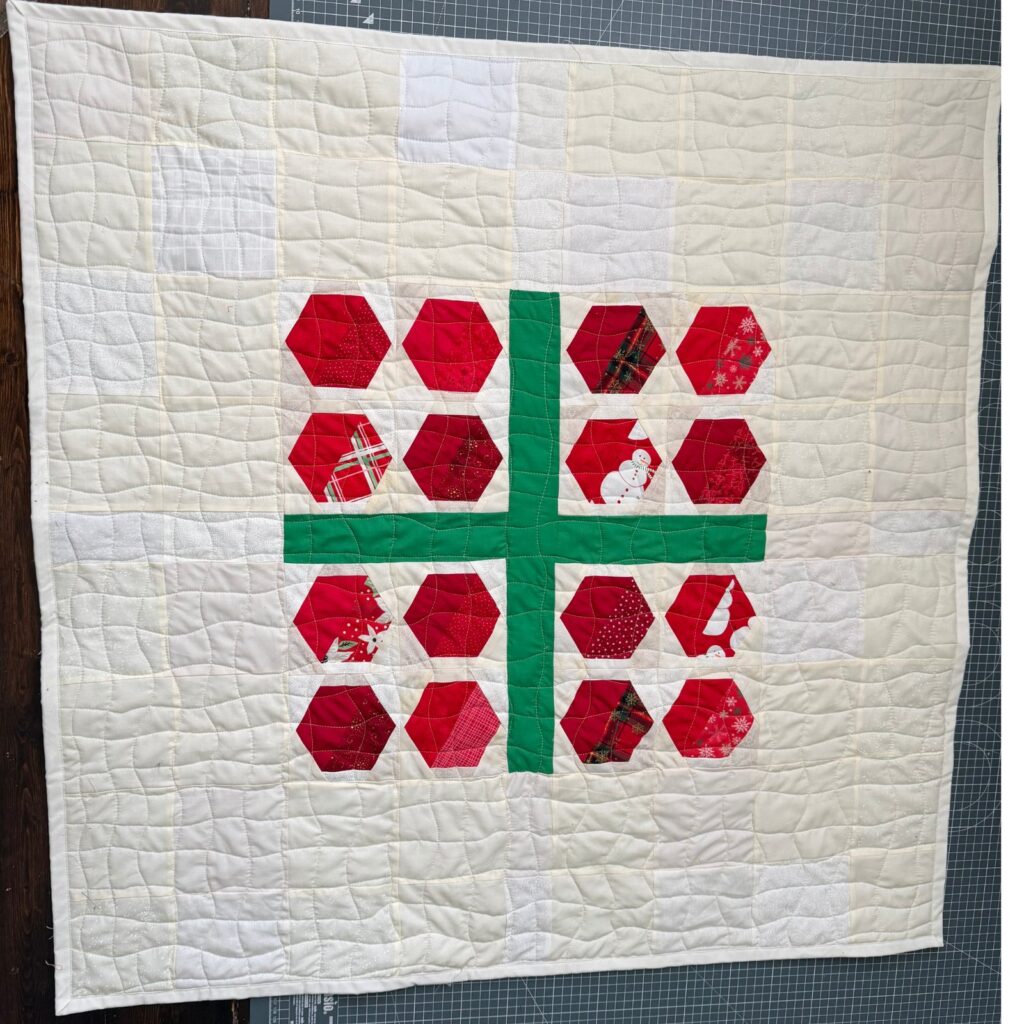
- You now have the “present” center complete
Step 3: Piece the Background
- Sew 48 charm pack squares into 24 pairs
- Arrange pairs around the hexagon center as shown, with 2.5″ x 5″ rectangles positioned in the ‘gaps’ – aligning with the green ribbon units in the centre.

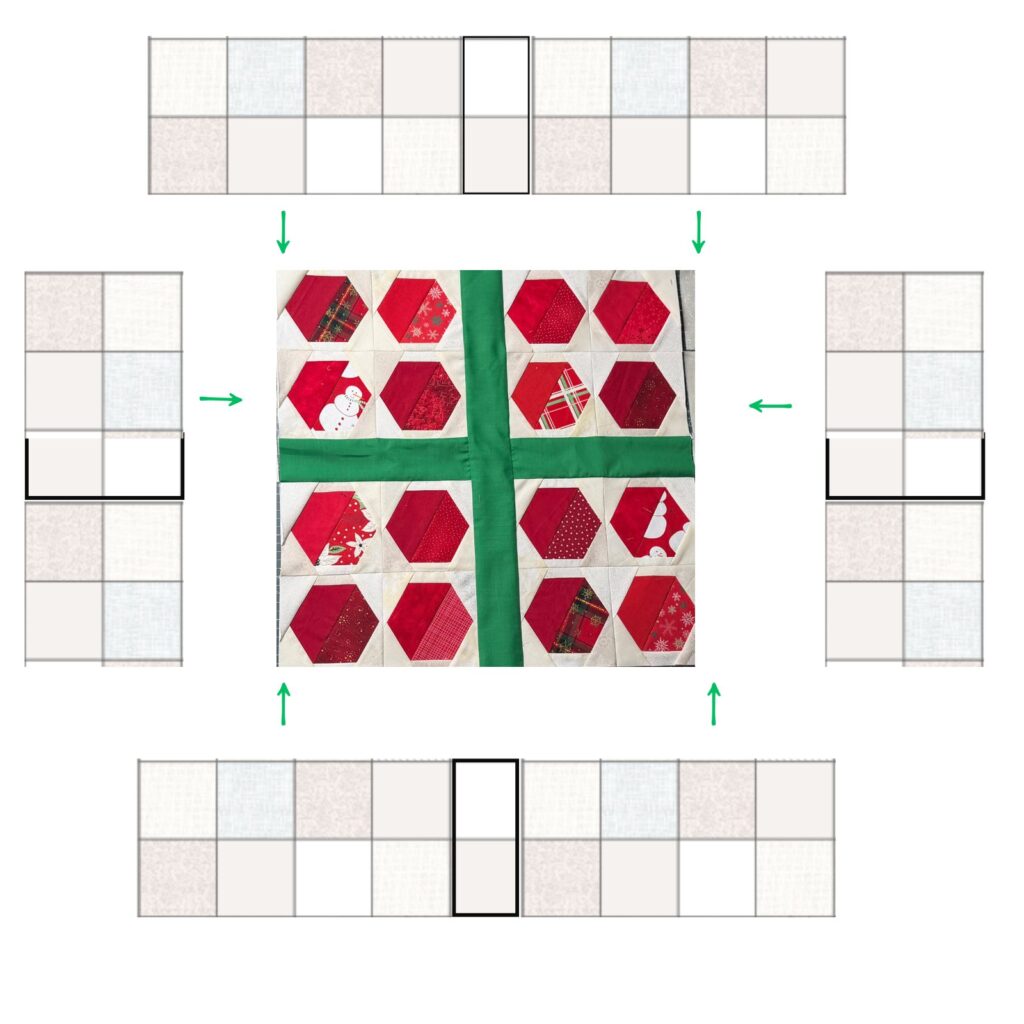
- Piece your background into two side panels a top and bottom panel.
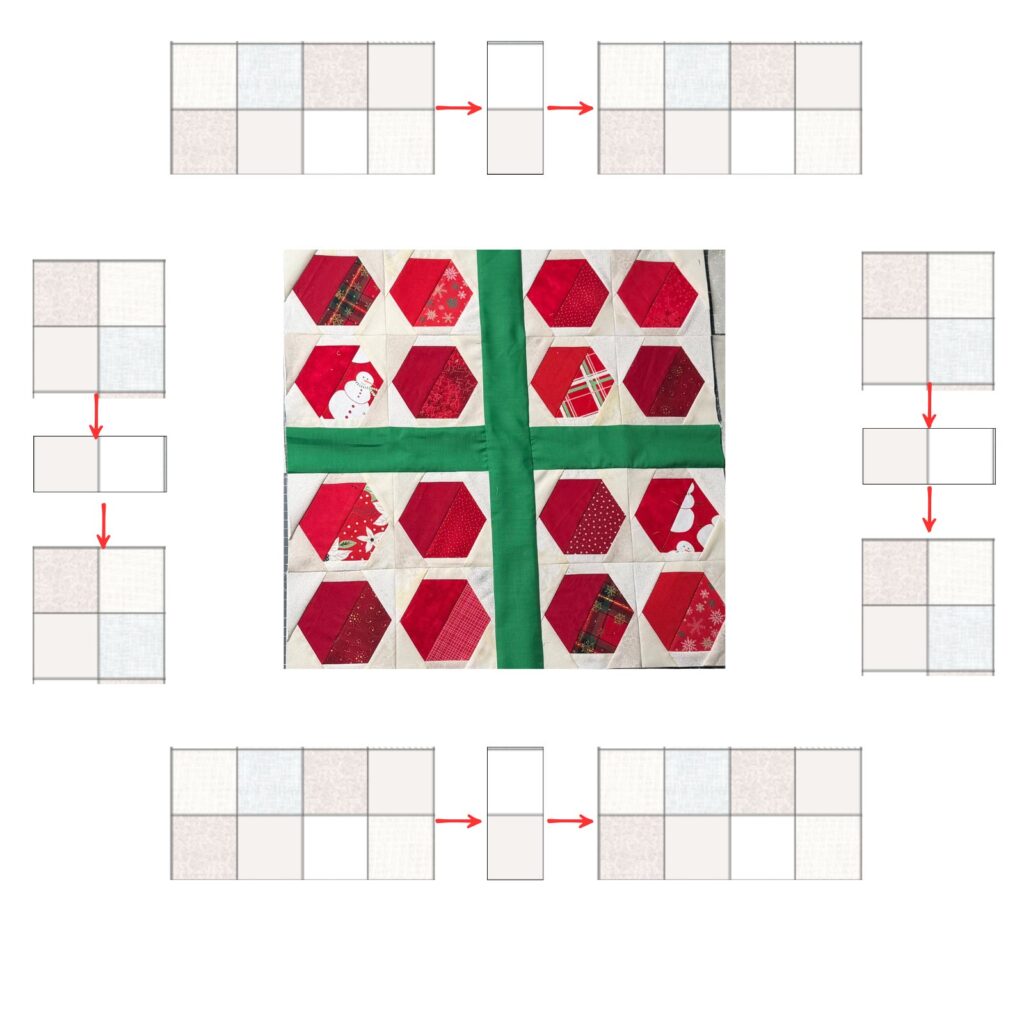
- Add the two background side panels to the left and right of the hexagon present center section, and then finally complete the quilt top by adding the top and bottom panels.
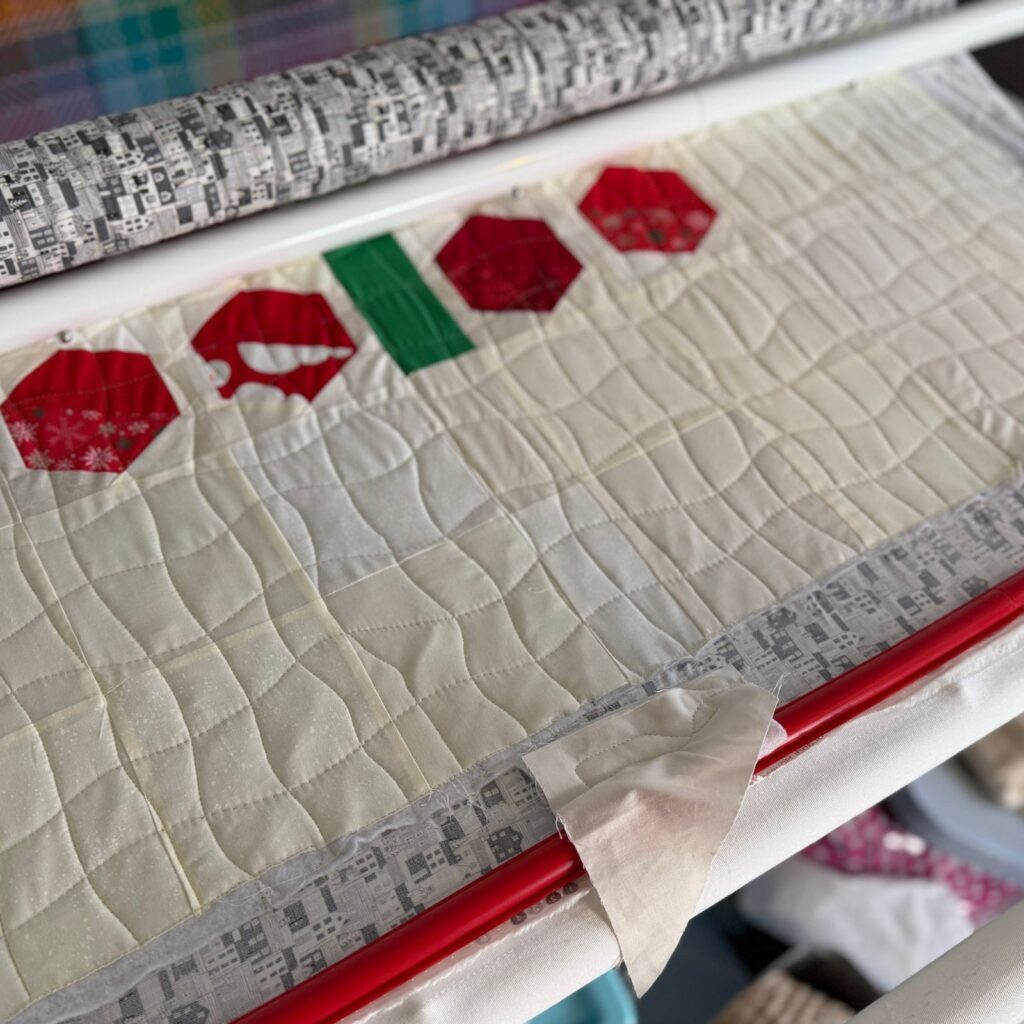
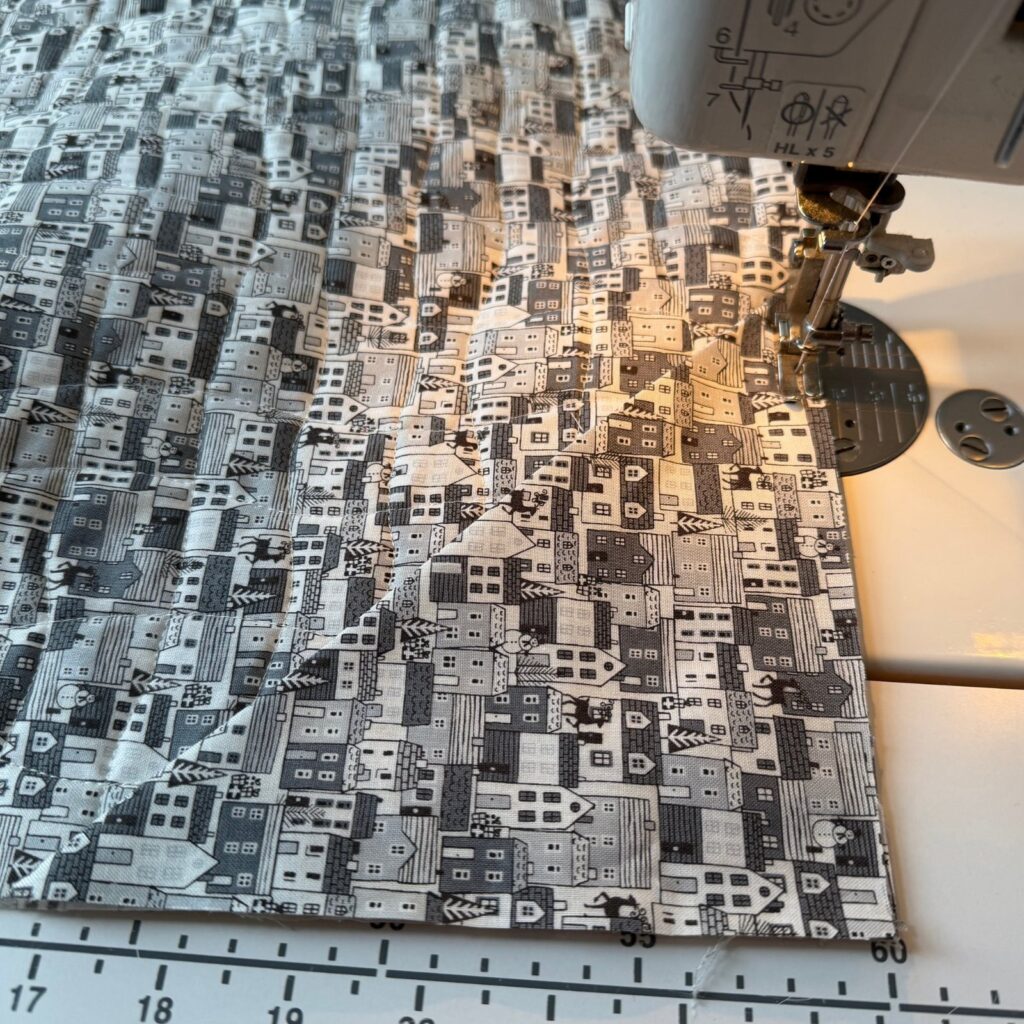
Step 4: Quilt and Bind
- Layer backing, batting, and quilt top
- Quilt as desired (I used a wavy cross-hatch design)
- Trim and square up the quilt
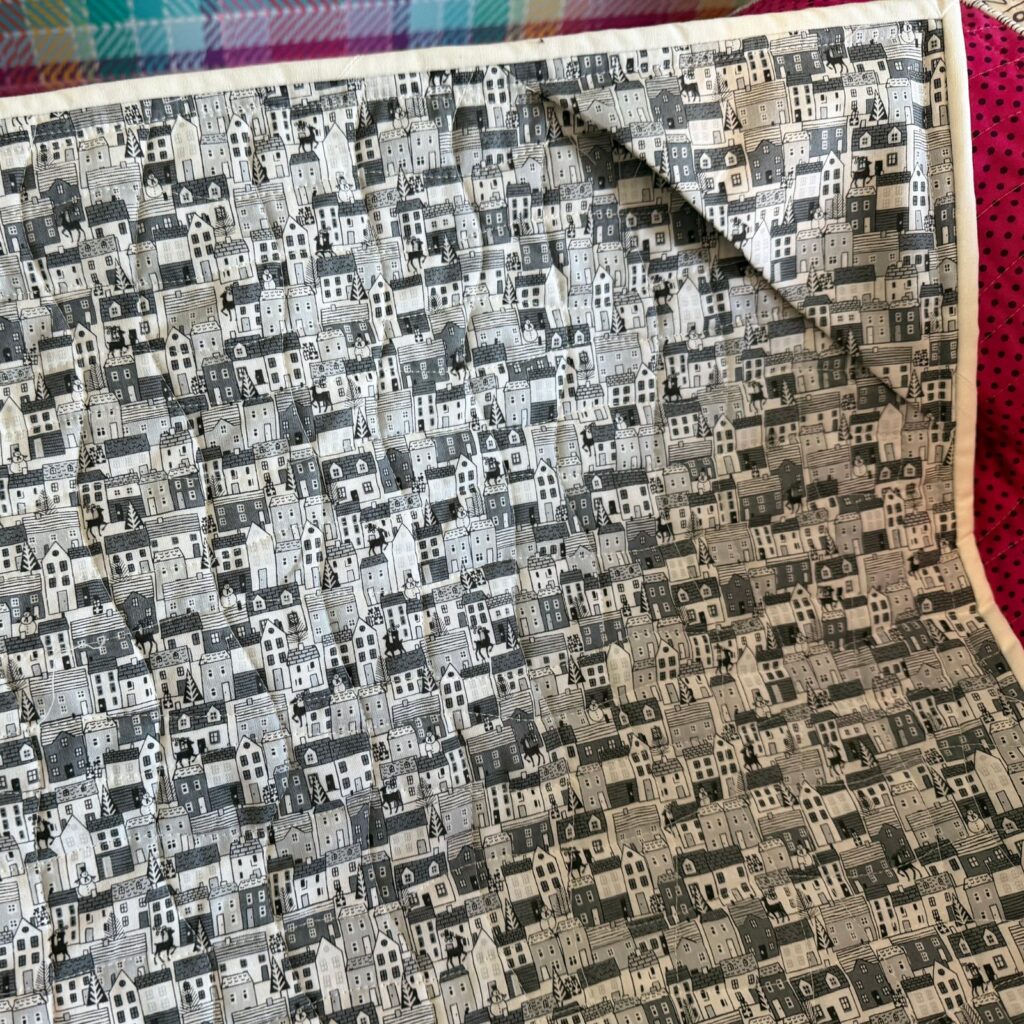
- Add hanging corners if desired by folding (2) 6-7″ squares in half and placing the raw edges in each of the top two corners of your quilt. Stitch the raw edges onto the back of your quilt with a 1/4″ seam.
- You will also stitch over the corners when you add your binding and you will end up with something that looks like this.
- Bind your wall hanging as usual. I use 2.5″ wide binding strips, machine sewn. I used binding in the same color as my background fabric.
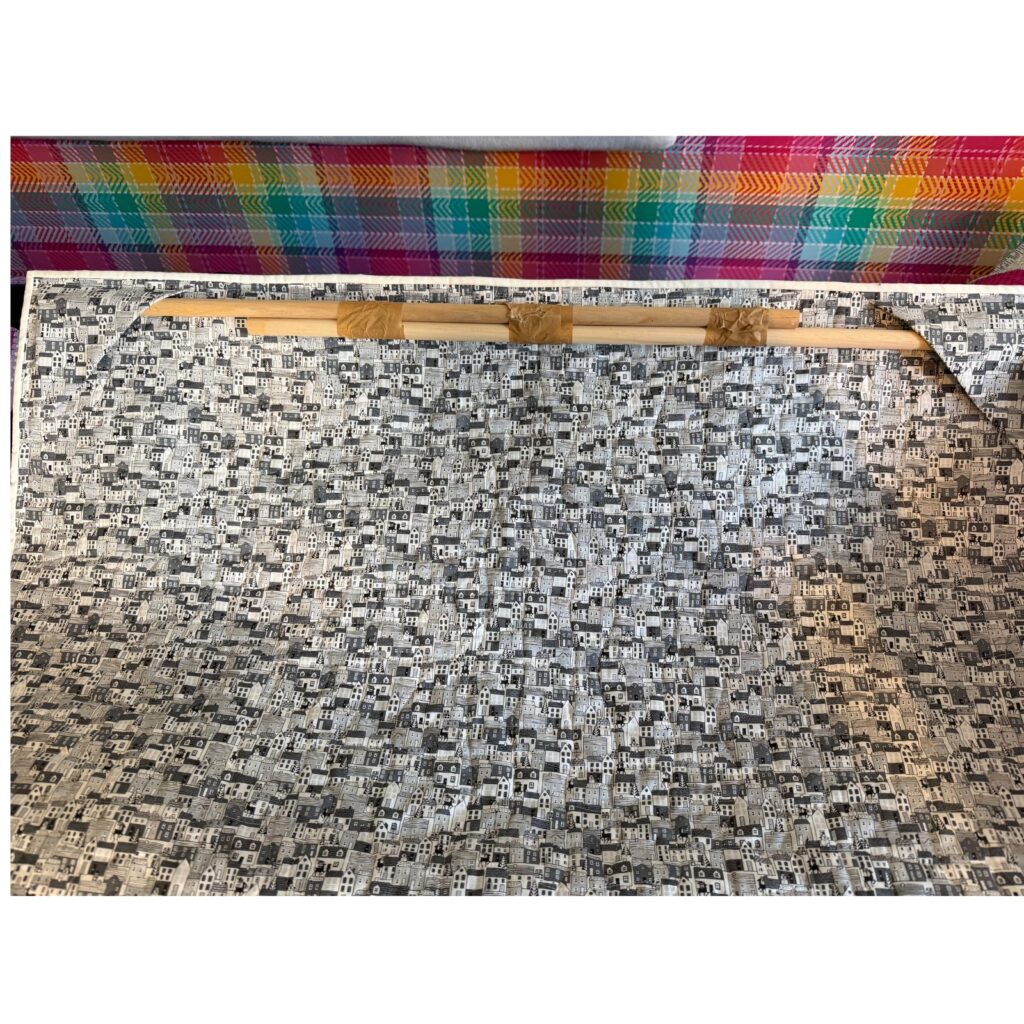
- If you added hanging corners they should look like the photo below once your quilt is bound.
- You can use 35″-36″ wooden dowel that rests in the hanging corners to hang your quilt on a nail or hook. I didn’t have a dowel long enough so I taped together two shorter dowels with heavy duty tape!
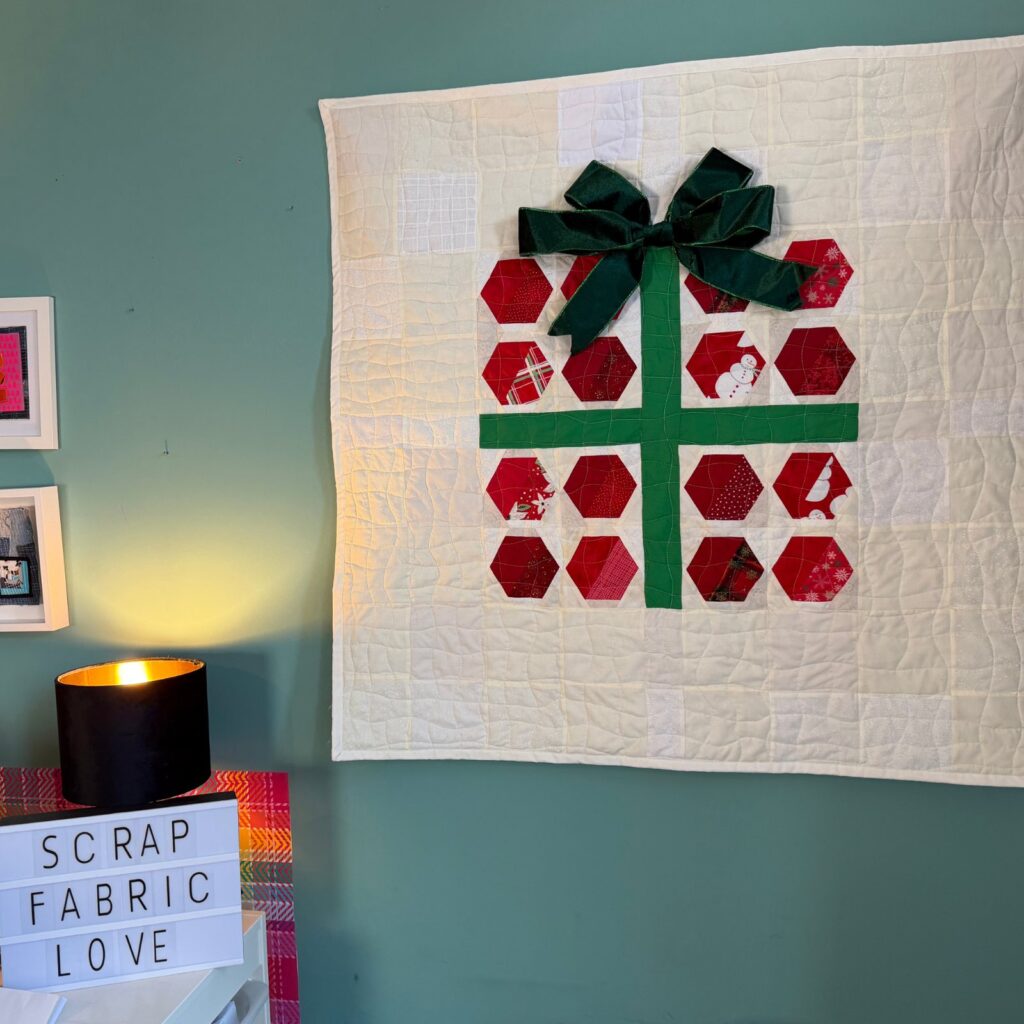
- Below is my bound quilt from the front – the 3D bow is added as the last step!
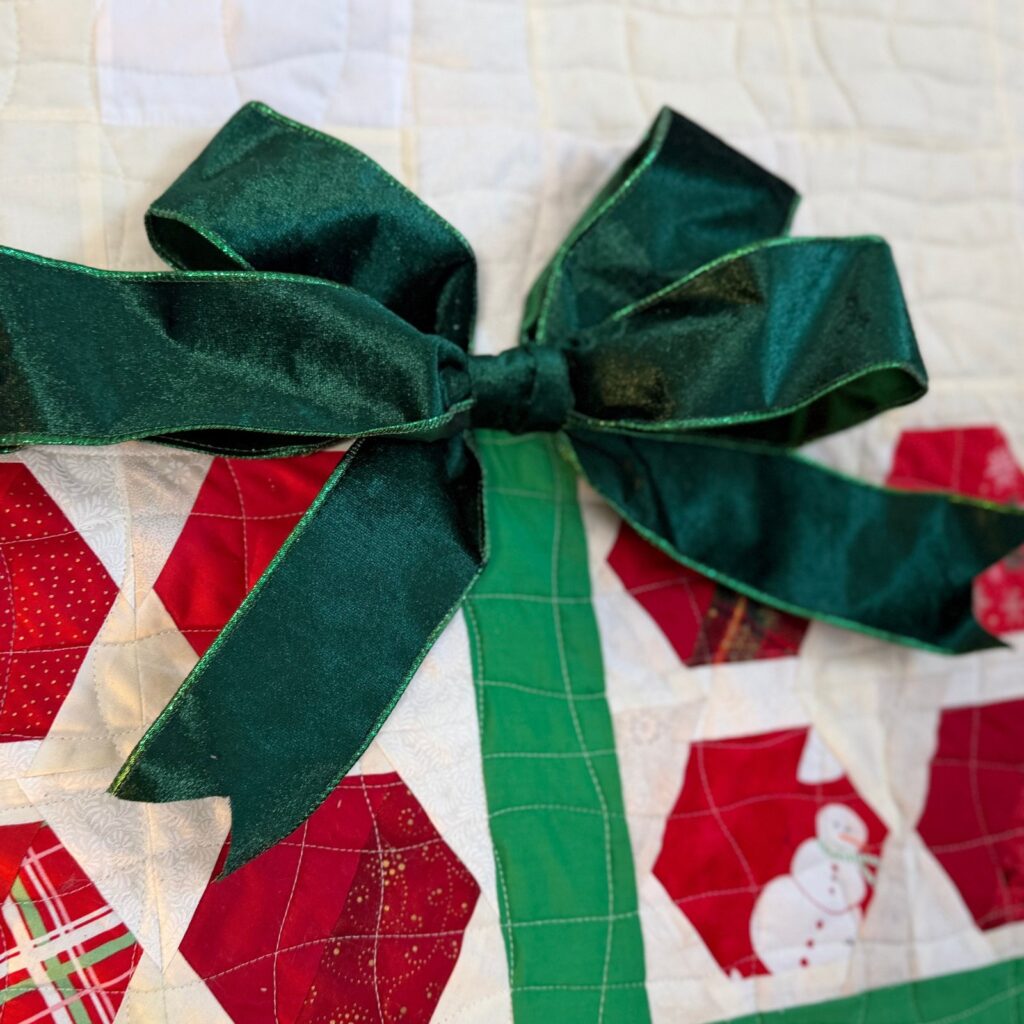
Step 5: Create the 3D Bow
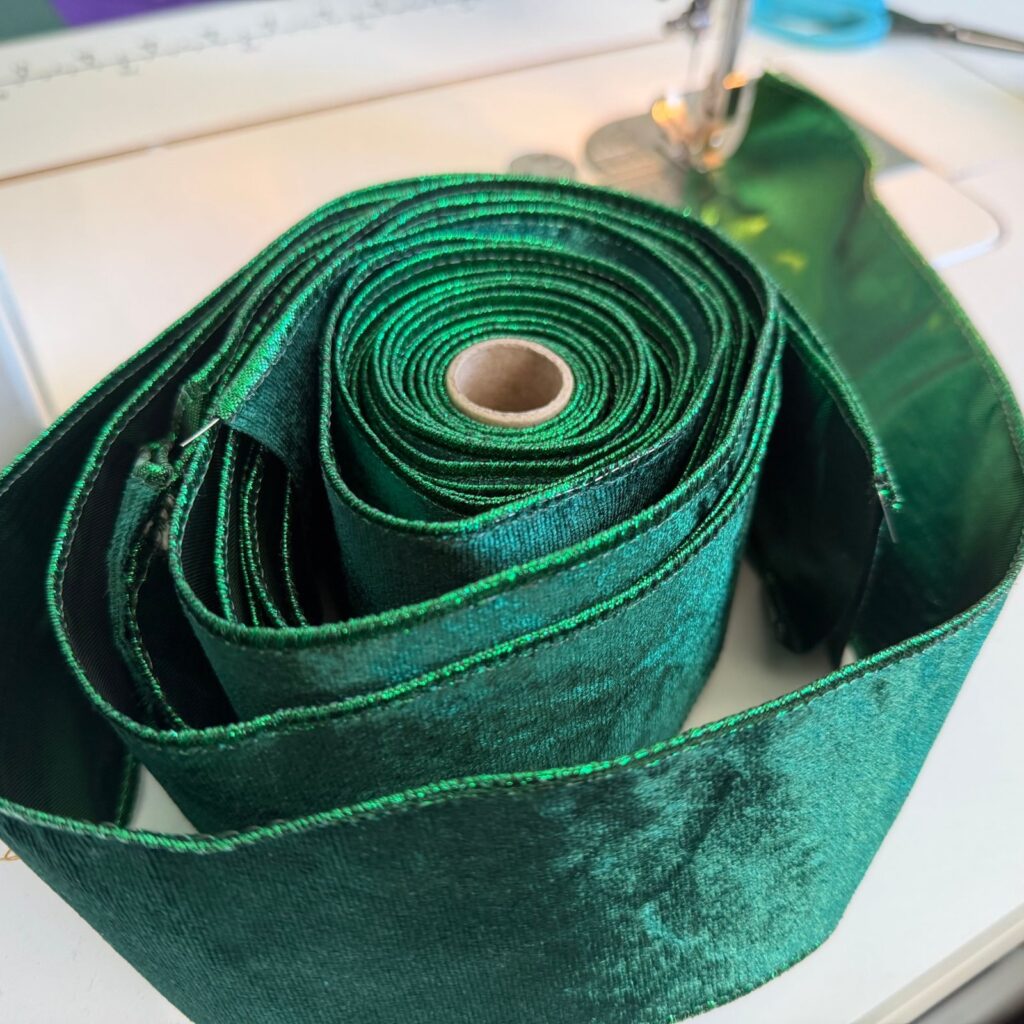
- Start with approximately 70-80″ of 2.5″ wide wired velvet ribbon
- Start with a 7″ tail of ribbon
- Create loops approximately 6″ long, alternating sides and pinching in the center
- Continue until you have 4 loops total
- Cinch the center tightly with twine and tie securely
- Trim the second tail to match the first (approximately 7-7.5″)
- Cut small V-notches in both tail ends
- Wrap the 3.5″ piece of ribbon around the center, folding wire edges under
- Hand stitch the center piece closed at the back
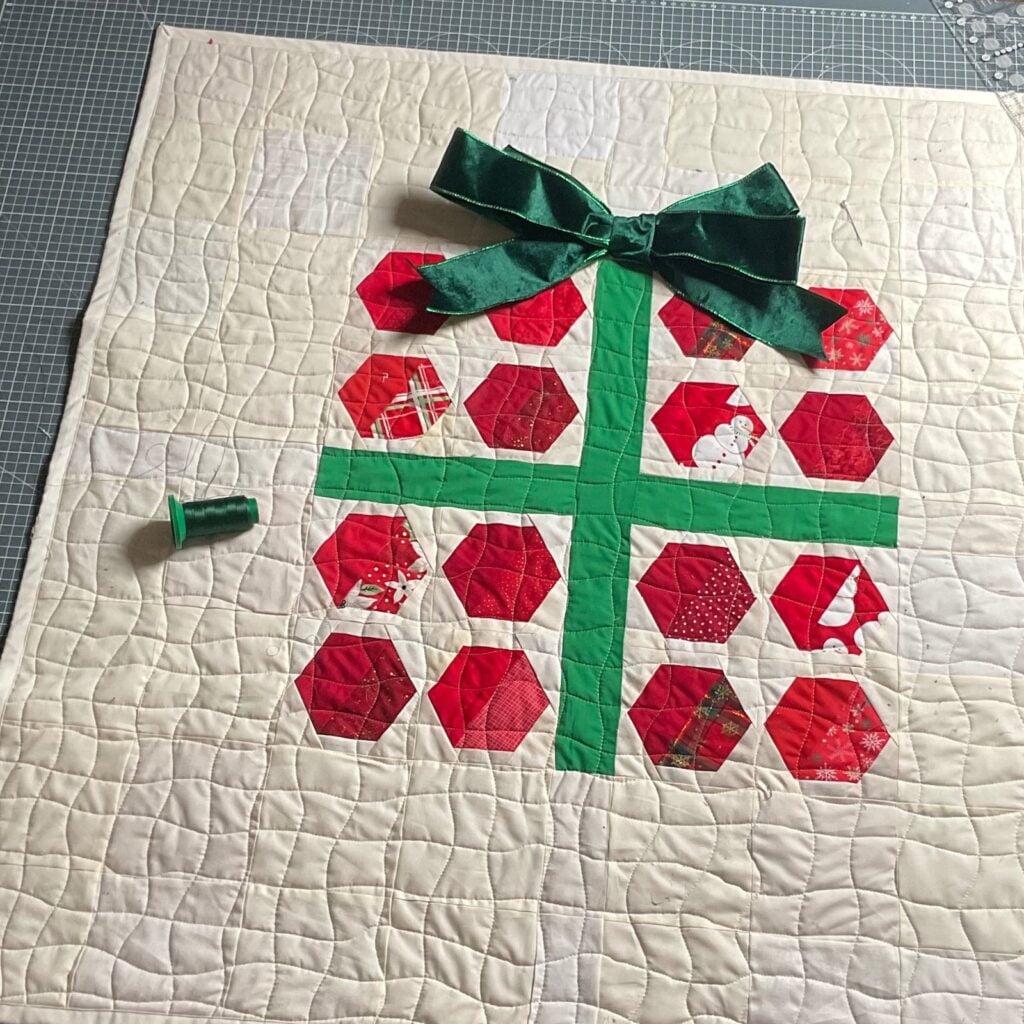
- Hand stitch the bow to the top of the green ribbon strip on your wall hanging
- Tack down the bottom edges of the bow loops with two stitches for stability
- Fluff and adjust loops to create a full, dimensional bow
- See the video tutorial above for a visual demonstration.
Tips
- This pattern is designed to be scrappy—feel free to use different fabrics within the same color family
- The wired ribbon holds its shape beautifully and makes the bow easy to adjust
- When hand stitching the bow, try to catch only the quilt top and batting (not the backing) for a cleaner finish
- Distribute your background fabrics evenly to avoid having too many of the same print touching
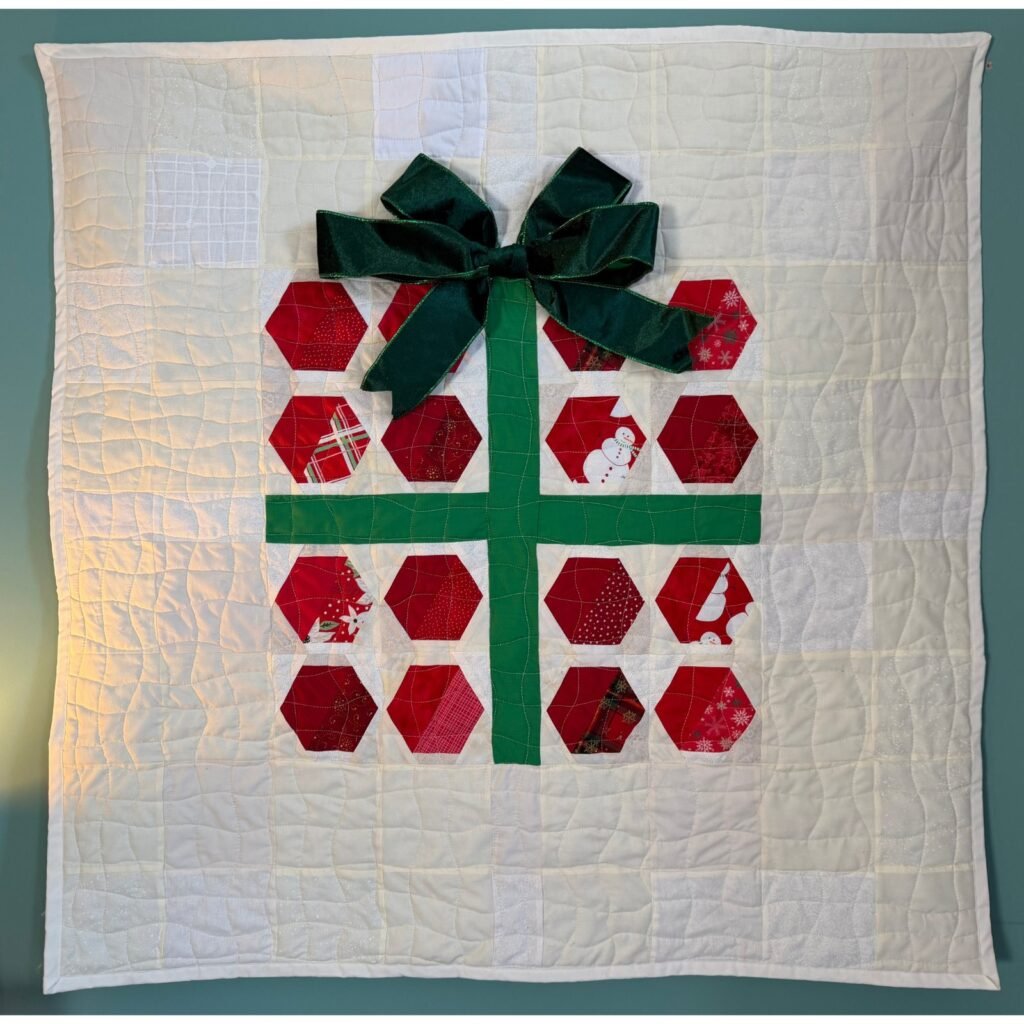
Finished Wall Hanging
I really love how this turned out.
This wall hanging is going to be given away on my channel as part of Quiltmas 2025 – a collaboration with other YouTubers where we are all making a quilty item based on the theme ‘presents’ and all our items will be given away on the 15th December 2025 in a live draw on my YouTube channel Scrap Fabric Love. You can find all the details about Quiltmas and how to enter in the description box of this video on YouTube.
For the full video tutorial with detailed visuals of each step, watch the YouTube video above.
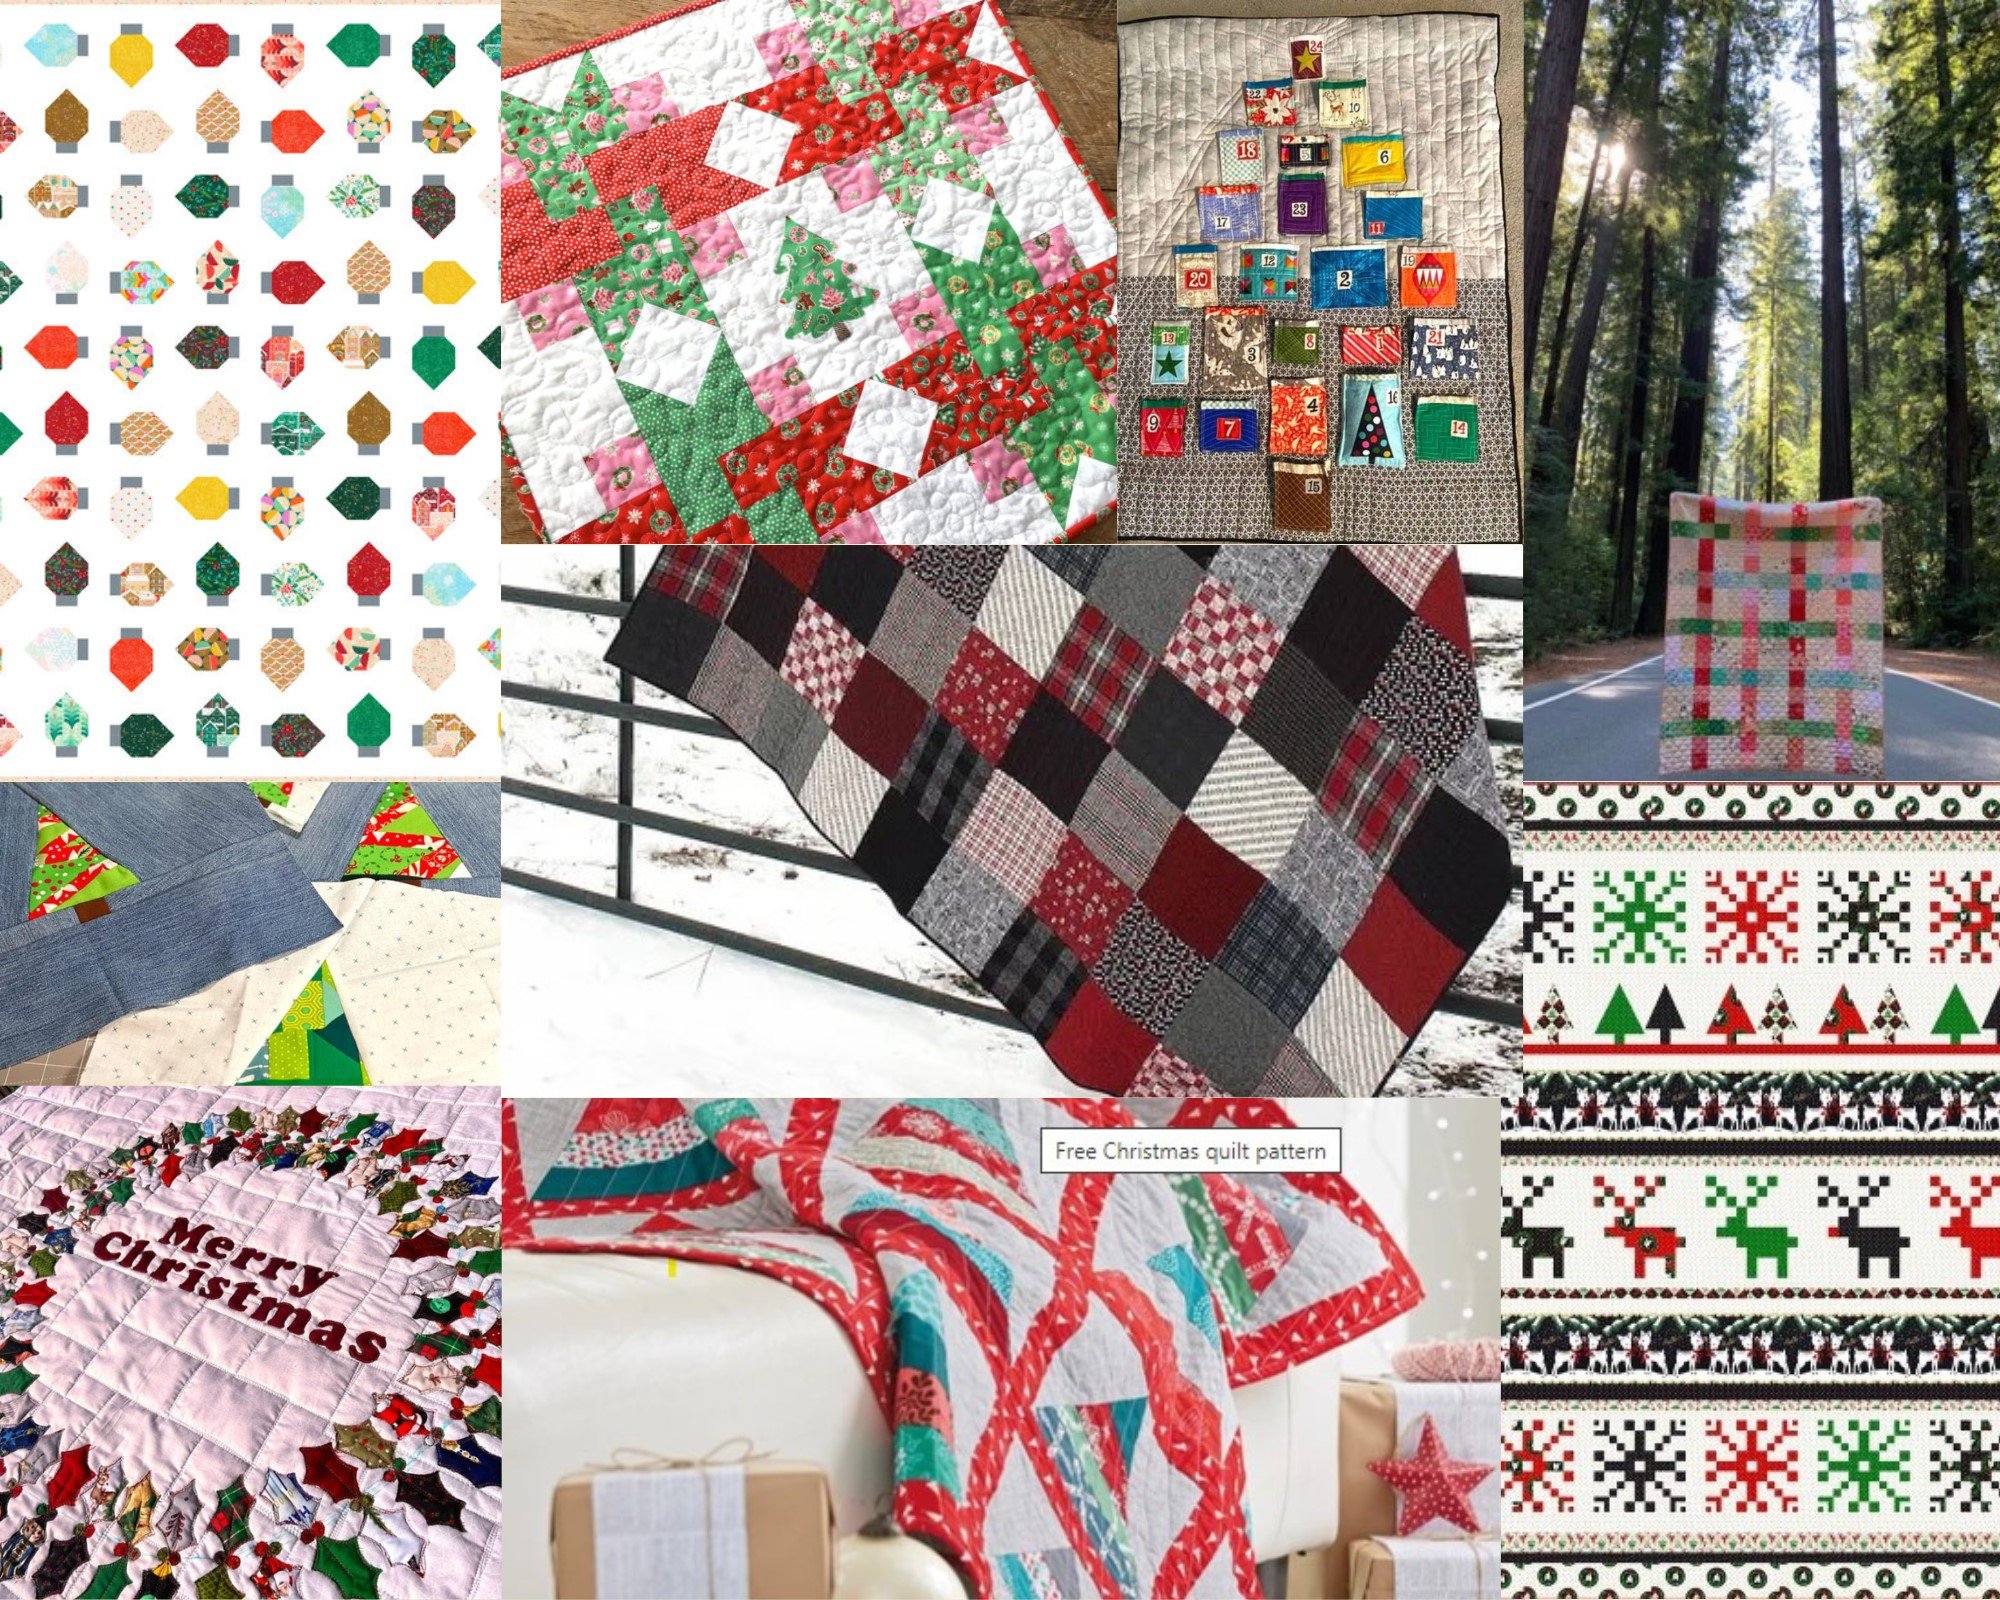
More Holiday Sewing Projects:
- Easy Drawstring Fabric Gift Bag – No Measuring!
- Free Christmas Wreath Quilt Pattern
- Christmas Layer Cake Quilt – Free Pattern
- Making a Quilted Advent Calendar from Scraps!
- Fun Christmas Tree Quilt Block – For Crumbs & Scraps!
- 20+ Gifts to Sew with your Scrap Fabric
- 31 Thoughtful Gifts for People Who Sew (2023)