How to Make Cloth Napkins (Simple & Quick)
These DIY cloth napkins are incredibly easy to make, beginner-friendly, and a fantastic way to use up your fabric stash.
These napkins are a fast stash-buster project and they are a super quick gift idea that people actually want to receive – handmade cloth napkins are always appreciated!
Why Make Your Own Cloth Napkins?
Cloth napkins are:
- Eco-friendly and reusable
- Cost-effective compared to buying cloth napkins
- Customizable to match any décor or style
- Perfect beginner sewing projects
- Great handmade gifts for housewarmings, weddings, or holidays
Fabric Requirements
- Fabric: 16″ x 16″ square per napkin (for standard dinner napkins). A set of 4 or 6 make a good gift.
- Thread to match your fabric
Best Fabrics for DIY Cloth Napkins
You can use a variety of fabrics for making cloth napkins:
- Quilting cotton (most accessible and comes in endless prints)
- Linen (traditional and elegant)
- Cotton canvas (durable and substantial)
- Cotton-linen blend (combines the best of both)
- Denim (casual and sturdy – great for everyday use)
Napkin Size Guide
While this tutorial uses 16″ x 16″ squares (standard dinner napkins), you can customize the size:
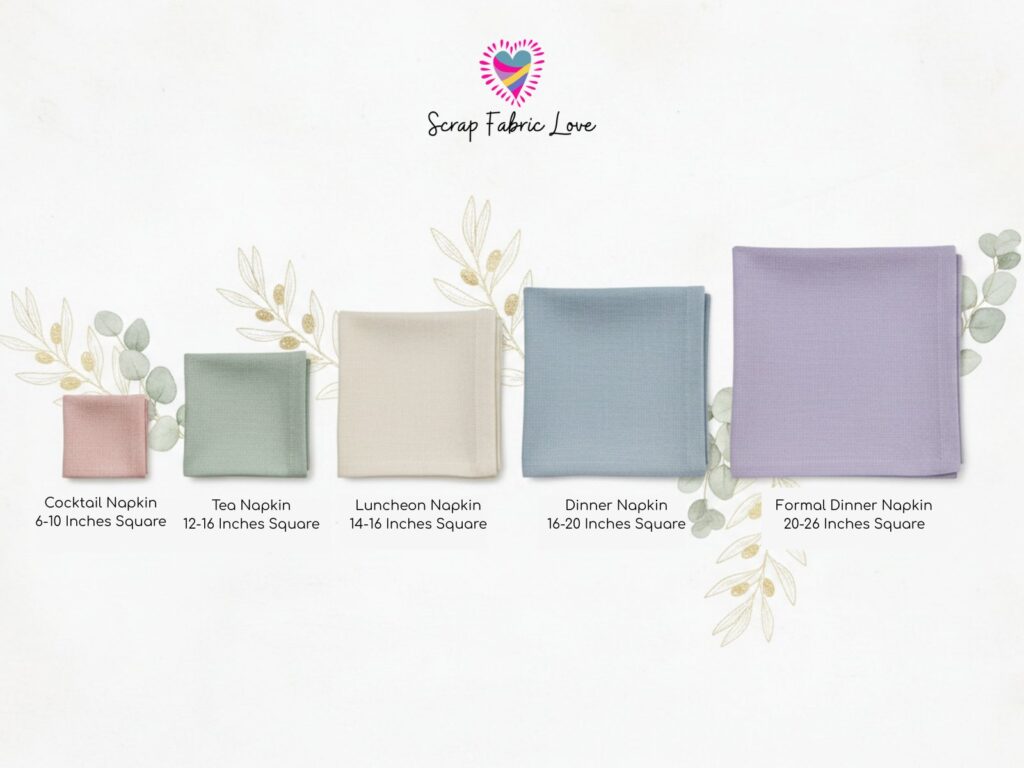
- Dinner napkins: 16″ x 16″ to 20″ x 20″
- Luncheon napkins: 12″ x 12″ to 14″ x 14″
- Cocktail napkins: 6″ x 6″ to 10″ x 10″
Cloth Napkins Video Tutorial
Watch the video tutorial below or scroll down for the written instructions with photos.
Step-by-Step Tutorial: How to Sew Cloth Napkins
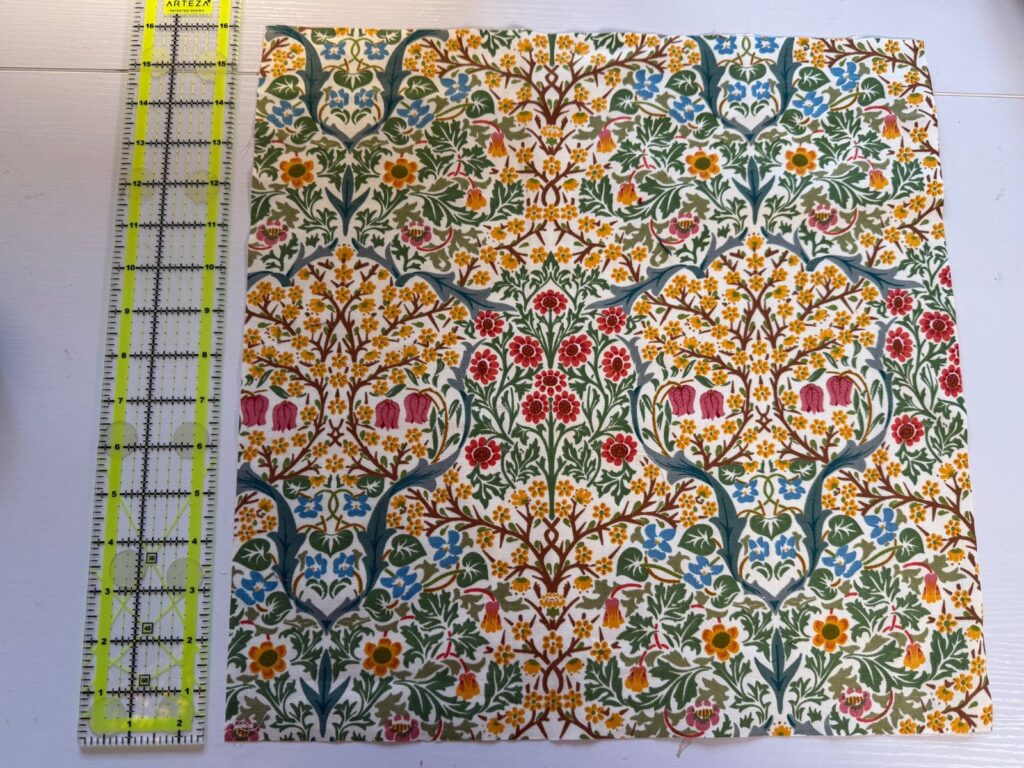
Step 1: Cut Your Fabric
Cut your fabric into 16″ x 16″ squares. You’ll need one square per napkin. I recommend making napkins in sets of 4 or 6 for gifting.
Step 2: Create a Double Hem (First Side)
- Place your fabric wrong side up on your work surface
- Choose any edge to start with
- Fold the edge in approximately 1/4 inch and finger press (or iron if you prefer)
- Fold the same edge in again so the raw edge meets the first fold – this creates a double hem that hides all raw edges
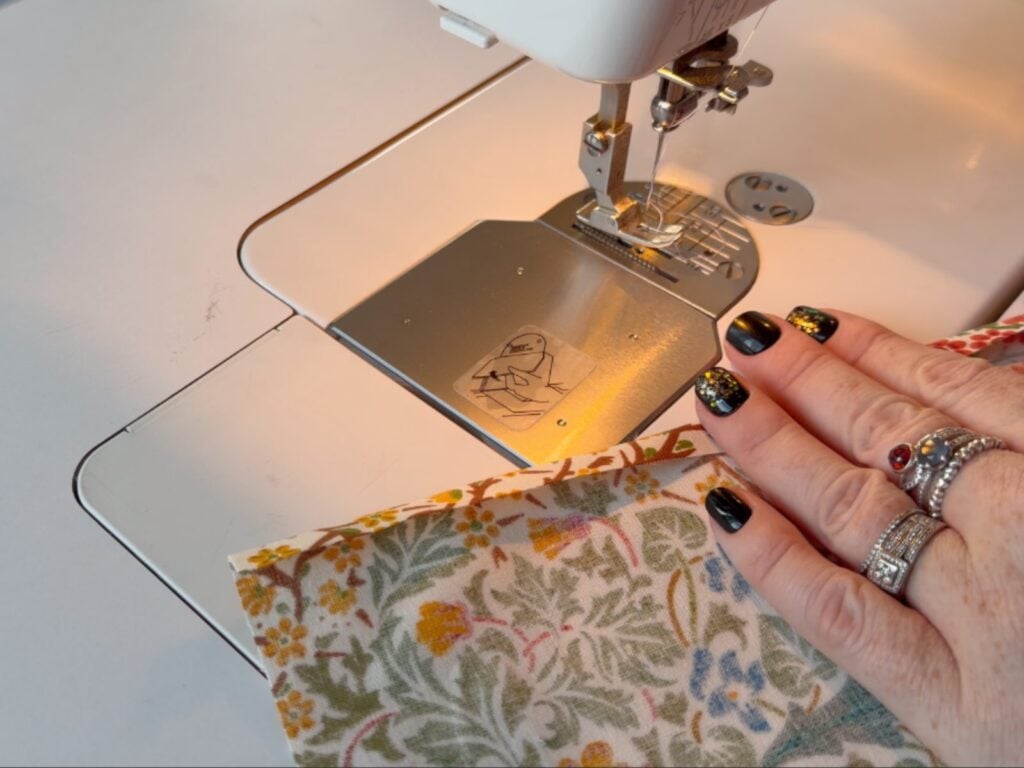
Step 3: Sew the First Side
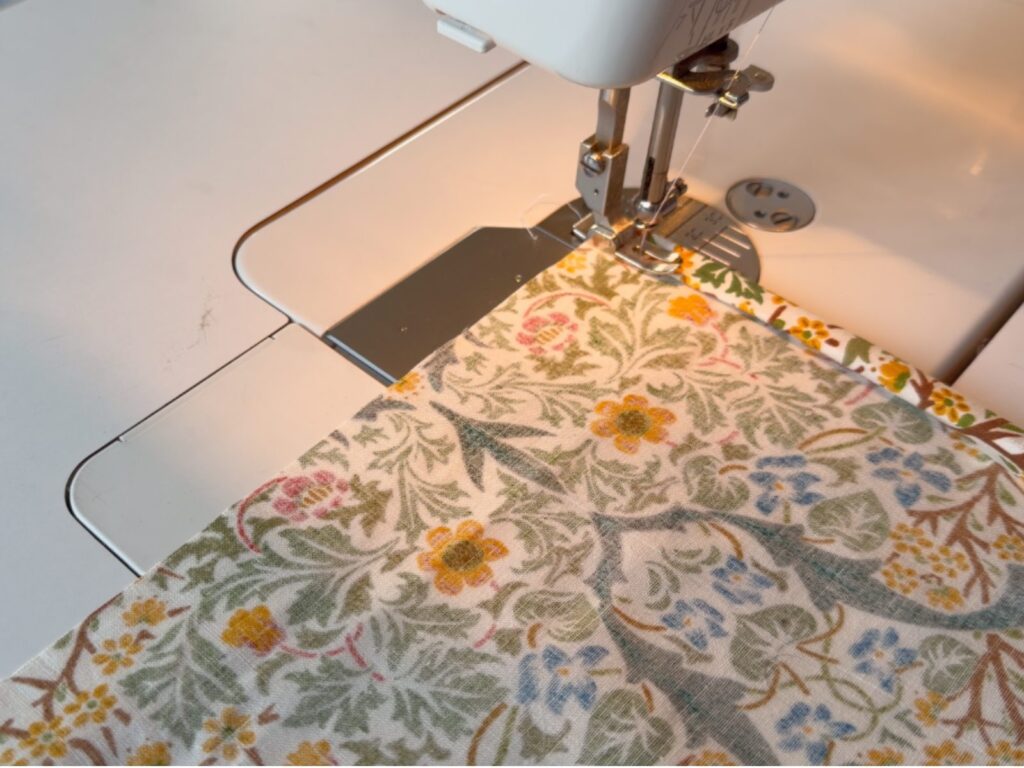
- Position the folded edge under your presser foot
- Stitch close to the inner fold, catching both layers
- Keep the fabric taut as you sew for best results
- You don’t need to backstitch at the beginning – you’ll come back to this corner
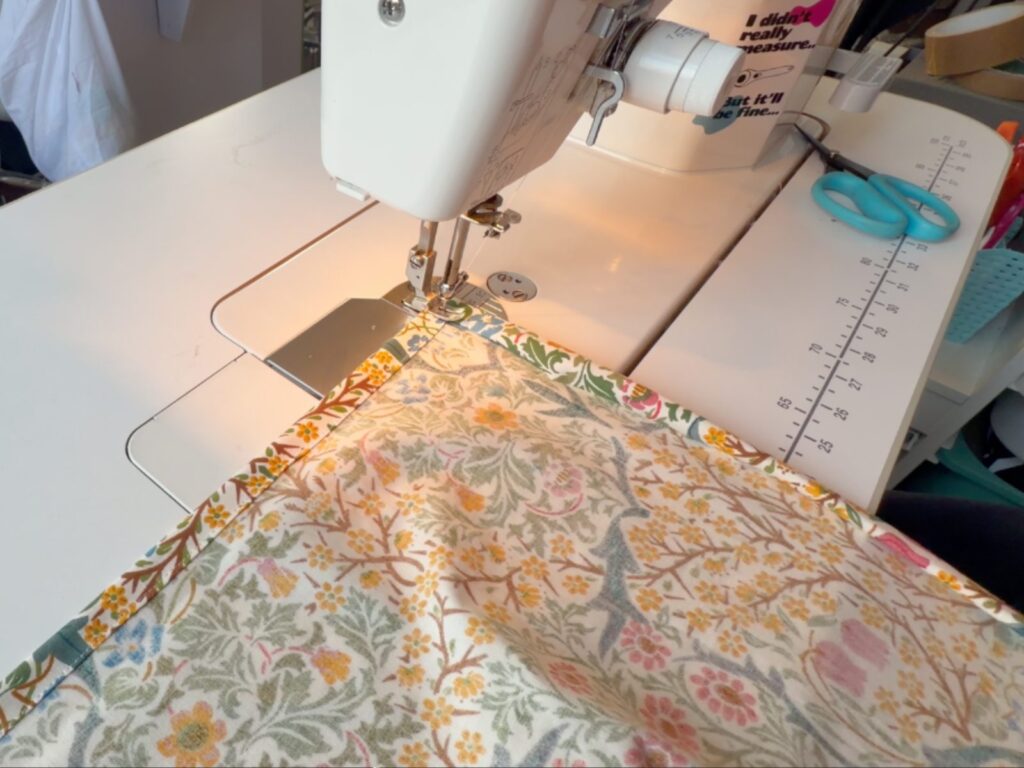
Step 4: Hem the Second Side
- Turn your napkin 90 degrees
- Fold in 1/4 inch, then fold again to create the double hem
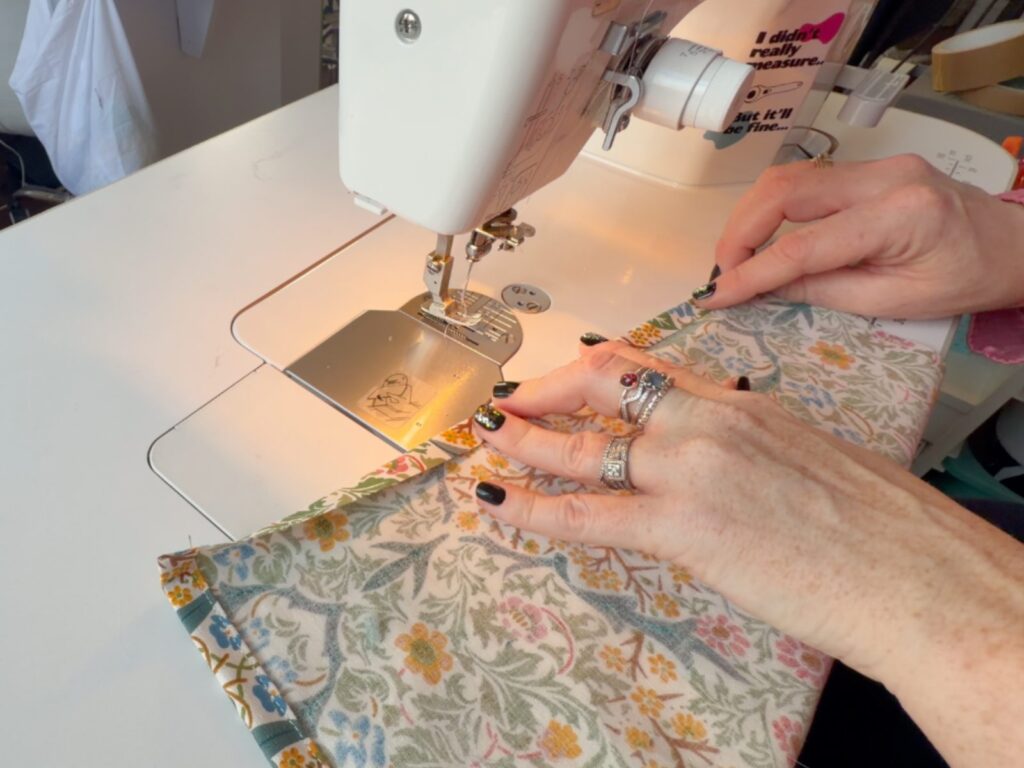
- This time, backstitch at the beginning since you won’t be returning to this corner
- Stitch all the way down the edge
Step 5: Complete the Remaining Sides
Repeat the double hem process on the third and fourth sides. When you reach your starting point, your napkin is complete!
Fast sew tip: You don’t need to pin or clip if you’re comfortable eyeballing the hem. The beauty of this project is that no one will measure your hems – just keep them relatively consistent and you’ll have beautiful results.
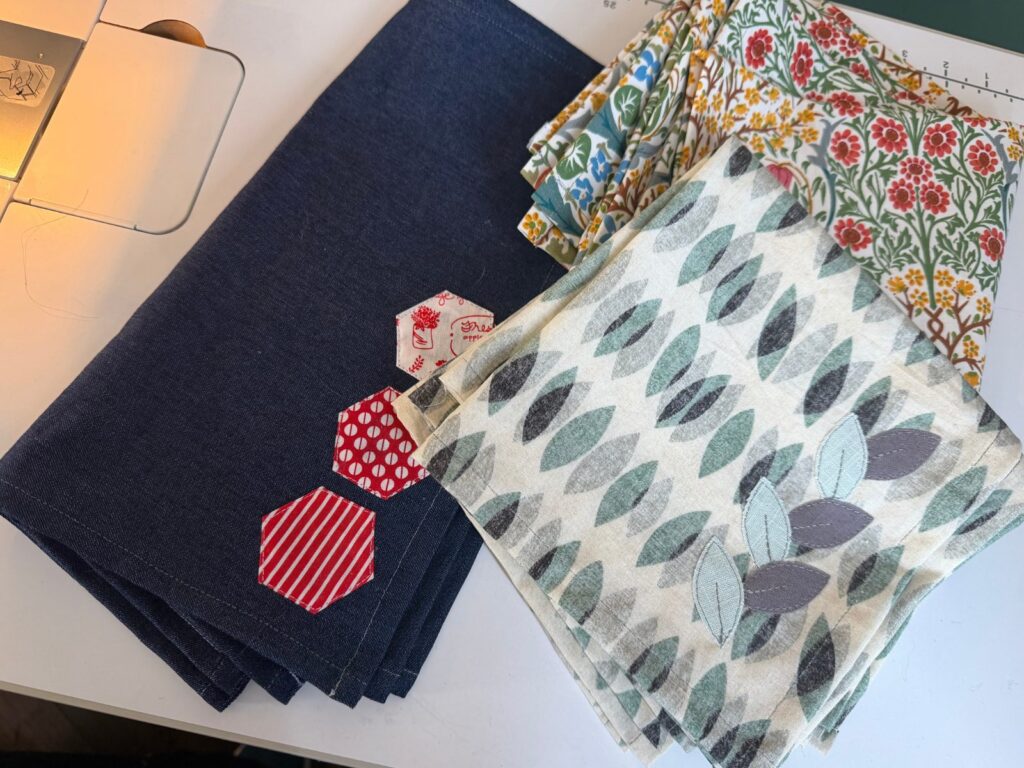
Creative Variations and Embellishments
Want to add a special touch to your handmade napkins? Try these ideas:
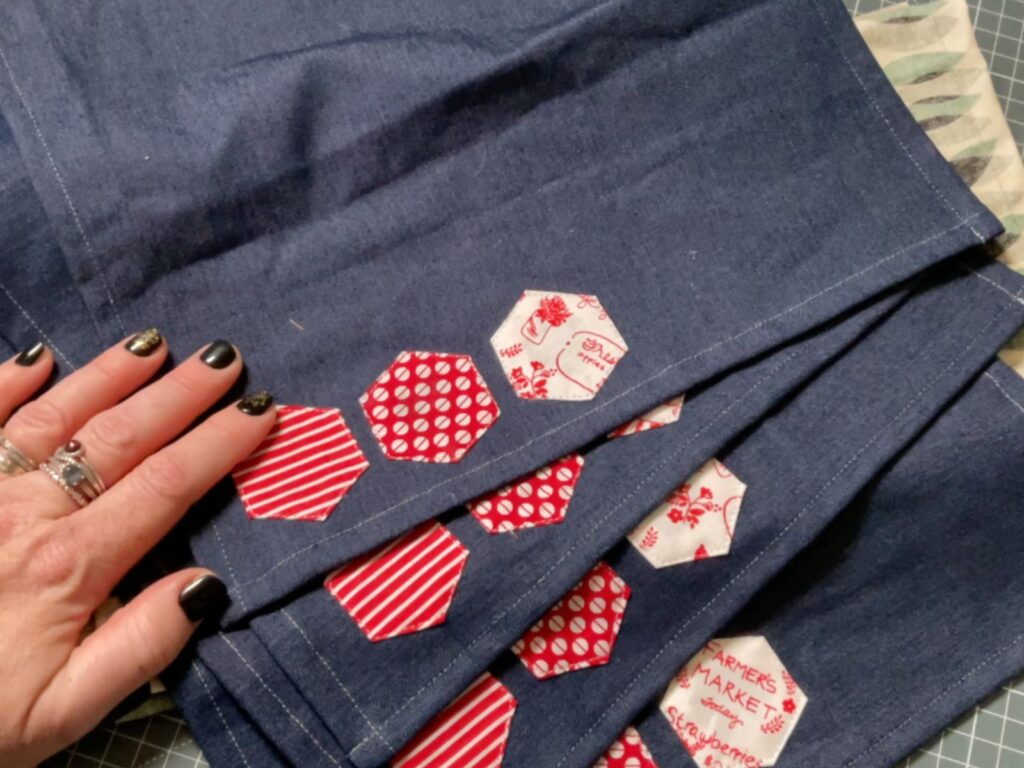
English Paper Piecing Hexies
Add hand-stitched hexagons in coordinating fabrics for a quilter’s touch. This works especially well on denim napkins.
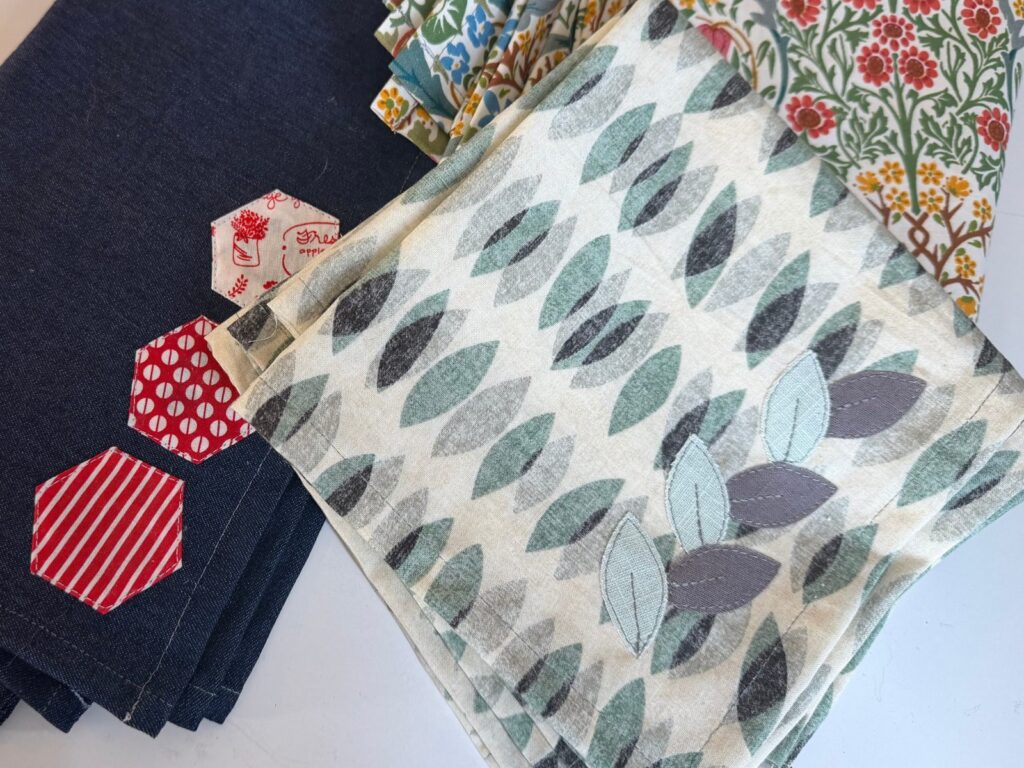
Appliqué Details
Cut out shapes (like leaves, flowers, or geometric designs) and appliqué them to the corner of each napkin for a custom look.
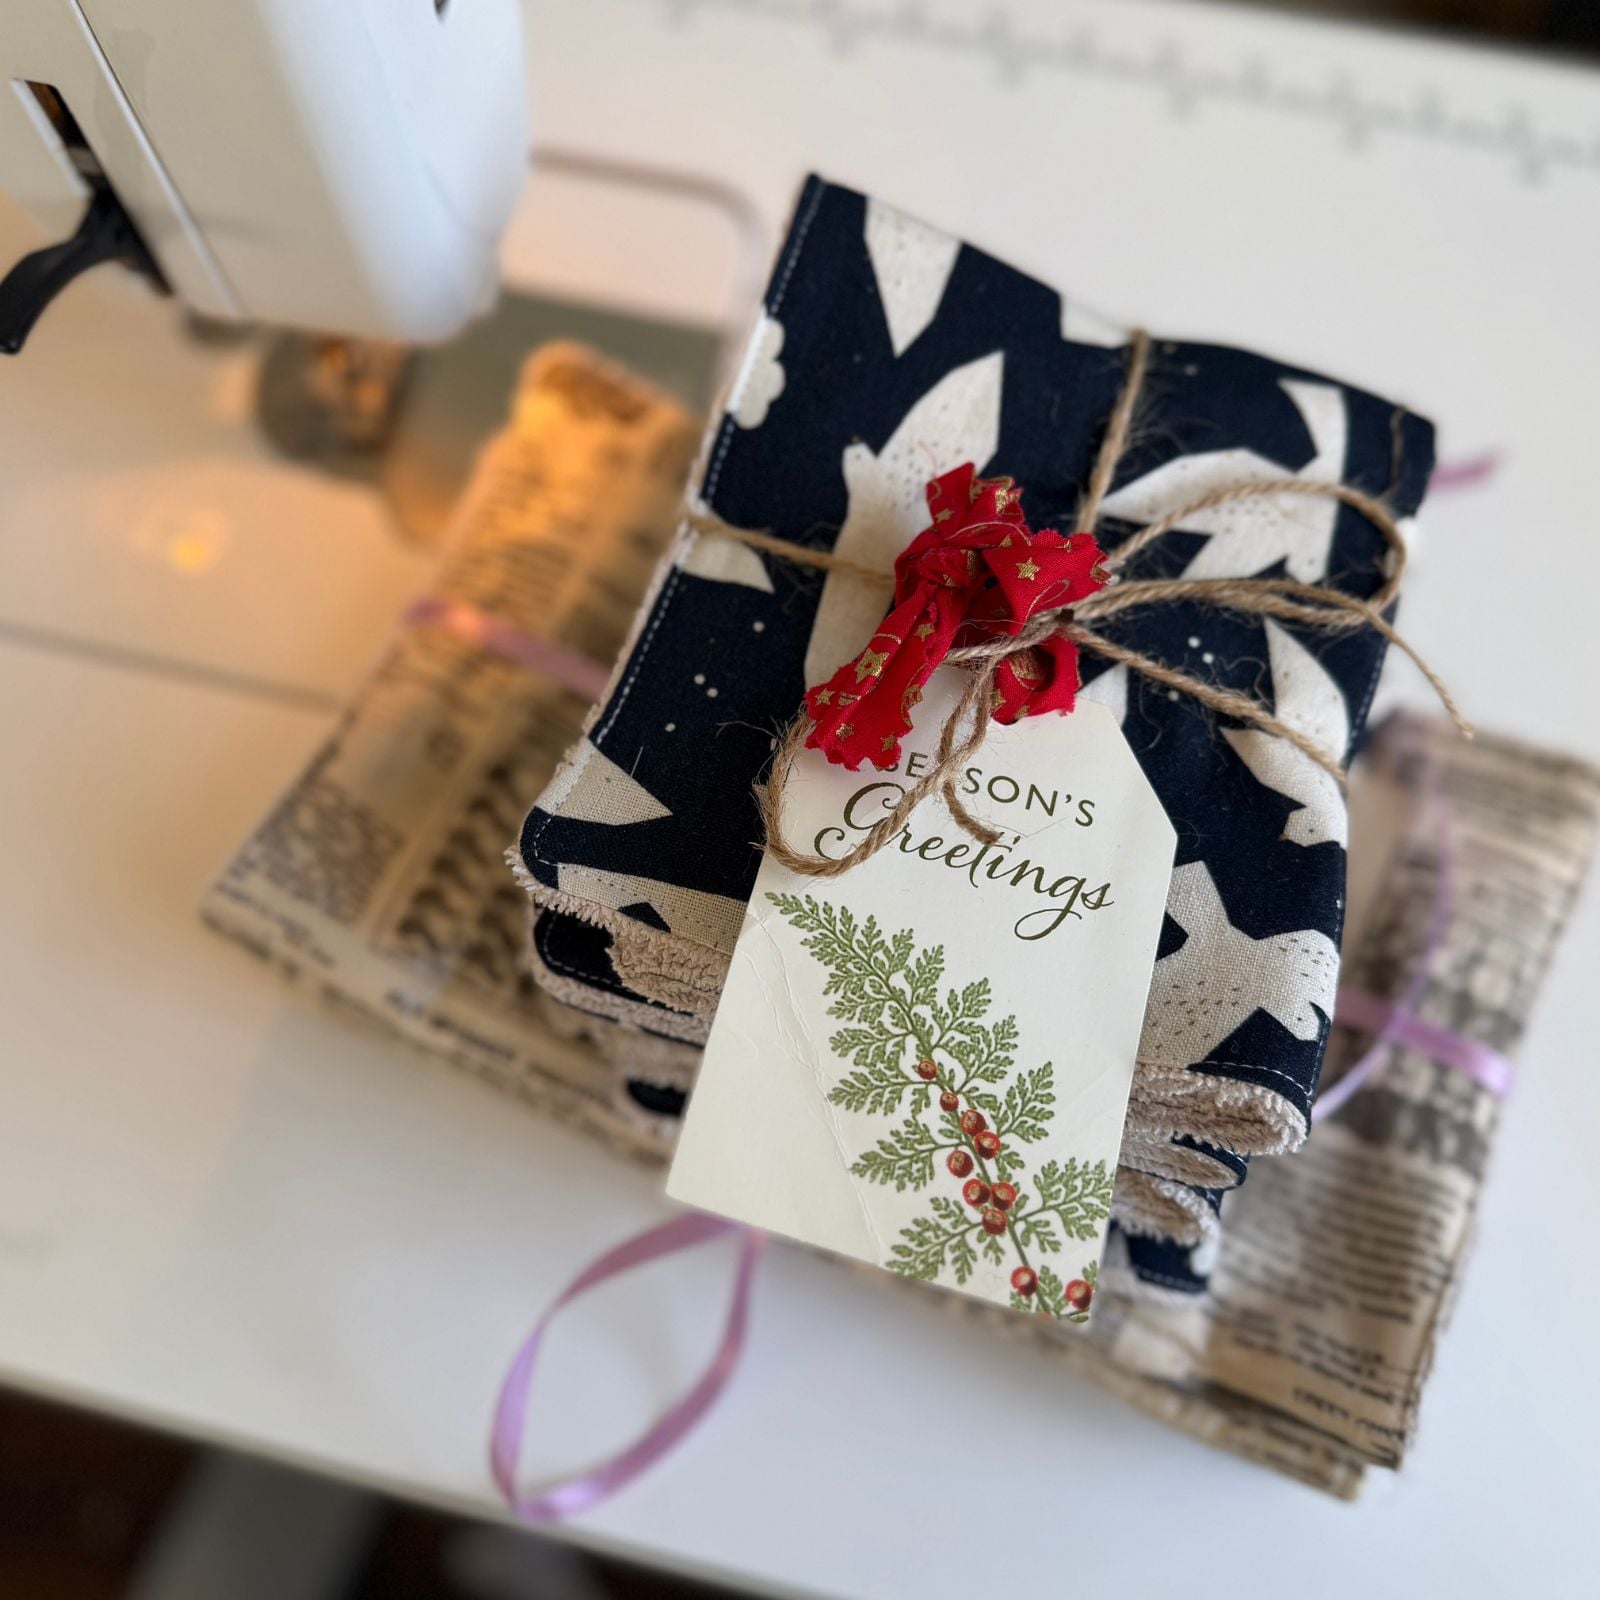
Gift Presentation Ideas
Cloth napkins make wonderful gifts when presented thoughtfully:
- Bundle sets of 4 or 6 with ribbon or twine
- Pair with matching items like reusable paper towels or dish towels
- Add a handwritten tag with care instructions
- Package in a fabric gift bag for a completely reusable gift presentation
- Coordinate with the recipient’s kitchen colors for a personalized touch
Care Instructions for Cloth Napkins
Your handmade cloth napkins are machine washable and durable:
- Wash in cold or warm water
- Tumble dry low or line dry
- Iron if desired for a crisp finish
- Pre-wash fabric before sewing to prevent shrinkage
Why This is the Perfect Beginner Sewing Project
If you’re just learning to sew, cloth napkins are ideal because:
- Straight seams only – no curves or complicated techniques
- Forgiving – small imperfections won’t be noticeable
- Quick results – finish one napkin in about 5 minutes
- Practical outcome – you’ll actually use what you make
- Great for practicing consistent seam allowances
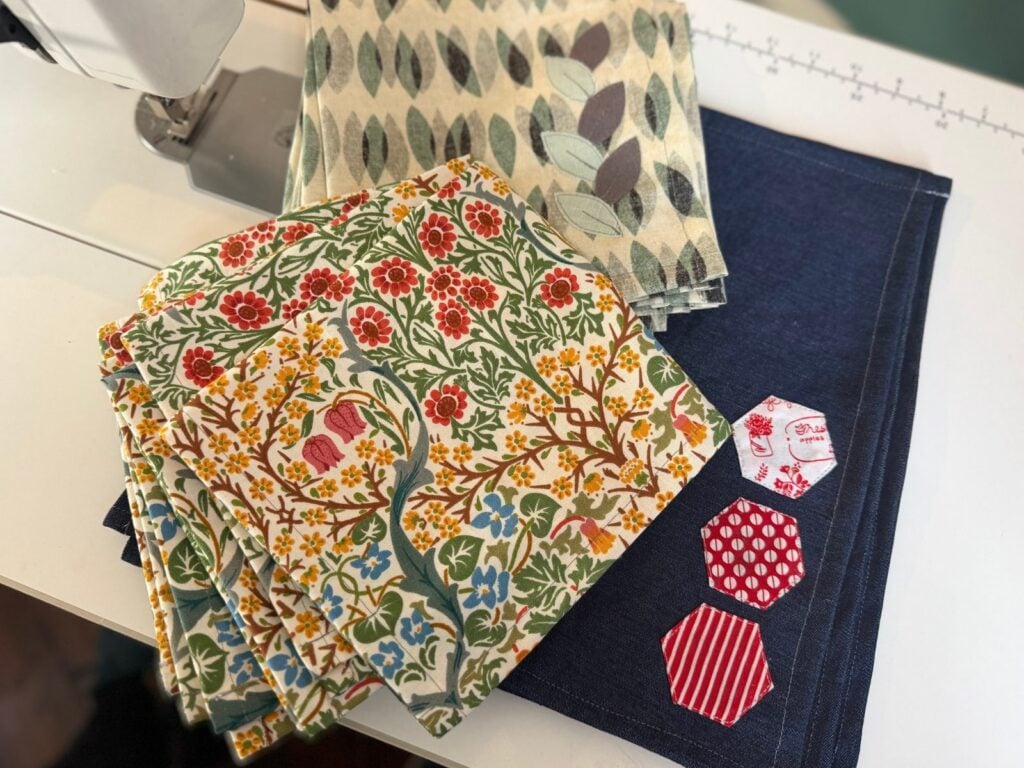
Make It a Stash Buster
For experienced sewers with overflowing fabric collections, napkins are the perfect stash-buster project. Use up:
- Leftover yardage from cushion or home décor projects
- Fat quarters that have been sitting unused
- Coordinating scraps to create mix-and-match sets
- Fabric you love but haven’t found the right project for
Final Thoughts
These DIY cloth napkins prove that handmade doesn’t have to be complicated or time-consuming. In just five minutes per napkin, you can create beautiful, practical items that make wonderful gifts or elevate your own table setting.
Remember: if your gift recipient doesn’t sew, anything you make by hand is impressive. Don’t stress about perfection – focus on the joy of creating something useful and beautiful.
Ready for More Easy Sewing Projects?
If you enjoyed this tutorial, you might also like:
- Reusable Paper Towels Tutorial – Another eco-friendly gift idea
- QAYG Placemats – complete the table setting!
- Easy Drawstring Gift Bag – Perfect for packaging your handmade napkins
- Scrap Fabric Greeting Cards – a thoughtful way to send a handmade card with your gift.
- Quilted Journal Cover – another super practical gift you can make in an evening.
- Scrap Quilt Projects – Use up even more of your fabric stash
Join the Scrap Fabric Love Community
Looking for your quilty people? I’d love to have you join Scrap Club, my online quilting community on Patreon. We have live Zoom meetings, collaborative group quilts, and lots of fun projects – all in a judgment-free, rule-breaking space.
Happy sewing! Kristen