Easy Big Star Quilt Block – 20.5″ Block!
This tutorial will show you how to make an easy giant star quilt block using traditional piecing.
This quilt block is 20.5″ square so it wouldn’t take many blocks to whip up a quick baby quilt or even a bed quilt and it’s a free pattern!
Like all my quilt block tutorials this is meant to be a no-stress, beginner-friendly block. So make sure you have fun with it!
Table of Contents
Big Star Quilt Block – Fabric Requirements
This post contains affiliate links – please see my disclosure policy for more details.
- (8) 7.5″ x 7.5″ Background Fabric Squares
- (8) 8″ x 4″ Accent Fabric Rectangles
- (8) 5″ Squares (Mixed fabrics) for the central half square triangles (you may be able to use less fabric for this unit depending on the HST method you use).
How to Make a Big Star Quilt Block
Star quilt patterns can sometimes be intimidating but these easy star quilt blocks are much simpler than they look so this is a great block for beginner quilters.
This quilt block is made like a traditional quilt block with no fancy methods and it is basically a 9 patch block with a pinwheel block in the middle. So we are going to approach it like that and take it step by step.
If you prefer a video tutorial there is one at the end of the post.
Step 1: Choose and prepare your fabrics
First, of course, you have to decide on your fabrics and color scheme.
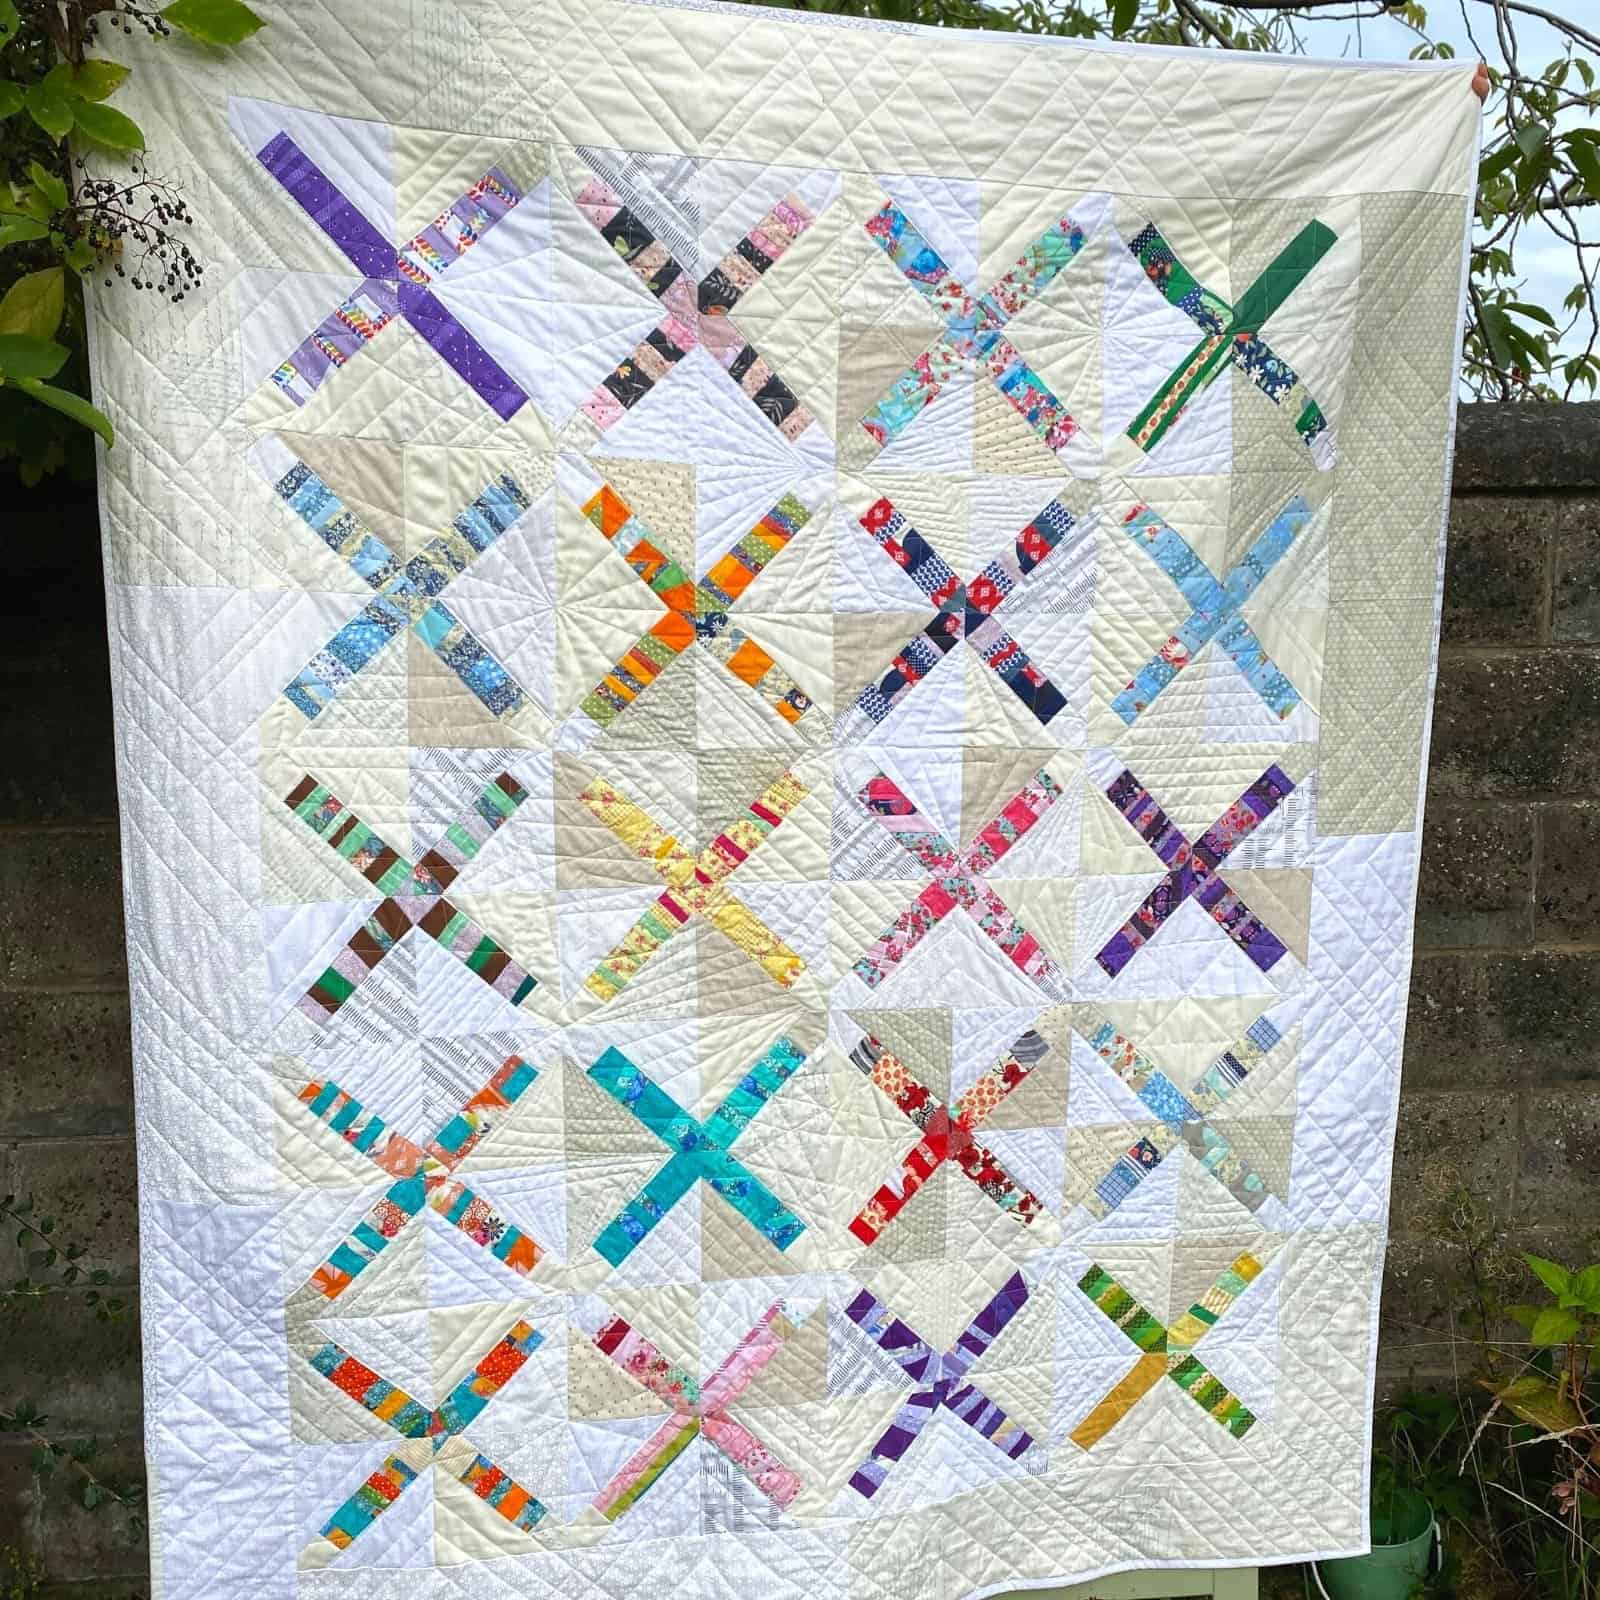
This quilt block was designed to be scrappy so I used different low-volume fabrics for the background in the rainbow version I made and a mix of navy blue solid fabrics for the pink and navy version.
I made this block as part of a larger Scrap Blocks Quilt Along designed to use up fabric scraps which you can sign up to for free here.
The ‘accent fabrics’ are the ones that will show up as your star in the block so usually the brighter of the colors you are using.
This block works great as a two-color block or multi-colored like my rainbow version.
Step 2: Make HSTs for Central Pinwheel Unit
For the central unit of this block, we need (4) 4″ Half-Square Triangles (HSTs)

I used my Accuquilt GO! Cutter and this HST die to cut the fabric for my HSTs and then trimmed them down to 4″. You can use your favorite HST-making method (there are so many!) as long as you end up with (4) 4″ HSTs.
Don’t know what an accuquilt is? You can check out my Everything Accuquilt page here.

We are laying the HSTs out in a pinwheel formation so it is best to have some clear difference in the colors of your HSTs so that you can see the pinwheel effect.

Sew your half square triangles in pairs right sides together with a 1/4″ seam allowance.

Then sew those pairs together into a four patch as shown in the illustration above. Nest your seams in the center where your fabrics meet in the center of the pinwheel.
After accounting for your seam allowances your central pinwheel unit should measure 7.5″ x 7.5″.

If you don’t fancy making half square triangles or you don’t like the look of the pinwheel center of this block here are some alternatives – all you need is another unit that is 7.5″ x 7.5″:
- Cut any piece of fabric to 7.5″ x 7.5″ (perhaps with a fussy cut center?)
- Use a 4-patch.
- Make a 7.5″ square crumb block.
- Use an orphan block from your stash that is already the right size or can easily be trimmed down.
Step 3: Making the Star Legs
Next, we need to make 4 sets of 2 star legs for our star.
Take 4 of your 7.5″ background squares and all 8 of your 8″ x 4″ accent fabric pieces.

Fold your background squares in half to create a crease at the center which we will use as a guide.
For each background square choose two accent fabrics to be the star legs. These can be the same or different colors as each other – it’s up to you.
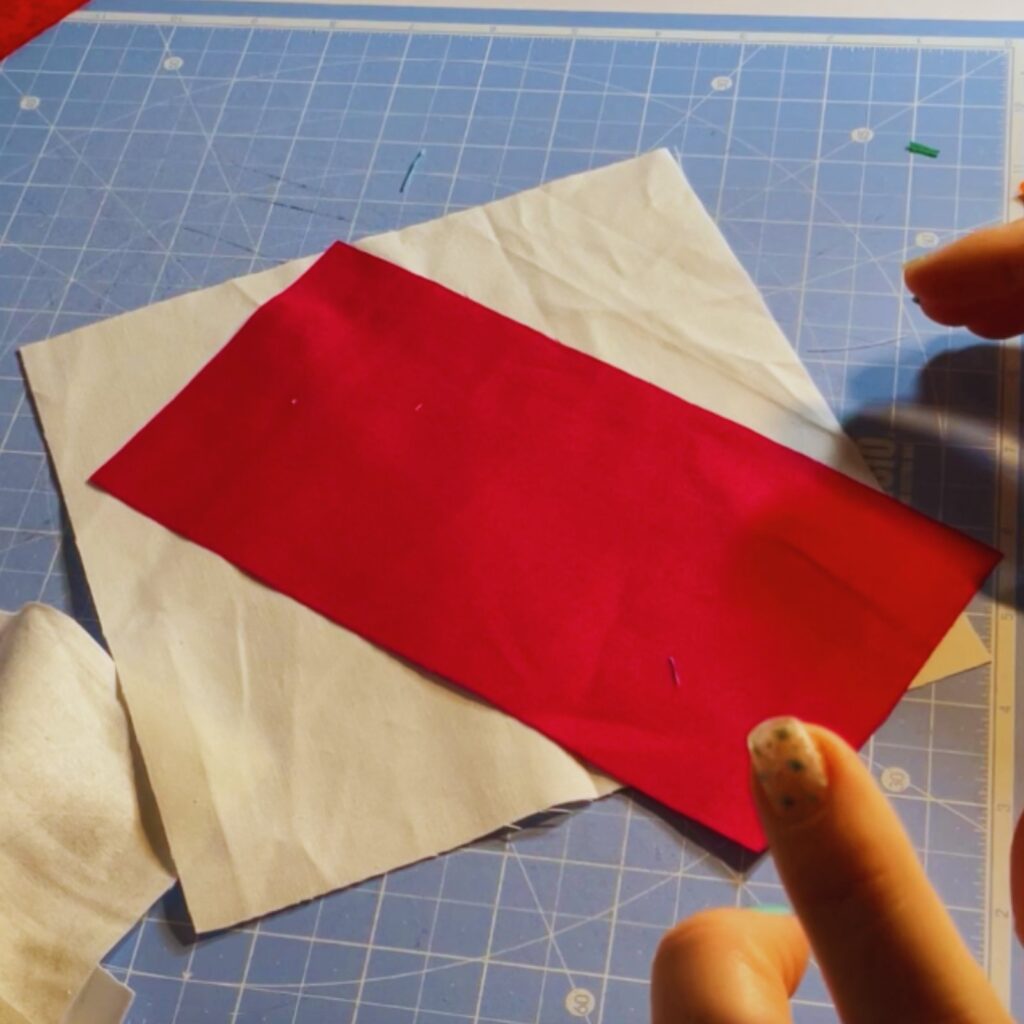
Lay the first accent strip right sides together diagonally across your background square with the left top edge of the fabric just crossing the central mark you folded in your background square.
The bottom left edge of the fabric should rest above the bottom of your background square by at least an inch so you don’t use your star points when we trim.
See my video tutorial below if this bit isn’t making sense and don’t stress about it. These star legs are meant to be a little wonky and unique so you won’t mess it up!

What we want to make sure of is that when we fold the accent fabric to be right side up (and imagining our quarter inch seam) is that we have covered the top corner of the background square with the accent fabric.
Sew your accent fabric to your background square along the left edge (for the first star leg) using a 1/4″ seam allowance.

Cut off the excess background fabric on the corner and press.
Then repeat on the other side except sewing on the right edge of your accent piece. Again see video for more clarity if needed.
Once both accent pieces have been pressed use a square ruler to trim your unit back to 7.5″ square.
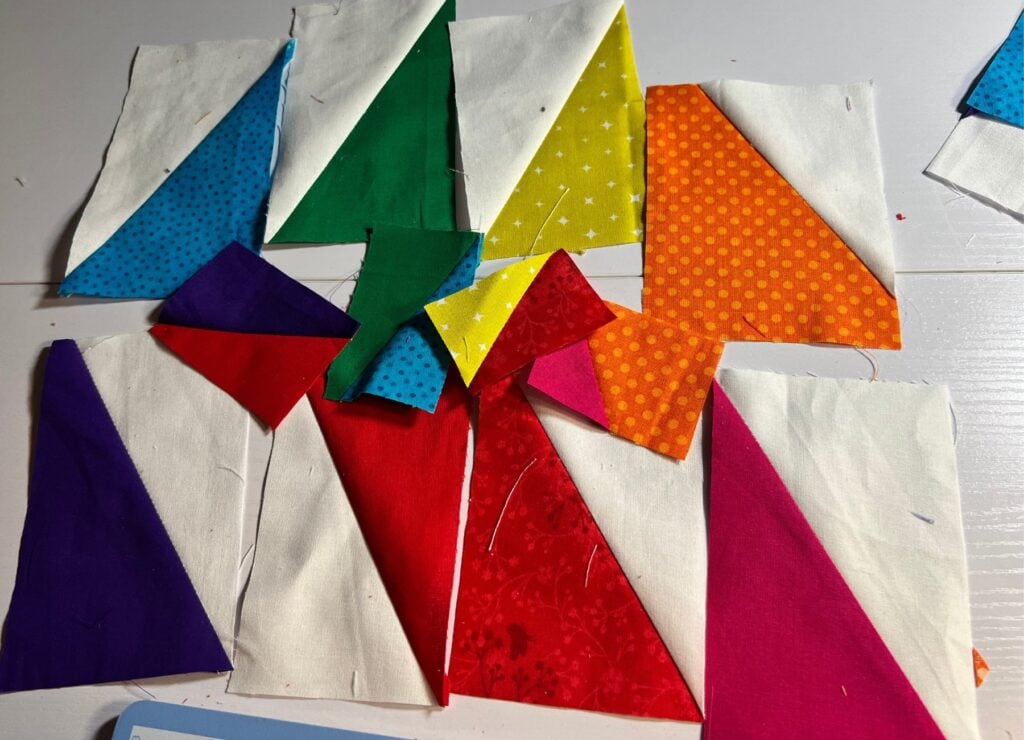
You will have scraps of both your background and accent fabrics using this method. Below is a photo of some of the bonus ‘improv’ half rectangle triangle blocks I made with my scraps (I show you how to make these in the video tutorial below).
Repeat the process of making your star leg units for your remaining 3 background squares.
You should end up with 4 star leg units.

Step 4: Quilt Block Assembly
Now all we have to do is sew our units together to complete the quilt block.
Arrange your star leg units around your central pinwheel unit as you like them. Then arrange your remaining background squares in the four corners.

You should now have 9 equally sized units lined up in rows of 3.
Put the blocks in rows 1 & 2 right sides together and sew with 1/4″ seam allowance. Because this is somewhat of a wonky star we don’t need to worry about matching any points at this stage but if you would like to nest your pinwheel seam with your star leg seam you can do that too.

Add the third row to the pairs you just attached and then sew the rows together, nesting seams around the four corners of your pinwheel unit until your block is complete (again see video if you are a beginner and this isn’t clear from the photos).
Step 5: Trimming your Final Star Quilt Block
This block was designed to be a little bigger than we need so that we can trim it down. It is for this reason that we didn’t want to line up our star legs to the far corner of the background square….because then they would get cut off in trimming and joining to other blocks.

I used a 20.5″ square quilting ruler to make my trimming job easy. My ruler has a little circle in the middle that I can line up with the center of my pinwheel and then I just have to trim all the way around my ruler.
You can of course also trim using a long ruler and the lines on your cutting mat.
Big Star Quilt Block Video Tutorial
Finished Big Star Quilt Block


I really like how easy this quilt block is and how big it is! You can use this simple free star quilt block pattern to make a super quick quilt and bust loads of scraps and stash at the same time.
Top Tips
- Let these be wonky stars and don’t stress about getting our star legs all at the same angles. It looks fun that way and it looks less strange to have all the star legs a bit different than to have most of them the same and just one or two different!
- Mix up your central unit to add variety to your quilt. There are suggestions above for other ideas to put in the center of your block.
Frequently Asked Questions
There isn’t only one best way. I have used lots of methods including 4-at-a-time, 8-at-a-time; 2-at-a-time; using my accuquilt dies; and using triangles on a roll.
All have their benefits for different projects. My advice is to experiment and find the method you like best.
You can approach this in a number of ways.
If you love free-motion quilting you can do denser quilting in your background fabric and something less dense in your star fabric to make it pop.
Or you can stitch in the ditch around your star.
But there is nothing wrong with quilting a star quilt with straight lines or a stipple either. Go with what you are comfortable with!
Printable Cheat Sheet – Big Stars Quilt Block

Easy Big Star Quilt Block Free Pattern
Easy beginner-friendly simple star quilt block. This is a large block size of 20.5" square - so you can whip up a quilt in no time!
Materials
- (8) 7.5" Background Fabric Squares
- (8) 8" x 4" Accent Fabric Rectangles
- (8) 5" squares (mixed fabrics for central HSTs)
Tools
- Sewing Machine
- Cutting Mat
- Rotary Cutter
- Optional 20.5" Square Quilting Ruler
Instructions
- Make (4) 4" Half Square Triangles (HSTs)
- Arrange in a pinwheel formation and sew into a four-patch measuring 7.5" square.
- Take 4 Background squares and sew two star legs to each square diagonally from the center of the background square to approximately an inch from the bottom corner of the square (see further written instructions and video if needed)
- Trim off excess fabric so that star leg units are 7.5" square.
- Arrange all units and remaining background squares into a 9 patch and sew star together in rows.
- Press and trim to 20.5" square.
More Quilt Block Tutorials and Free Patterns
- 19+ Free Quilt Block Patterns for Scraps
- Big Scraps Quilt Block (Beginner Friendly Big Quilt Block)
- Hexagon Log Cabin Quilt Block – Easy Tutorial
- Framed Scraps Quilt Block – for Precious Fabric Scraps!
- Foundation Paper Piecing Quilt Patterns FREE – Scrap Burst Quilt Block
- X Marks the Scrap | Free Quilt Pattern for Scraps!
- Free Heart Pattern – Beginner Friendly Foundation Paper Piecing
- Easy Quilt Block Pattern for 2.5″ Strips
- Improv Braided Quilt Block – Use your Scraps!
- One Color Crumb Quilt Block Tutorial
- Fun Christmas Tree Quilt Block – For Crumbs & Scraps!