The Window Seats Group Quilt
The Window Seats Group Quilt was the first ever Group Quilt created in Scrap Club – my no judgement, no rules, online quilt group.
The group started in February 2025 and the deadline to have quilt blocks sent to me for this quilt was October 2025.
Below is the story of the idea behind the quilt and a record of each block and who it was made by.
Table of Contents
The Idea
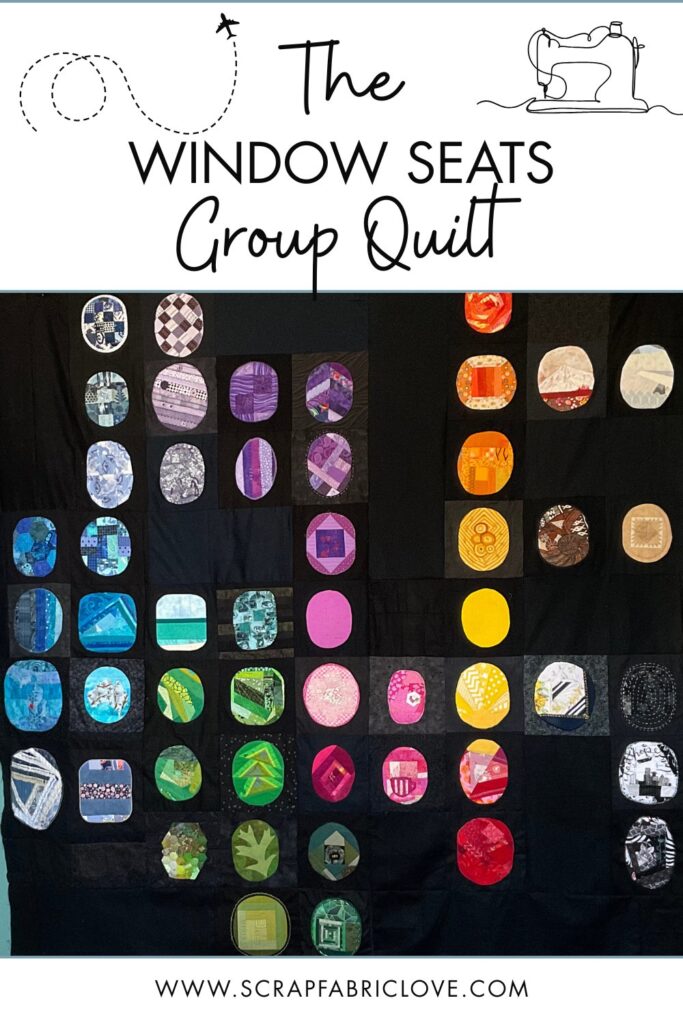
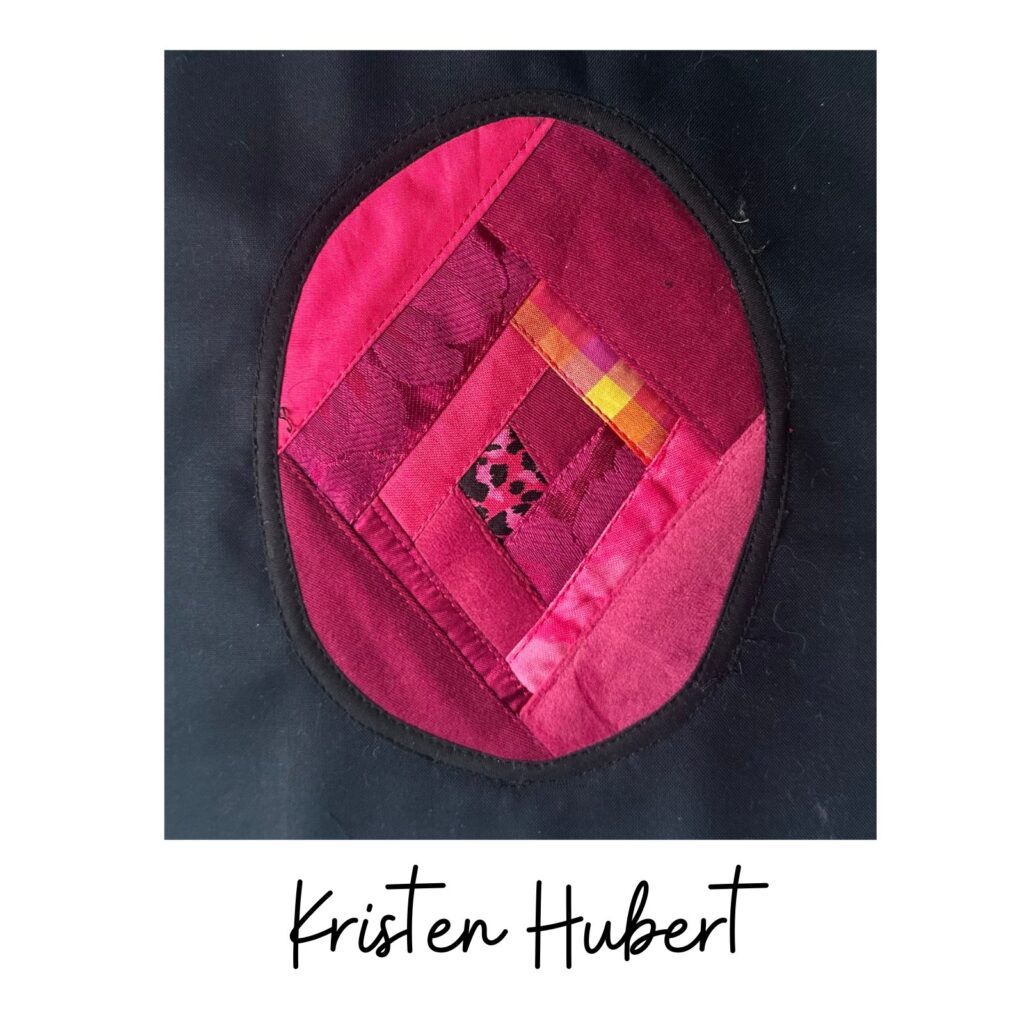
The idea behind this quilt was that each block would be an airplane window seat view into the maker’s sewing room.
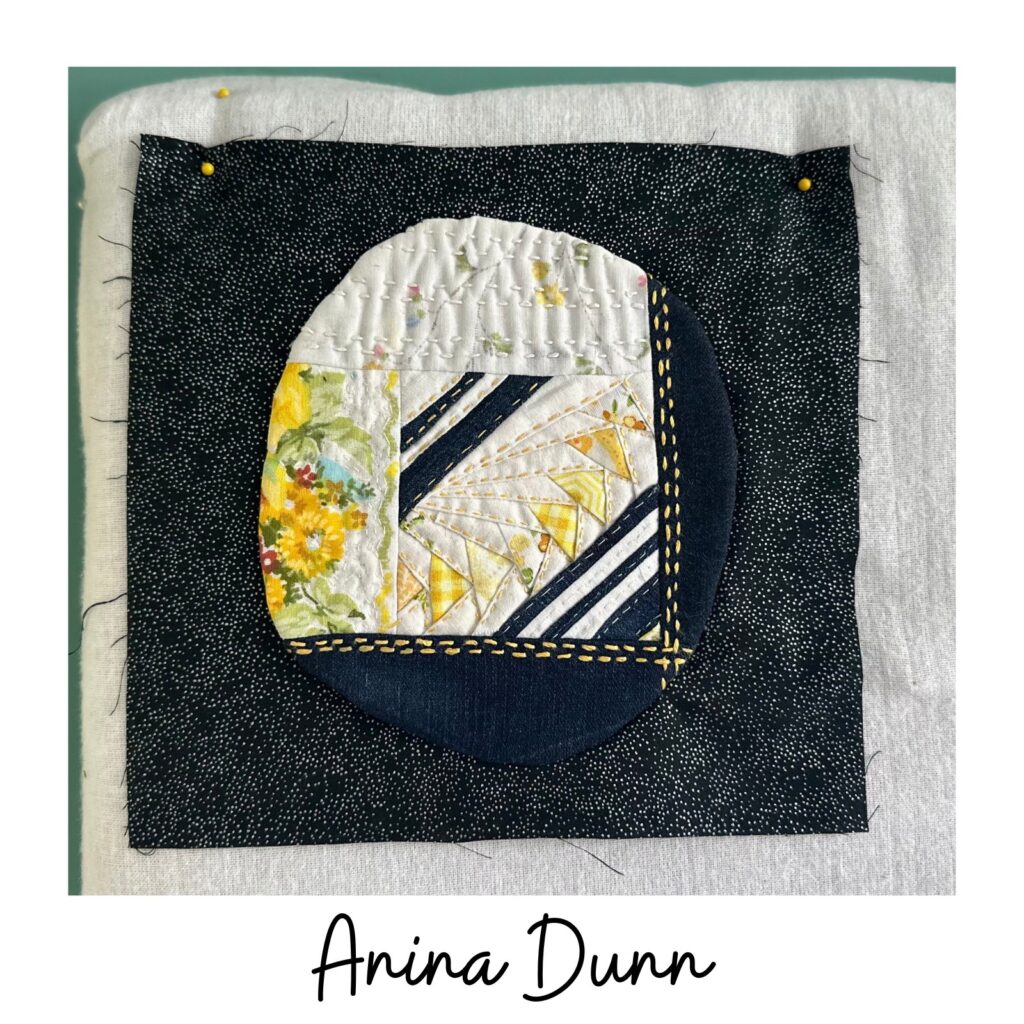
It would feature their favorite color – I asked them to use one focus color for the oval at the center of their block – on a black background.
Folk were to showcase their own favorite techniques and quilting styles as a way of introducing themselves to their fellow Scrap Club Members.
The Instructions
There was an oval template they could use but it was entirely optional – I gave a rough guideline that the oval should be around 6.5″ and the black background square should be roughly 8.5″.
I say roughly because 1) I didn’t want anyone to stress; and 2) I know that no matter what instructions you give to a large group different folk are going to do things differently….so isn’t it better to not expect us all to do the same thing?
Well I thought so anyways. So I started out with the idea that I would be trimming blocks or adding coping strips to make things fit – so it wasn’t about trying to get blocks to fit into a precise grid.
I told the members they could add batting and quilt the oval if they want but that they were to leave the black background fabric unquilted.
So many of the ovals arrived already quilted, and when I add the batting for the rest of the quilt those ovals will stand out trapunto style because of the extra batting.
I also said they could use any applique method they wanted to attach the ovals to the black squares – raw edge applique, needle turn applique, reverse applique, bias binding, embroidery stitching…anything they could think of.
And if they hated applique, they could just sen me the oval and the square and I would applique for them – and a few folk took me up on that!
The Blocks
I received 51 blocks in total. A couple of people sent in two blocks. I was able to include all of the blocks in the quilt – and indeed that was the policy…there was nothing anyone could have sent me that wouldn’t have been acceptable – this is about us making something together, not about being prescriptive or gatekeeping.
This is the breakdown of how many I got of each ‘favorite color’
Colors Breakdown

- Blue – 12
- Green – 9
- Purple – 9
- Pink – 5
- Black & White – 4
- Orange – 4
- Yellow – 4
- Brown & Beige – 2
- Red – 1
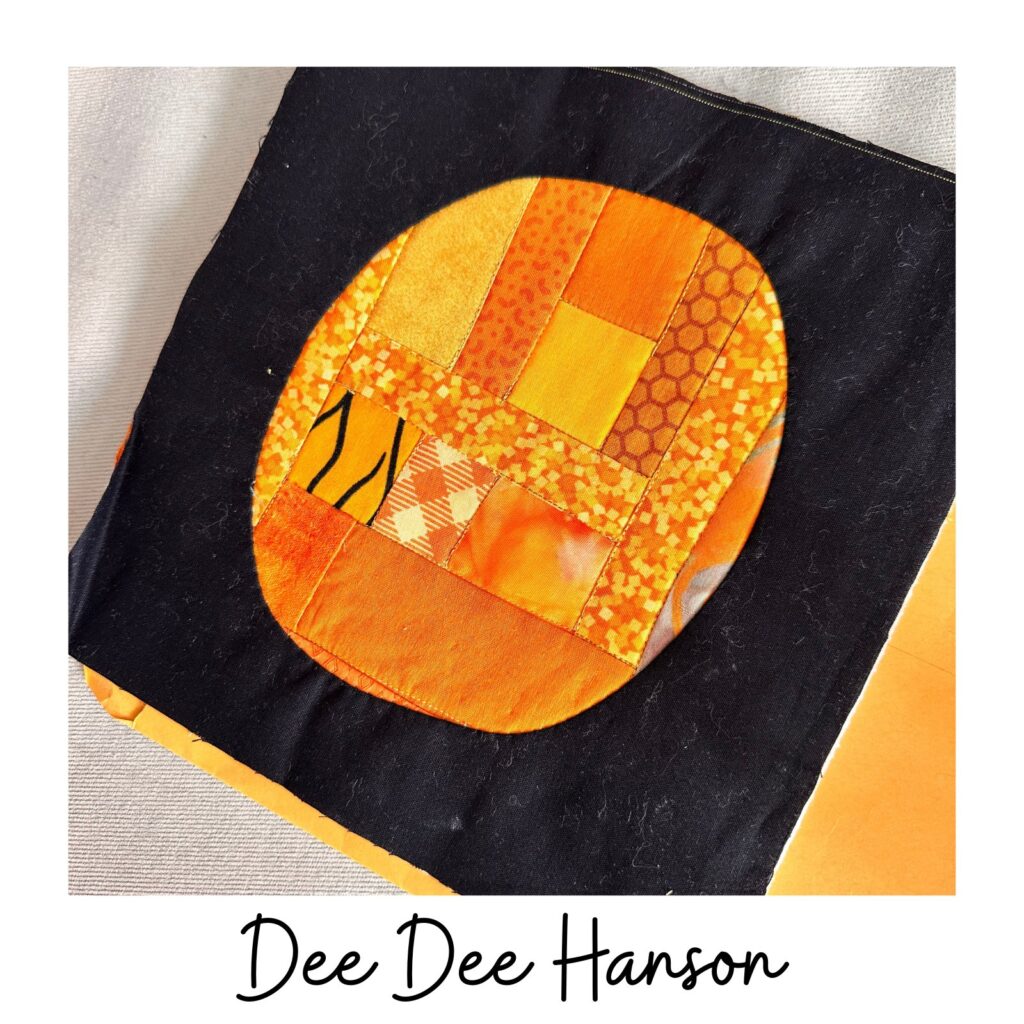
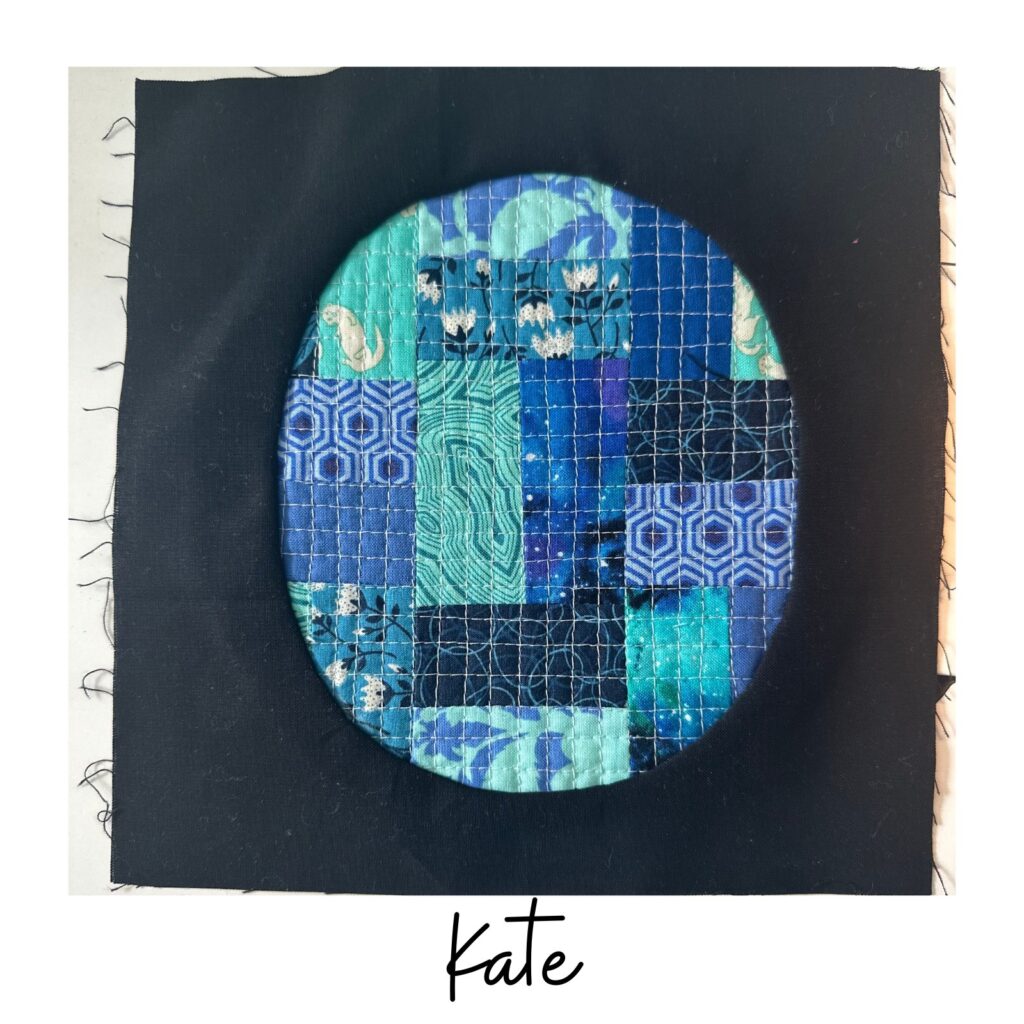
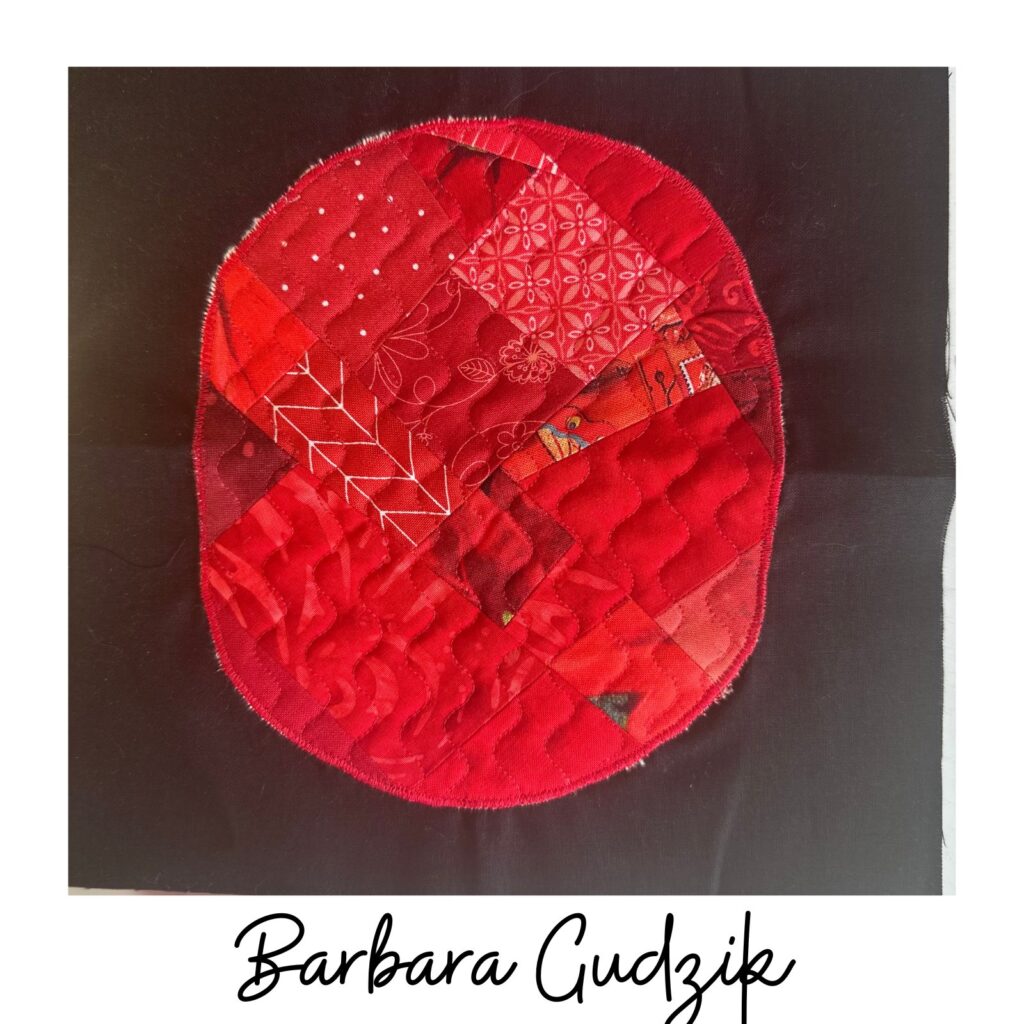
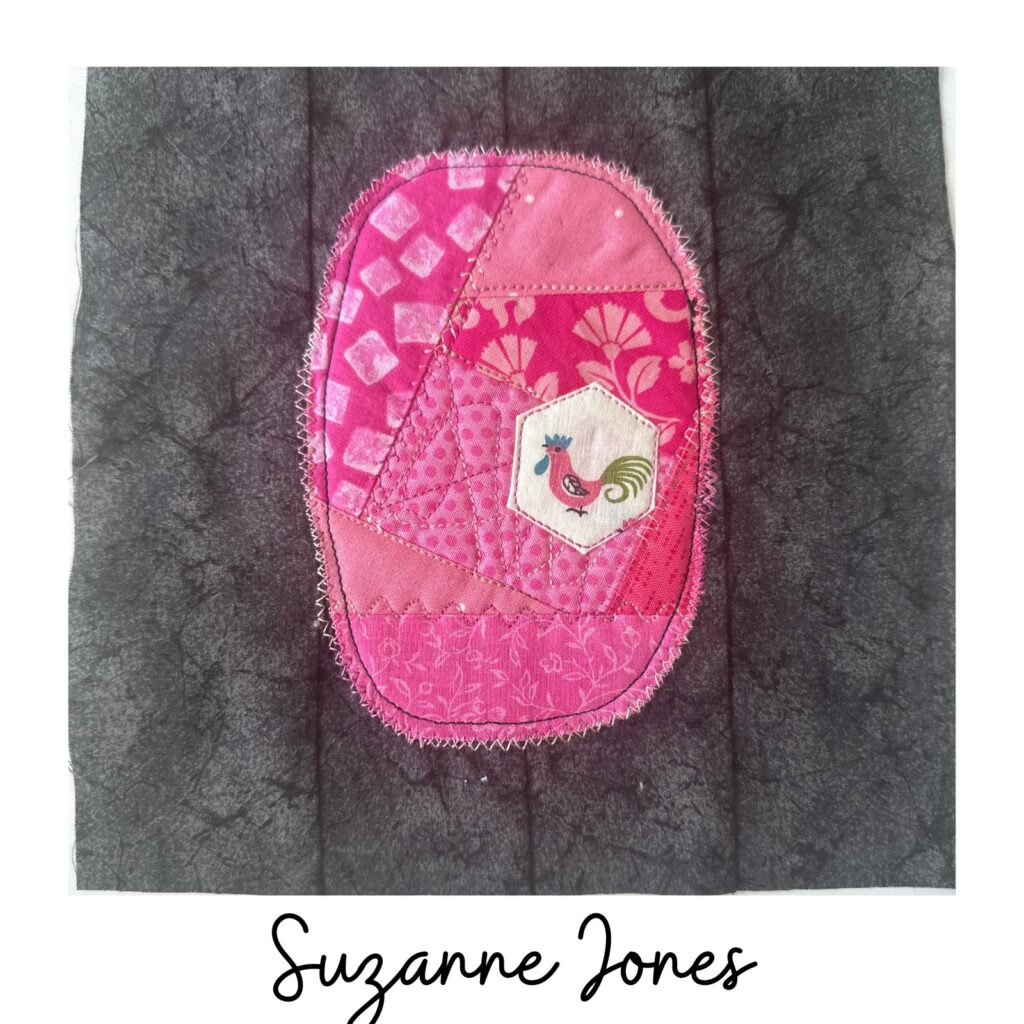
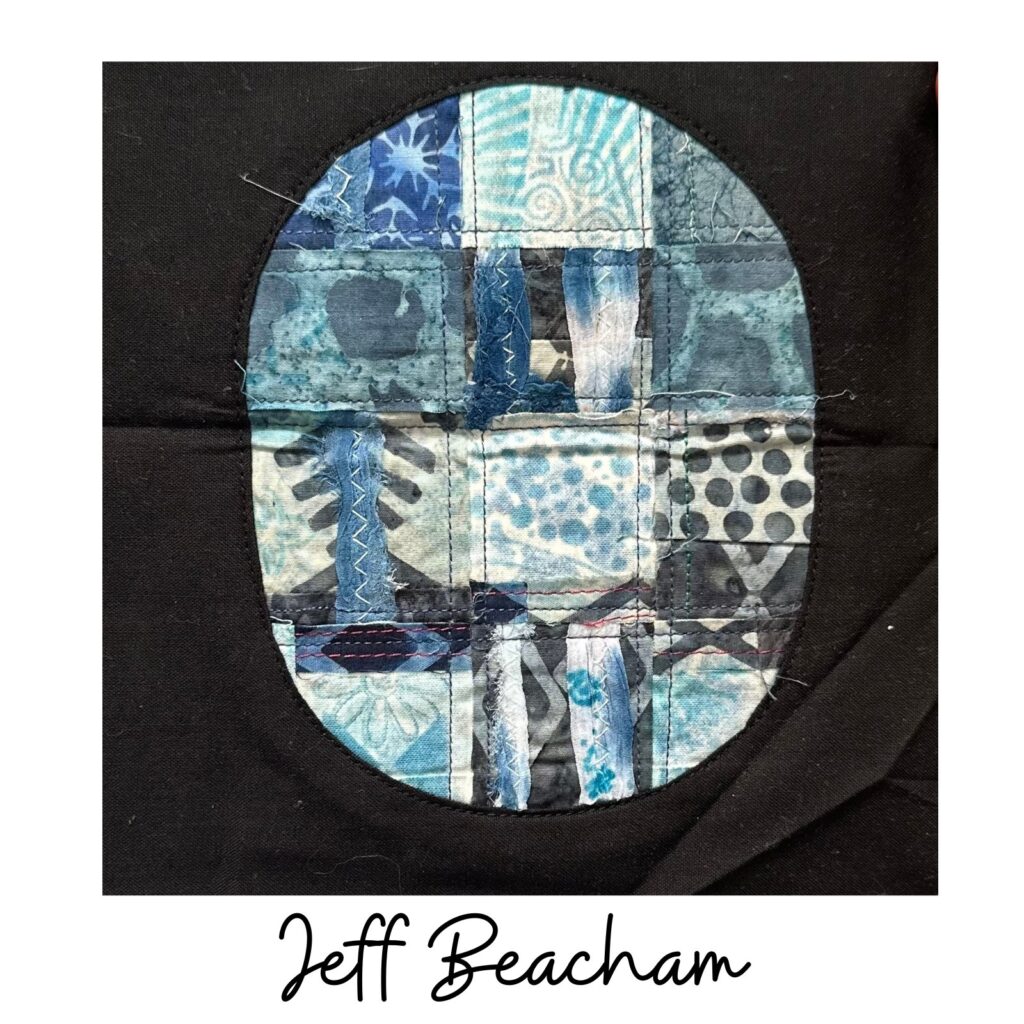
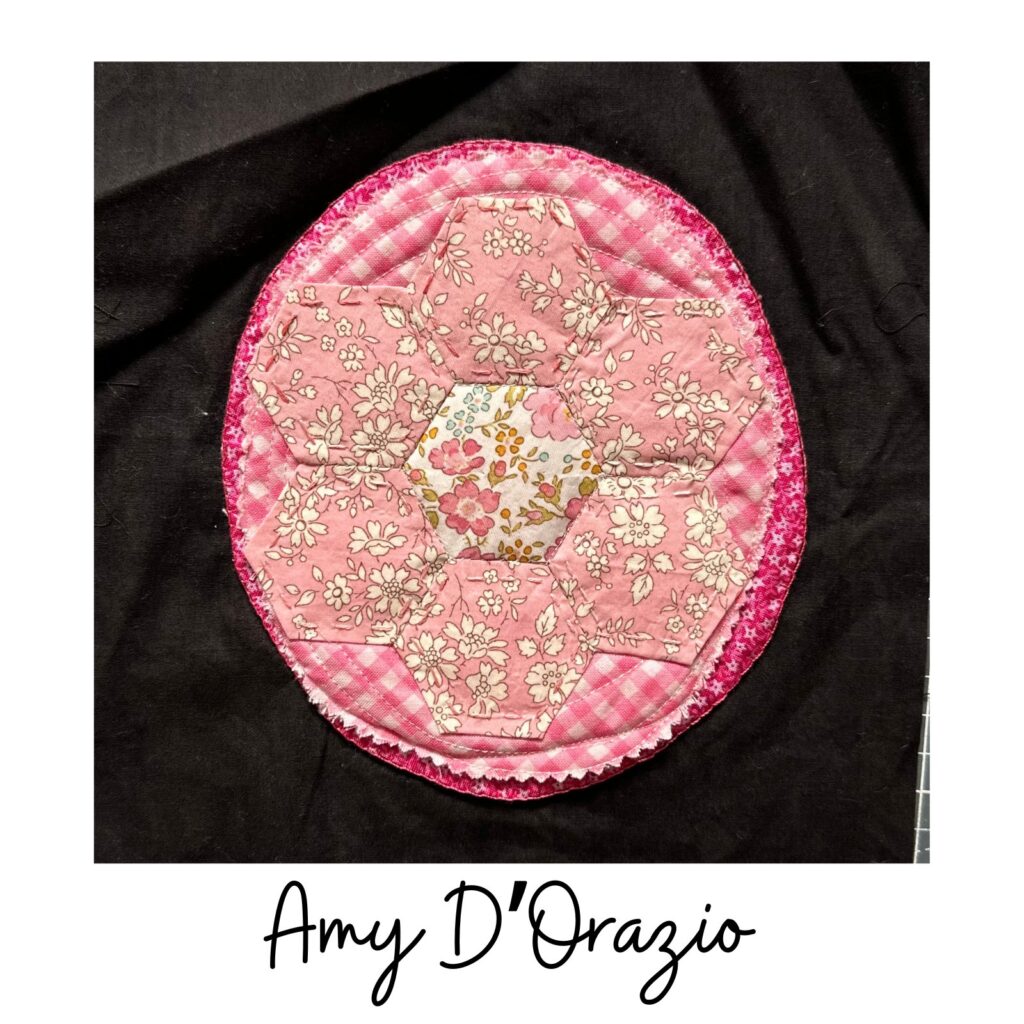
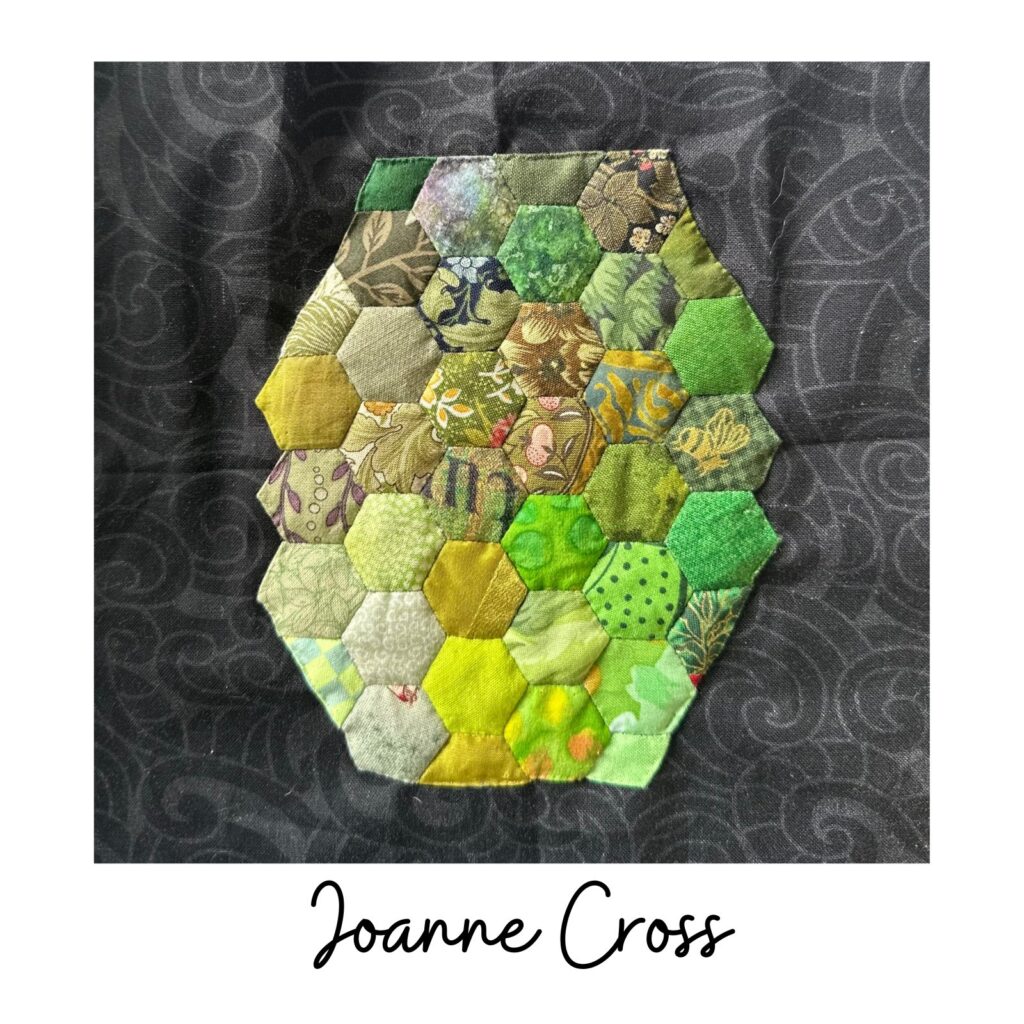
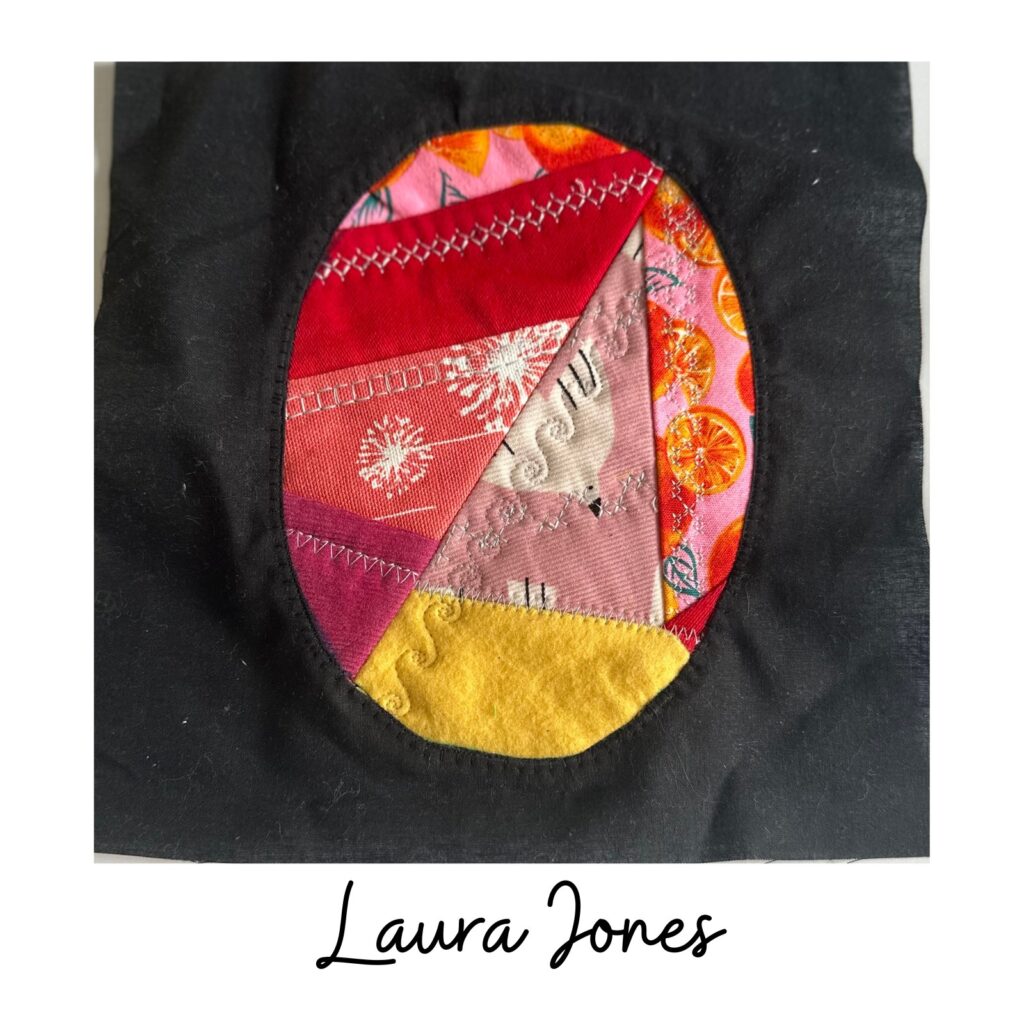
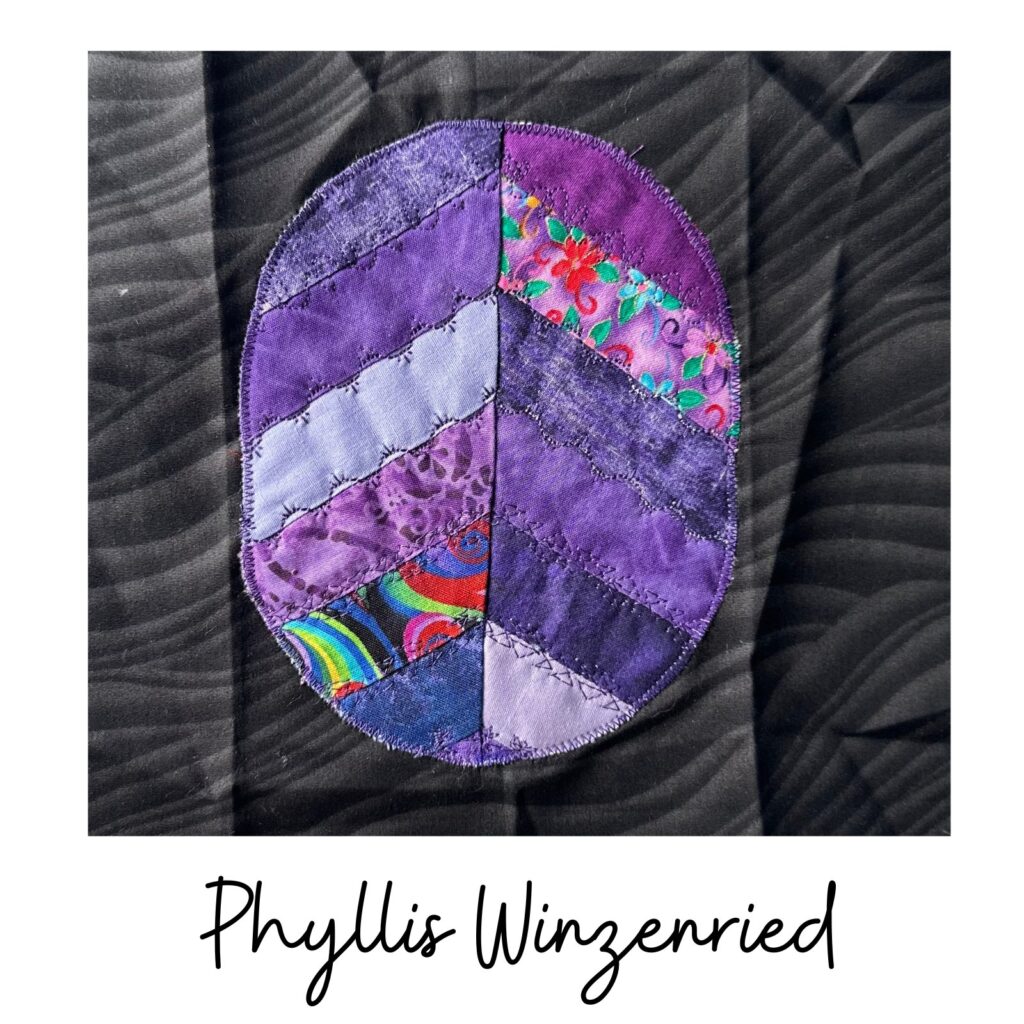
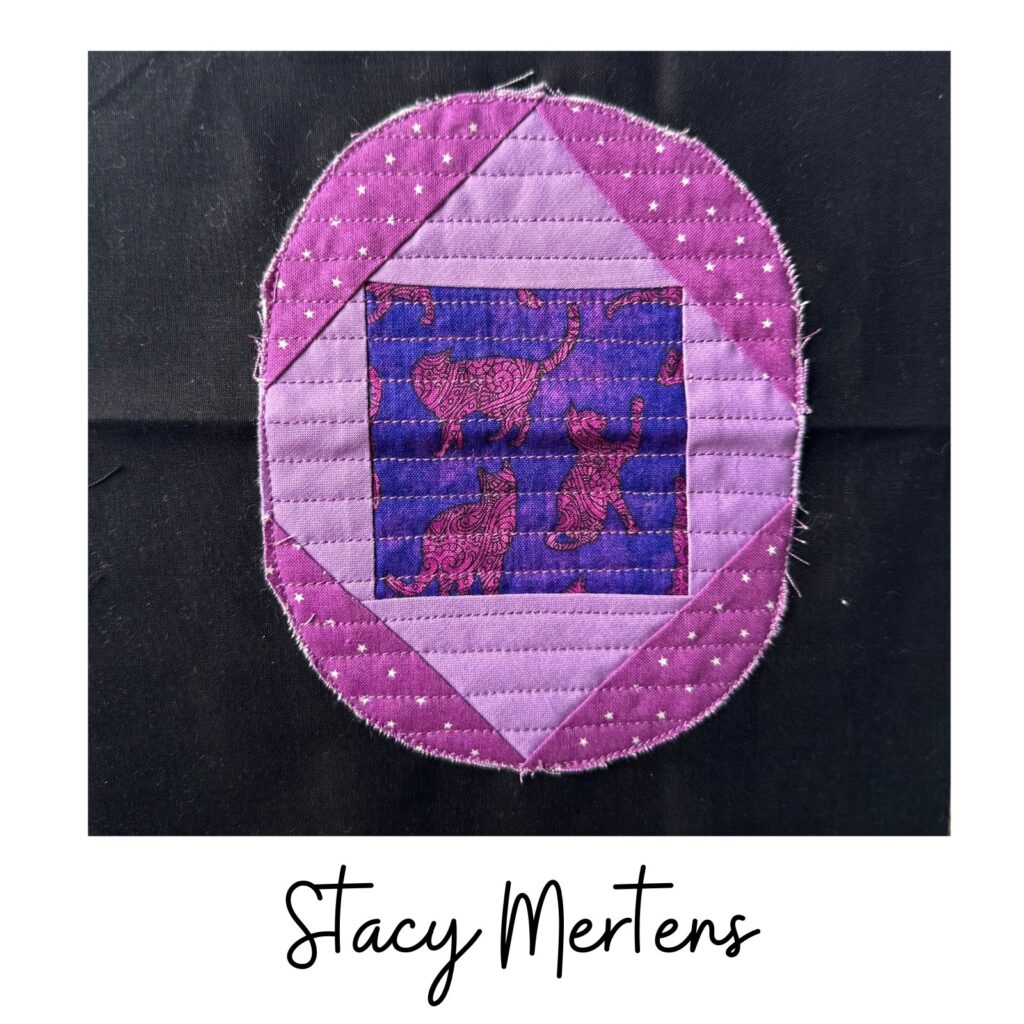
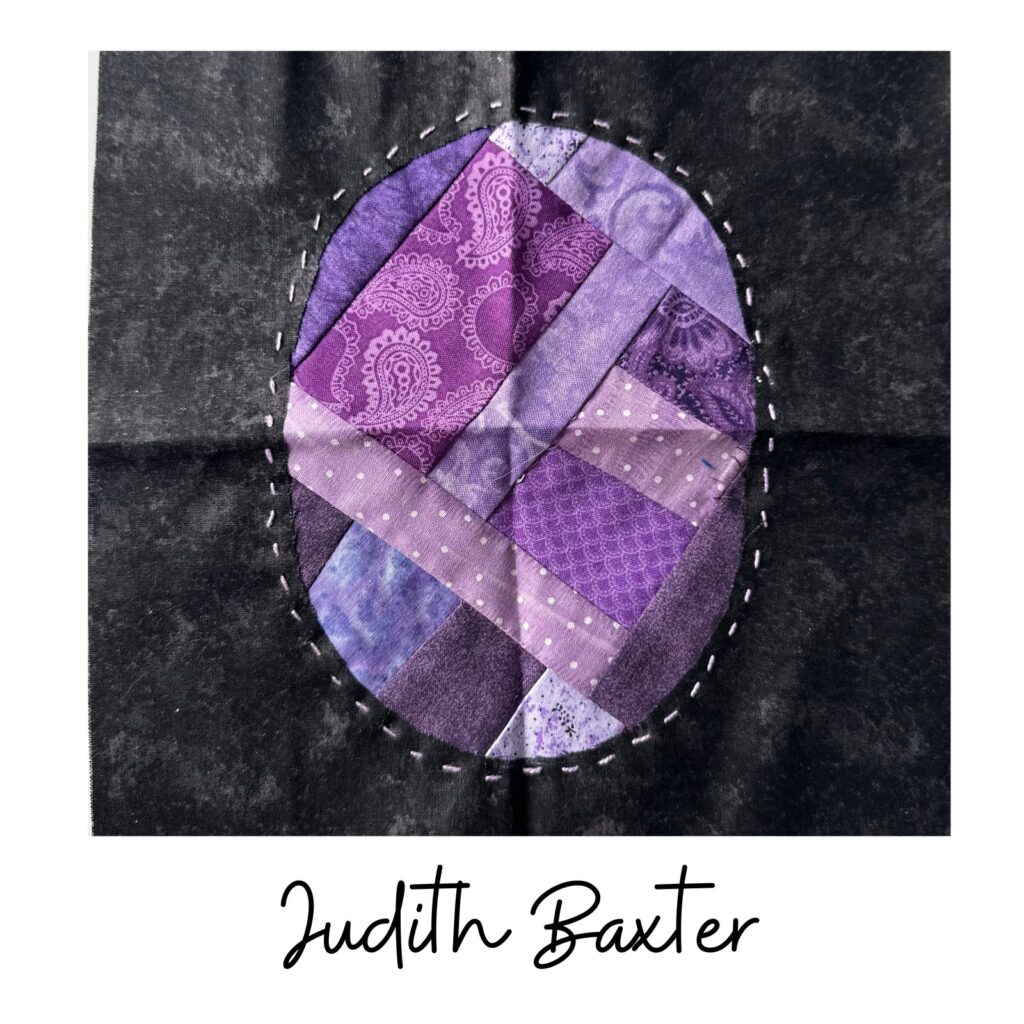
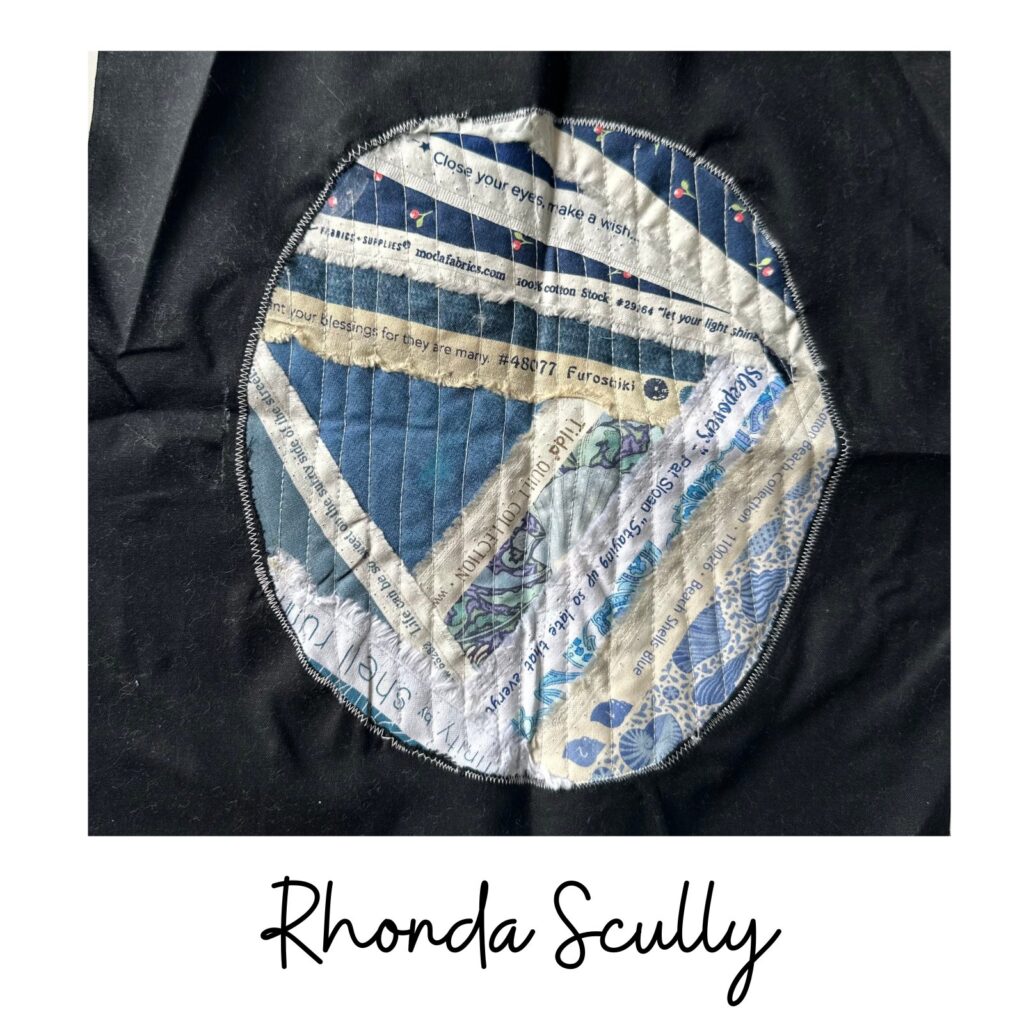
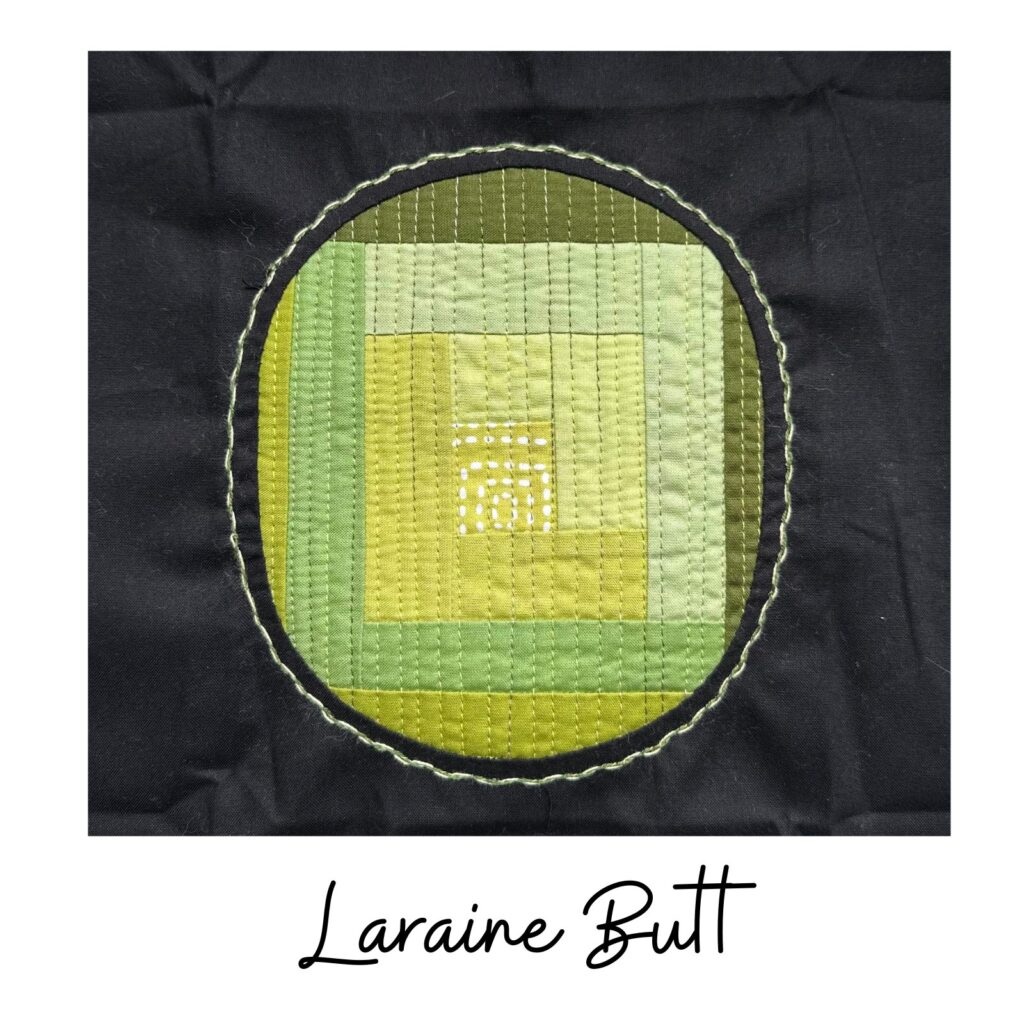
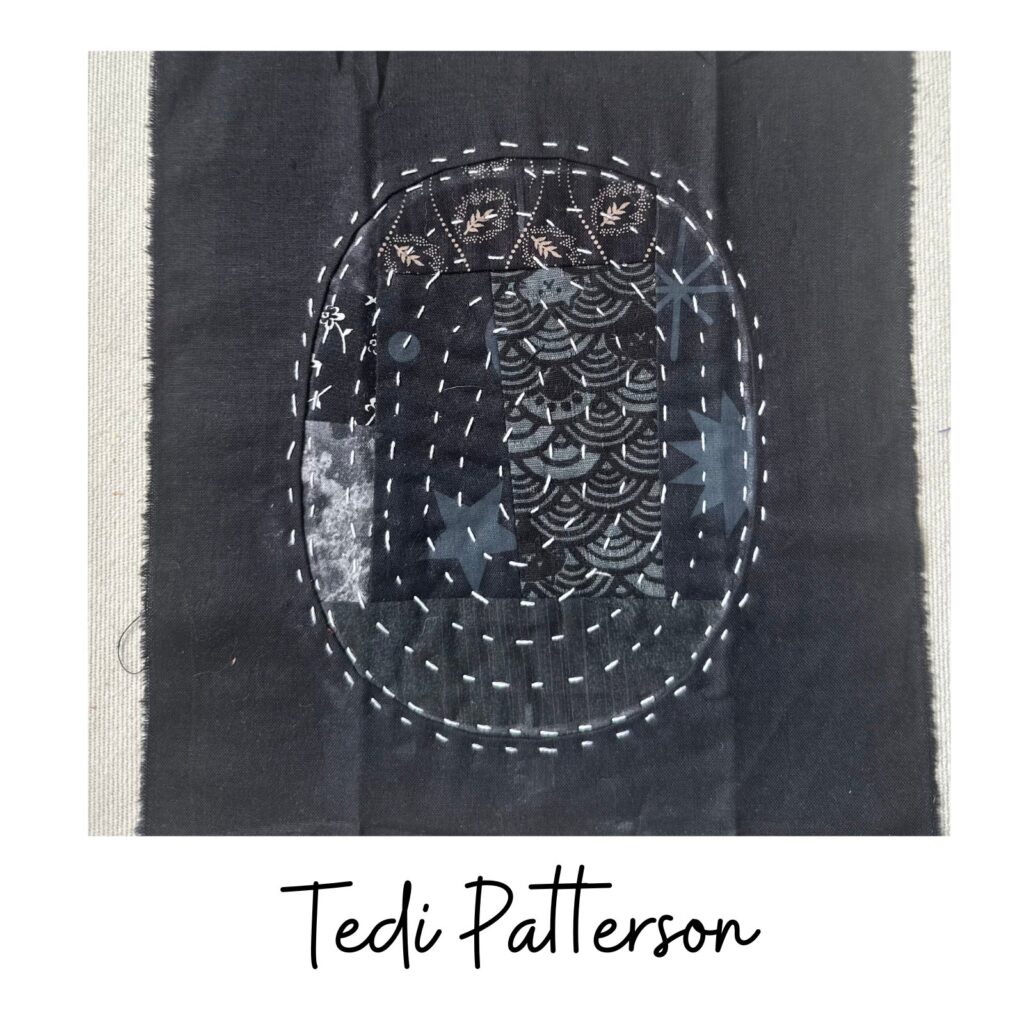
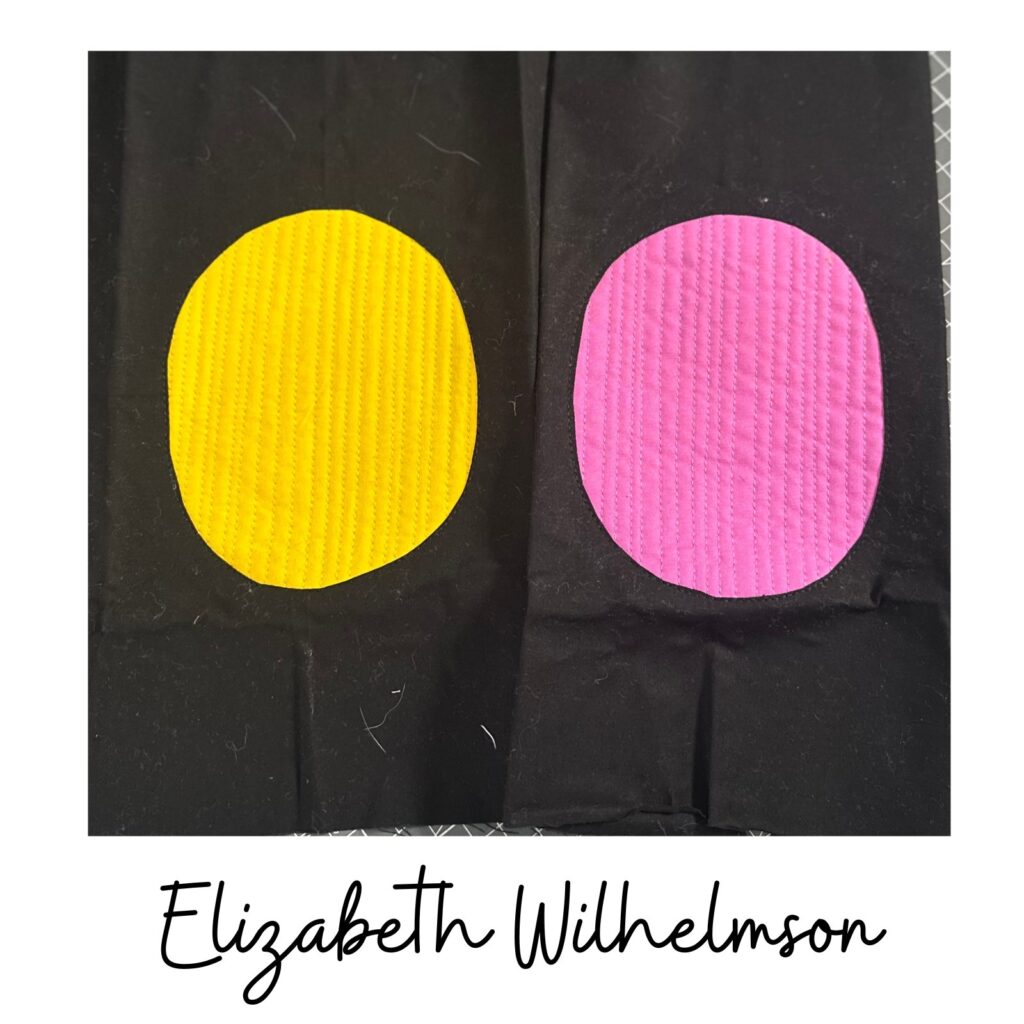
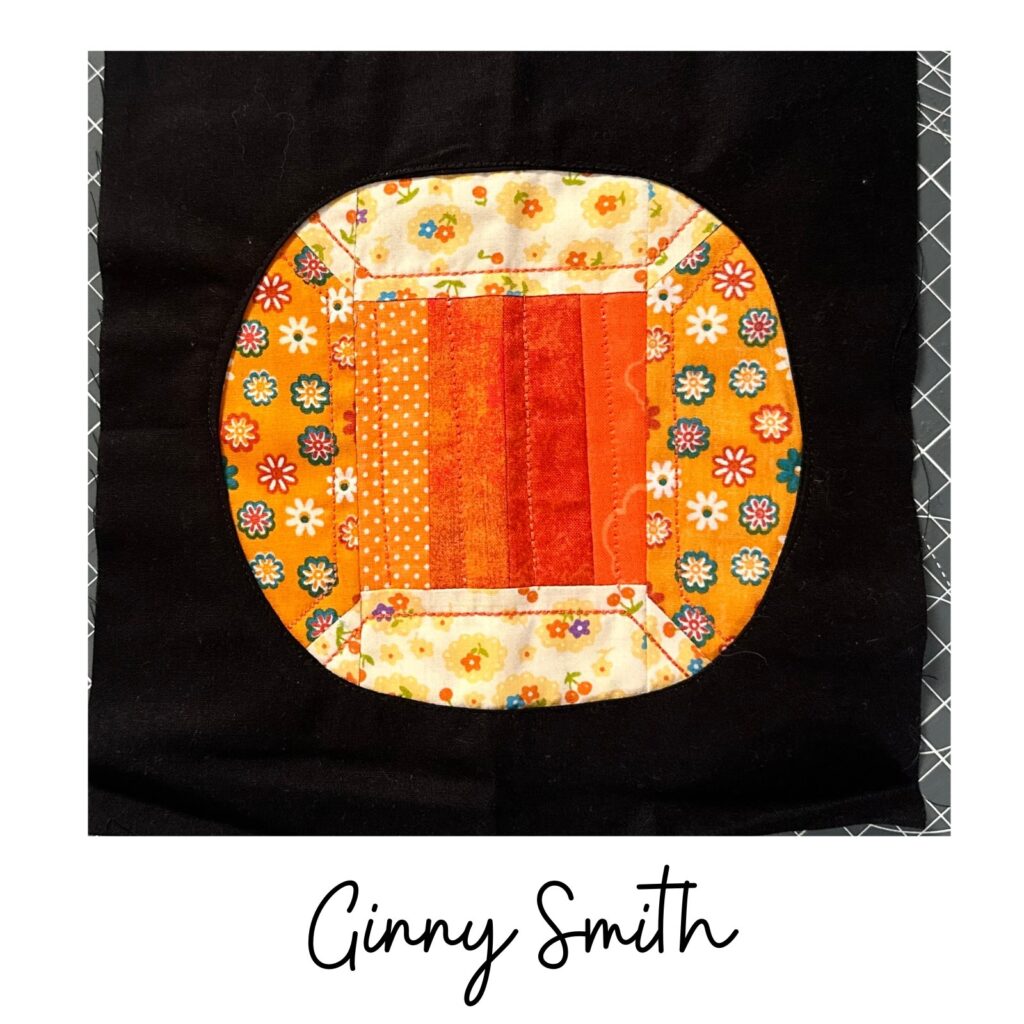
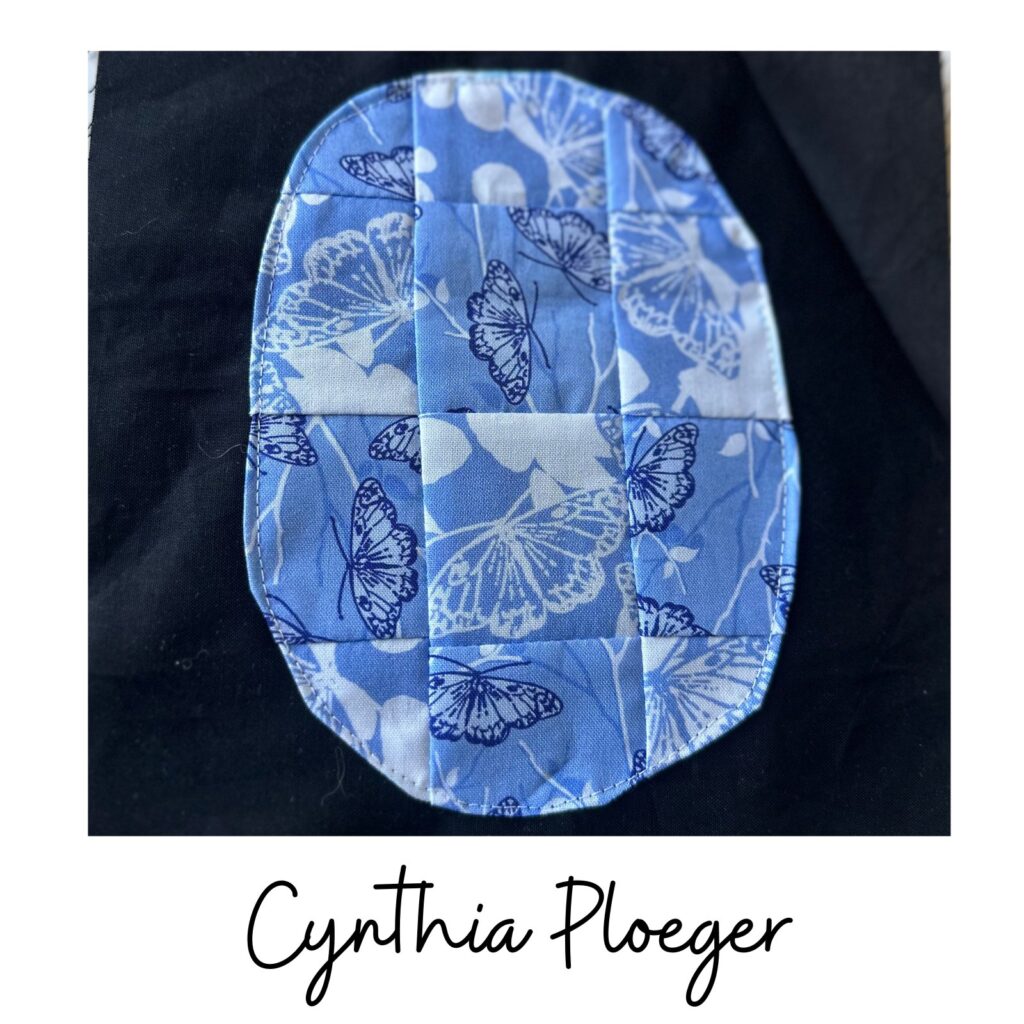
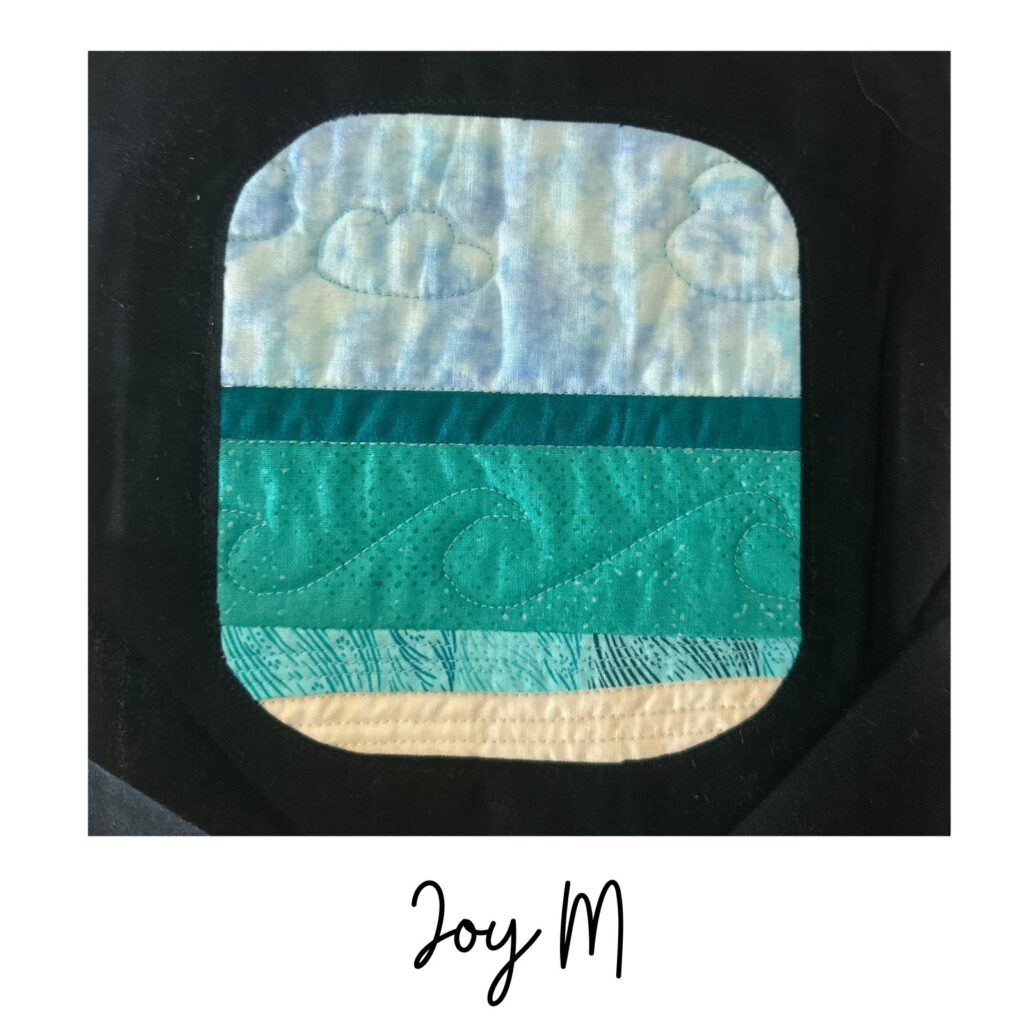
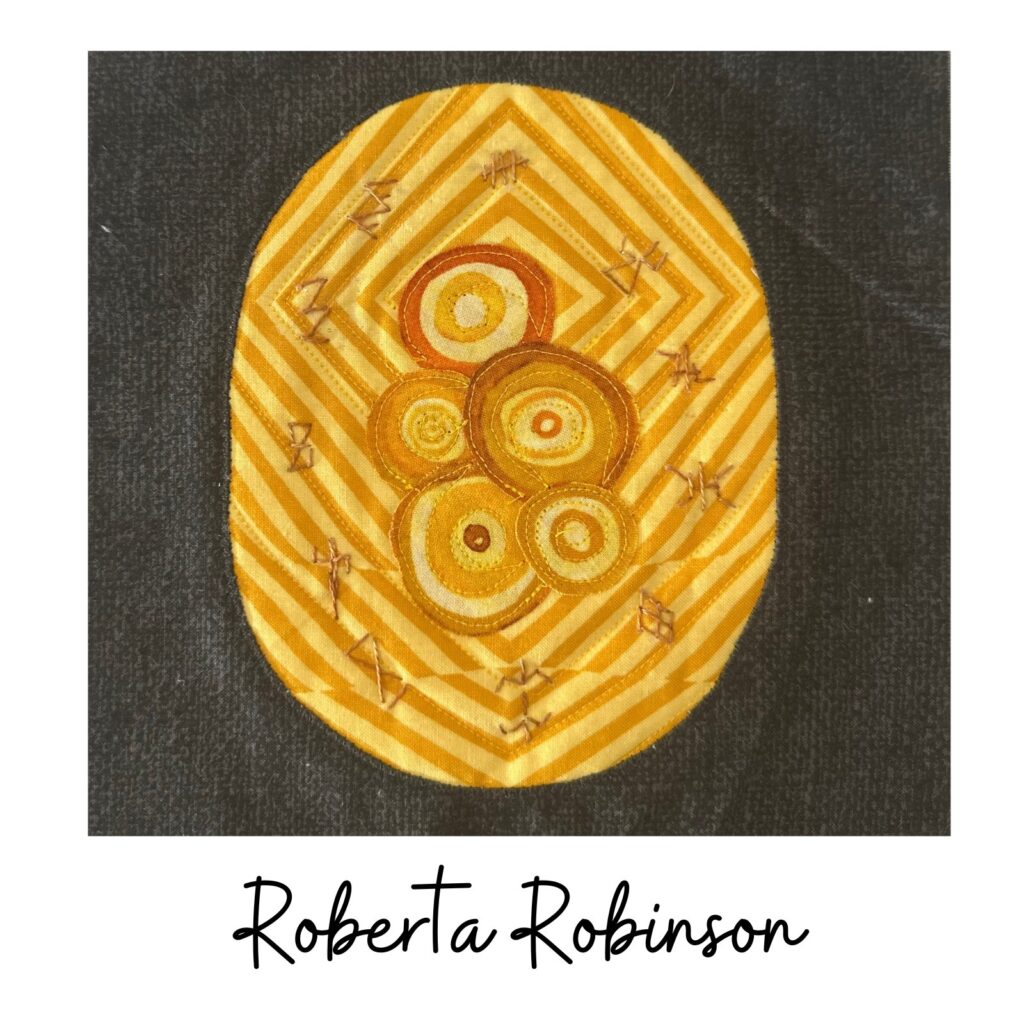
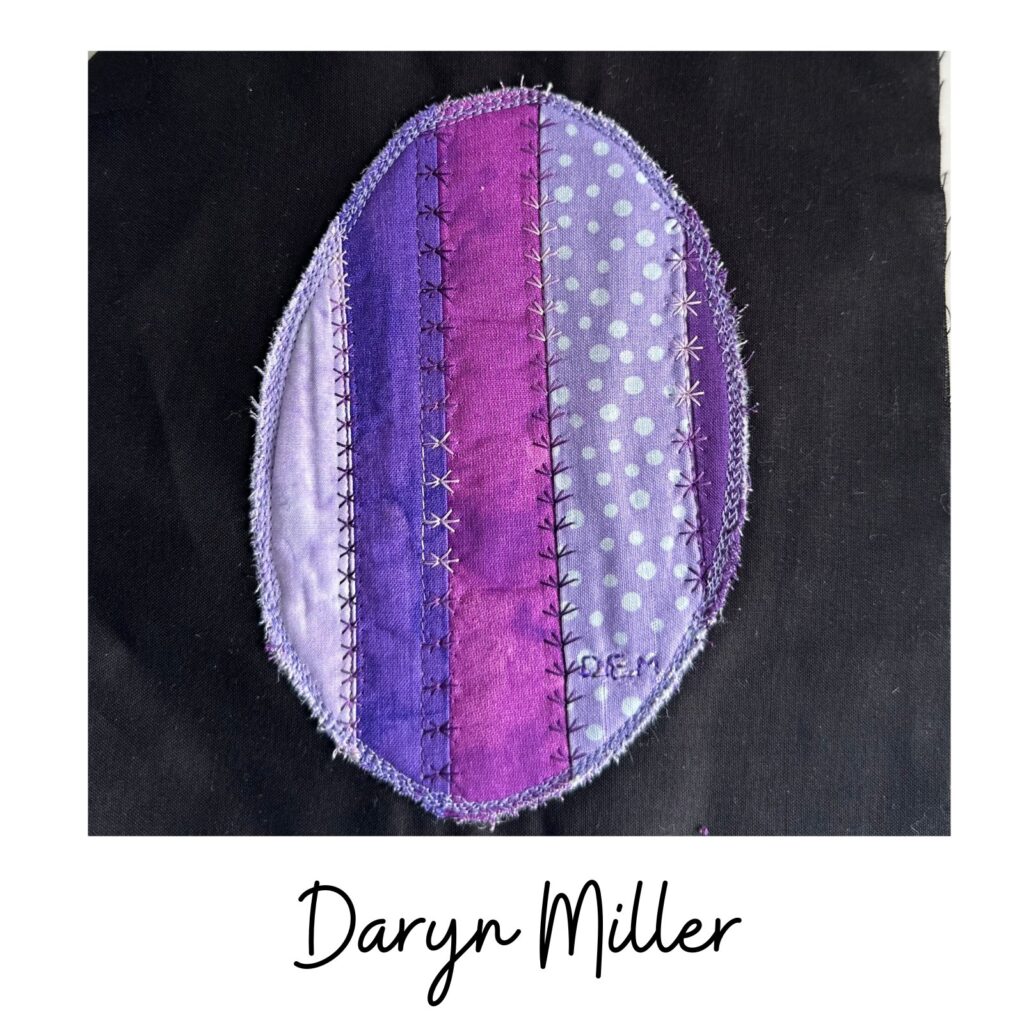
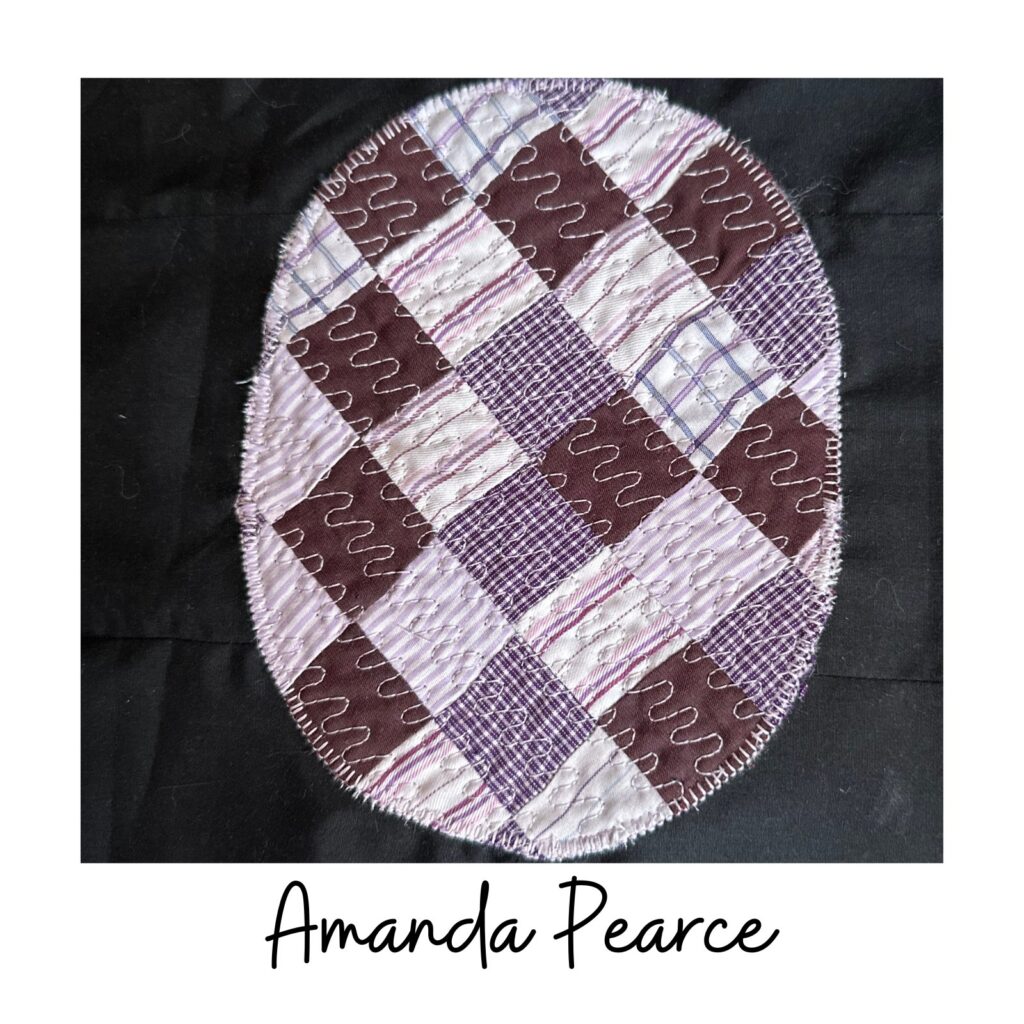
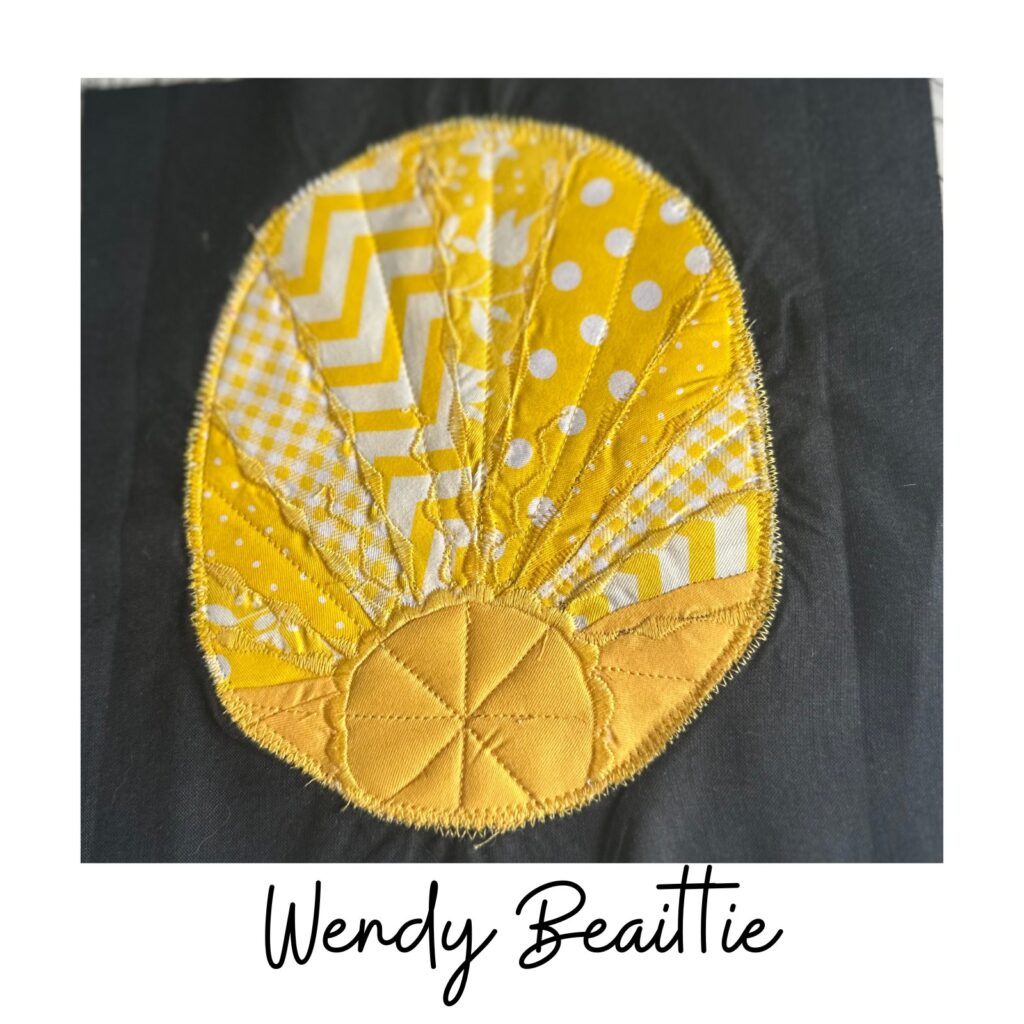
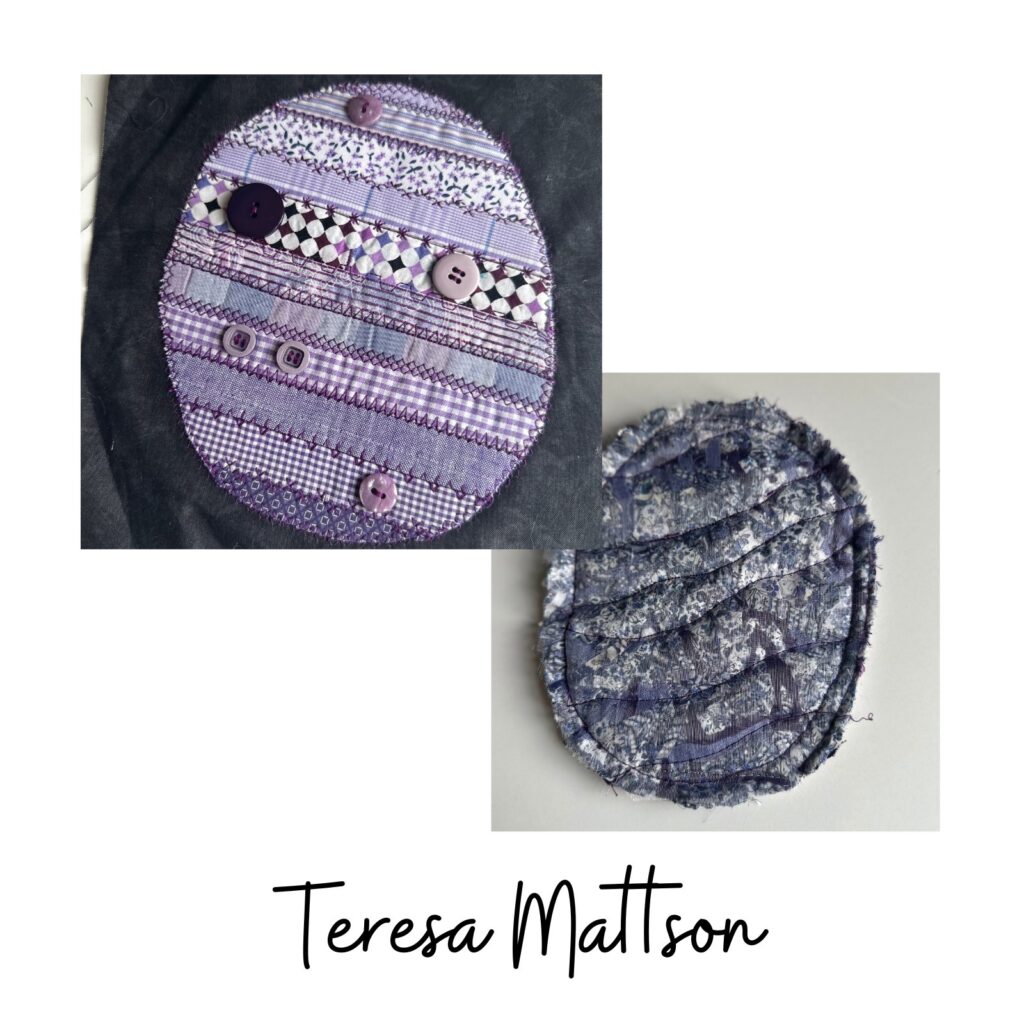
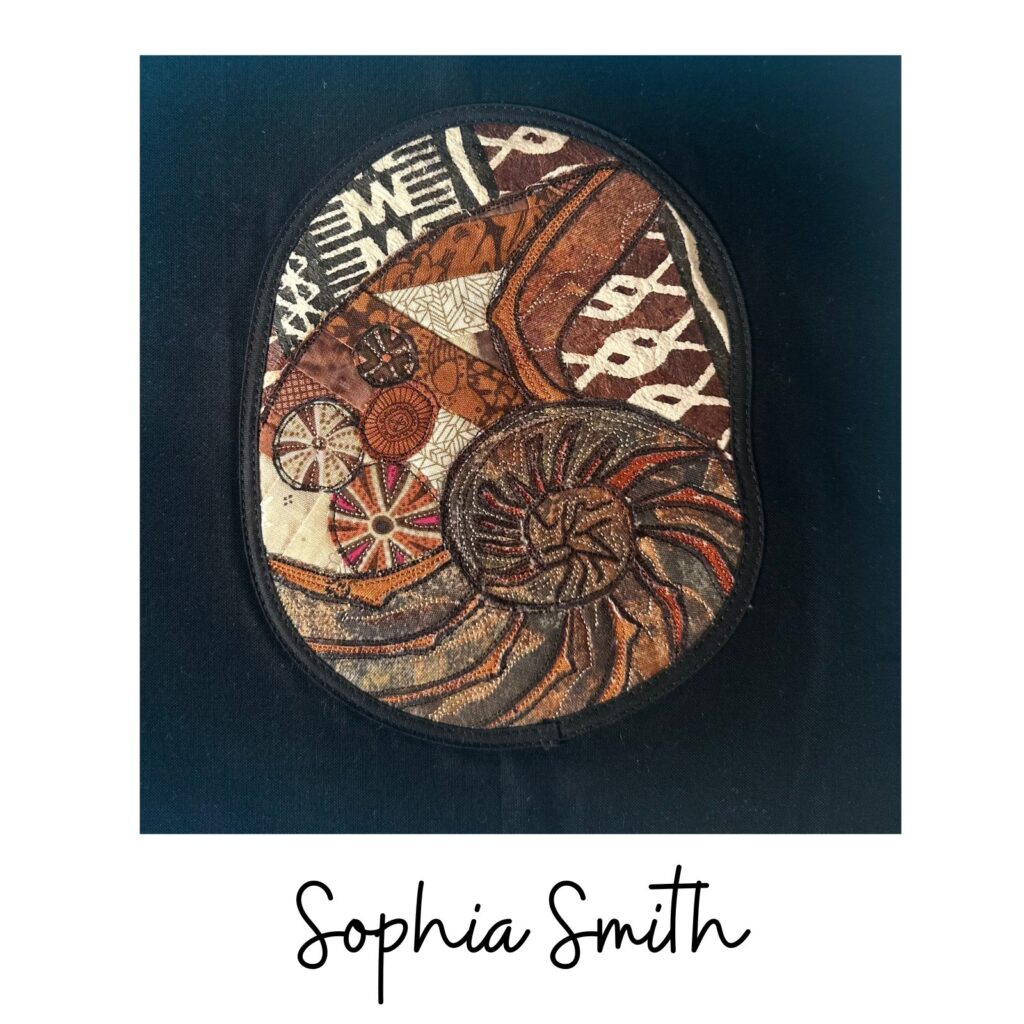
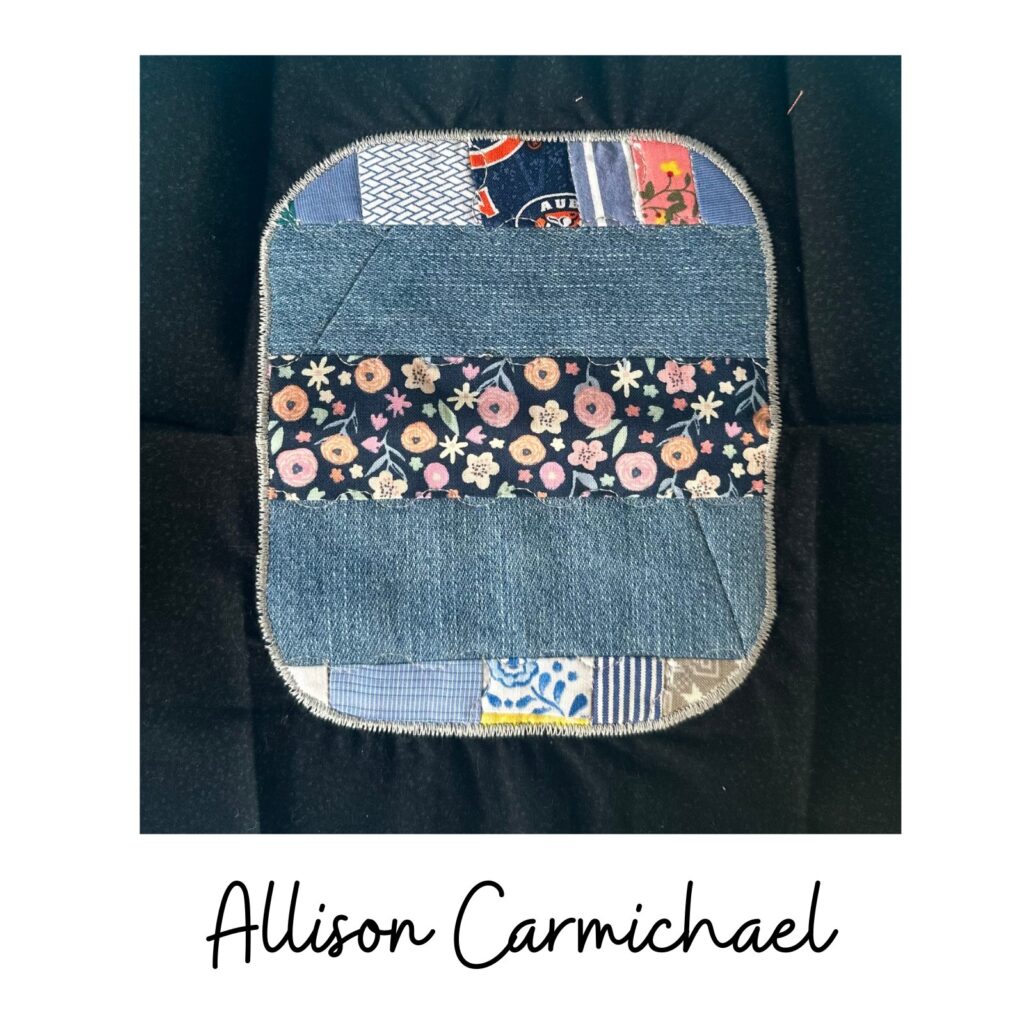
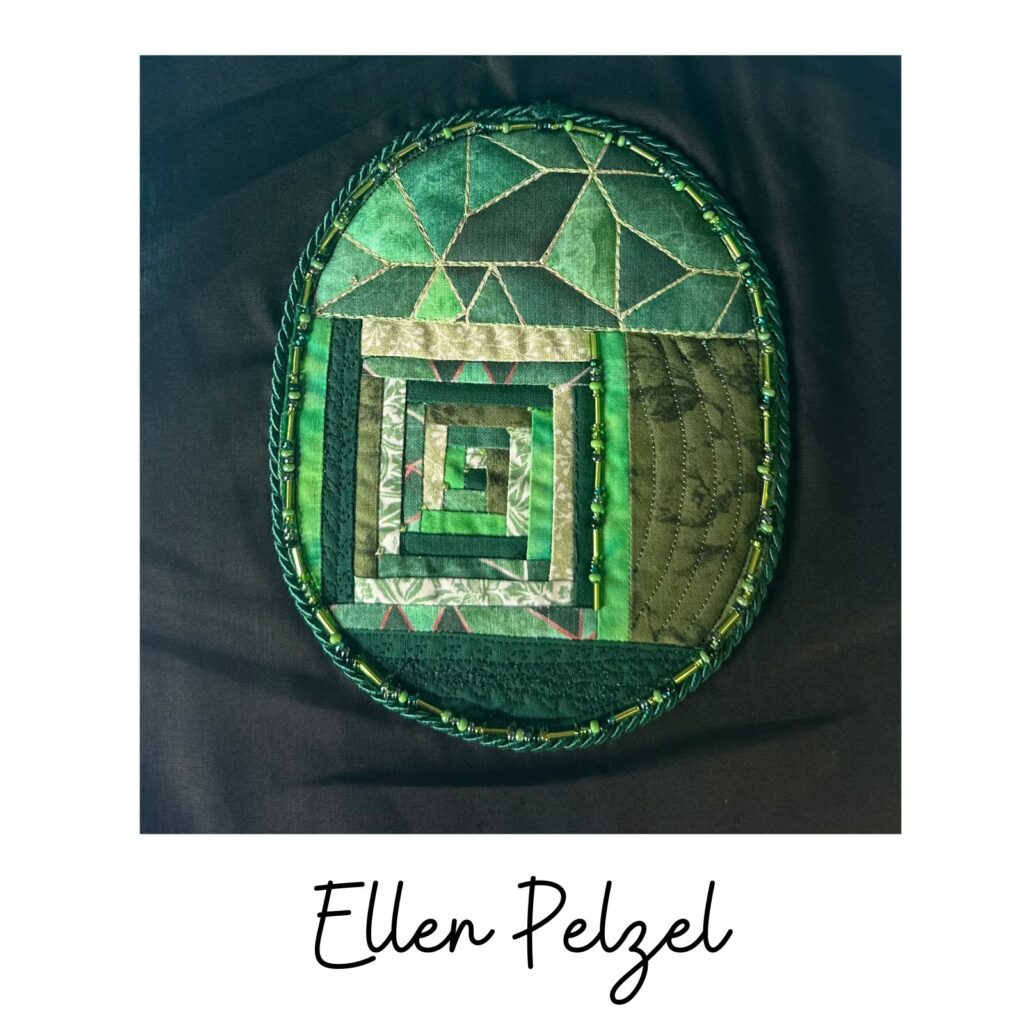
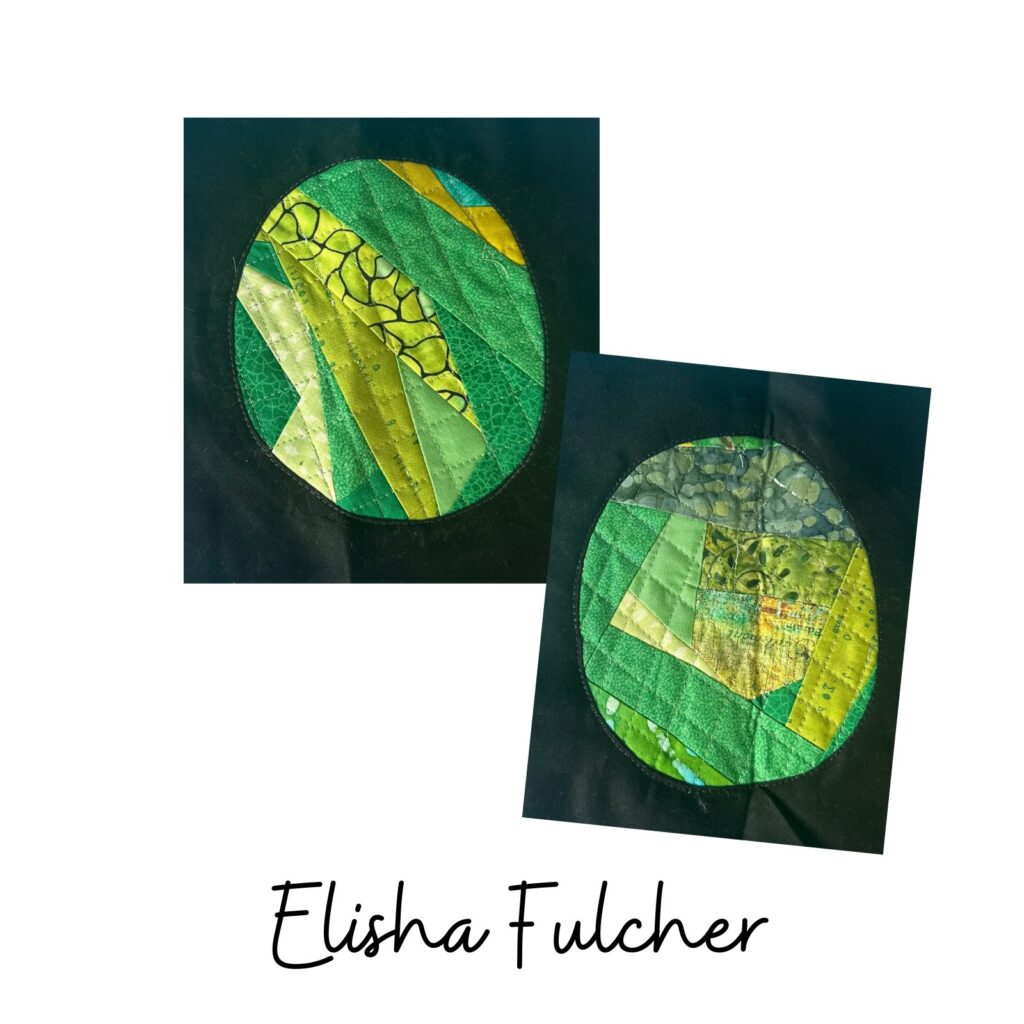
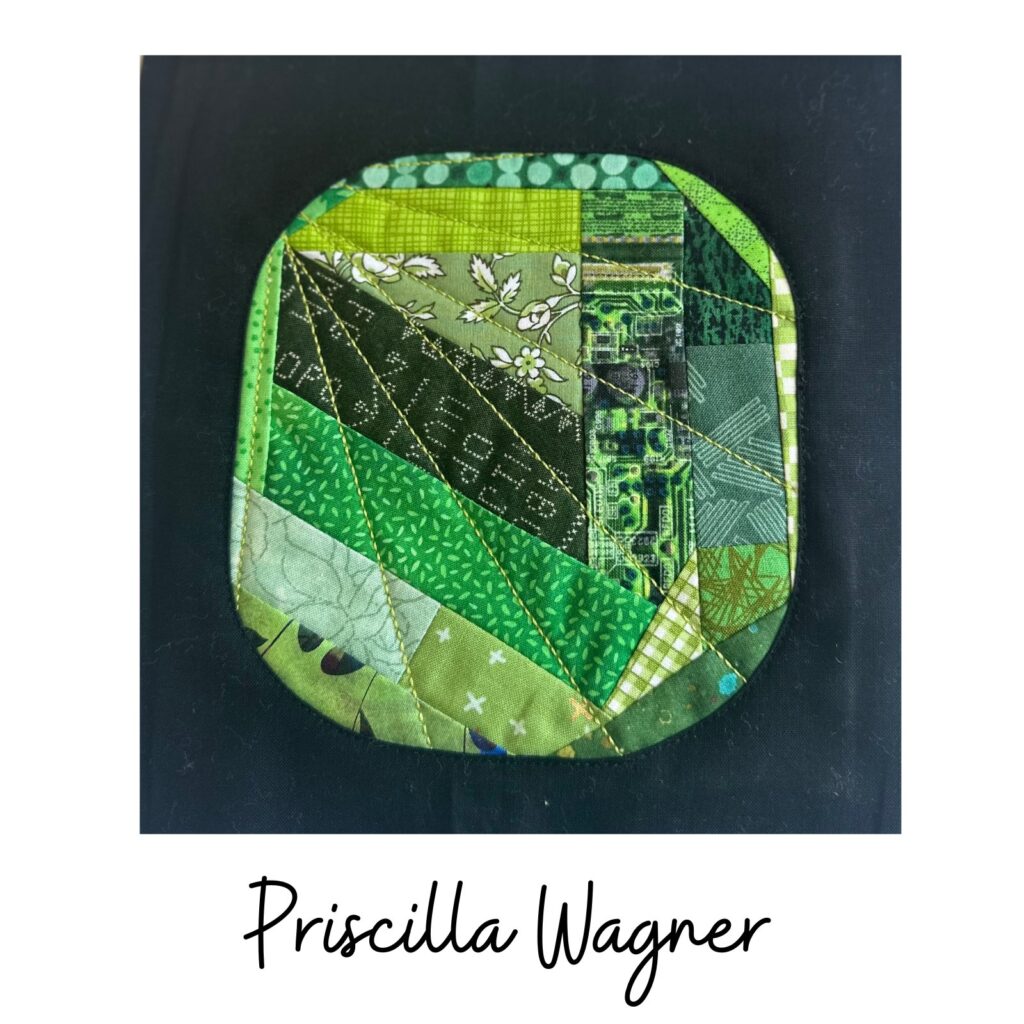
Blocks with Maker’s Name & Location
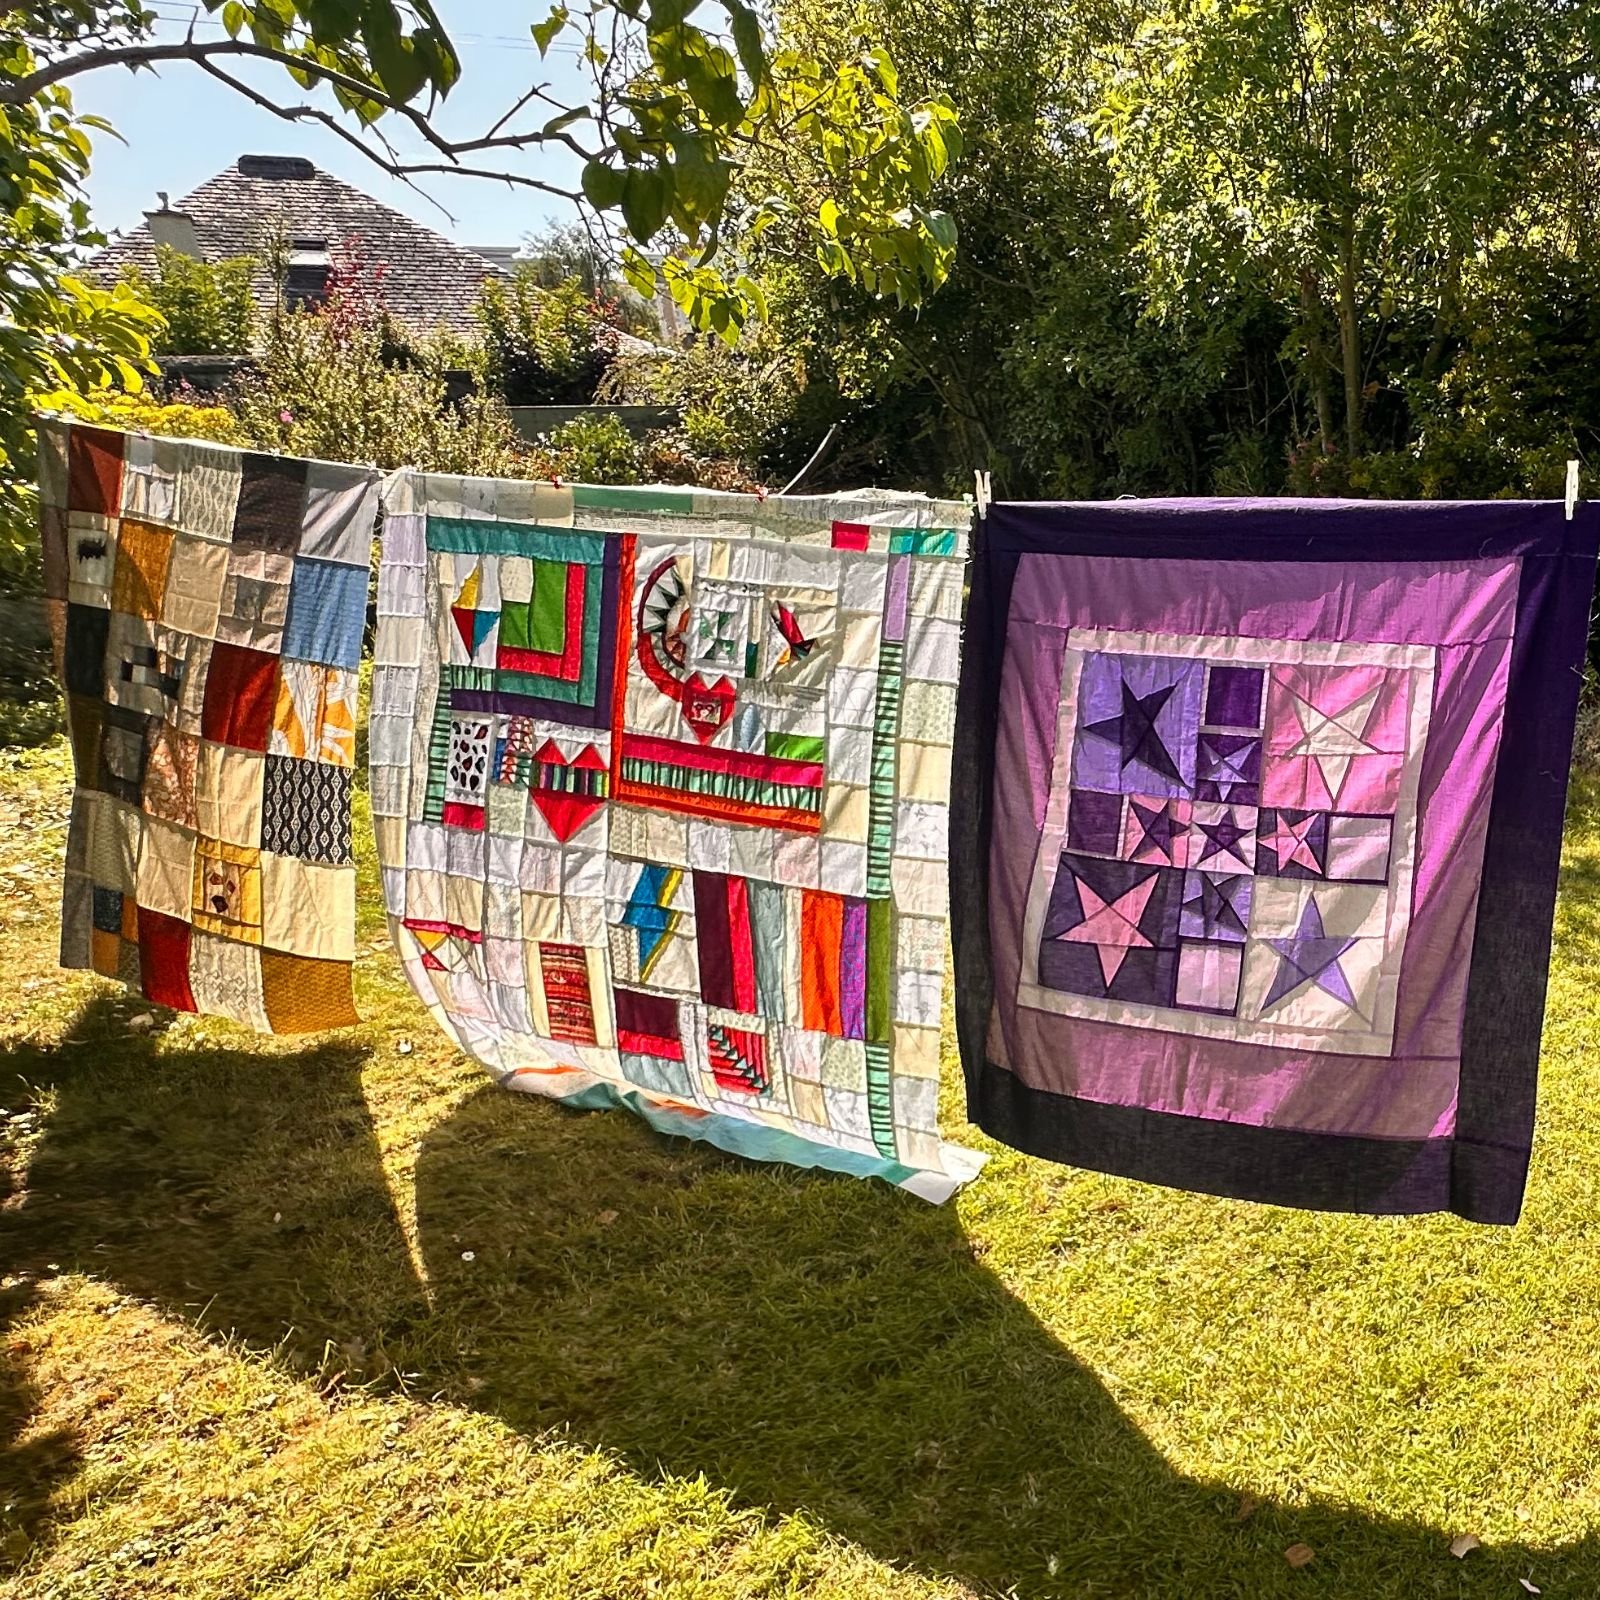
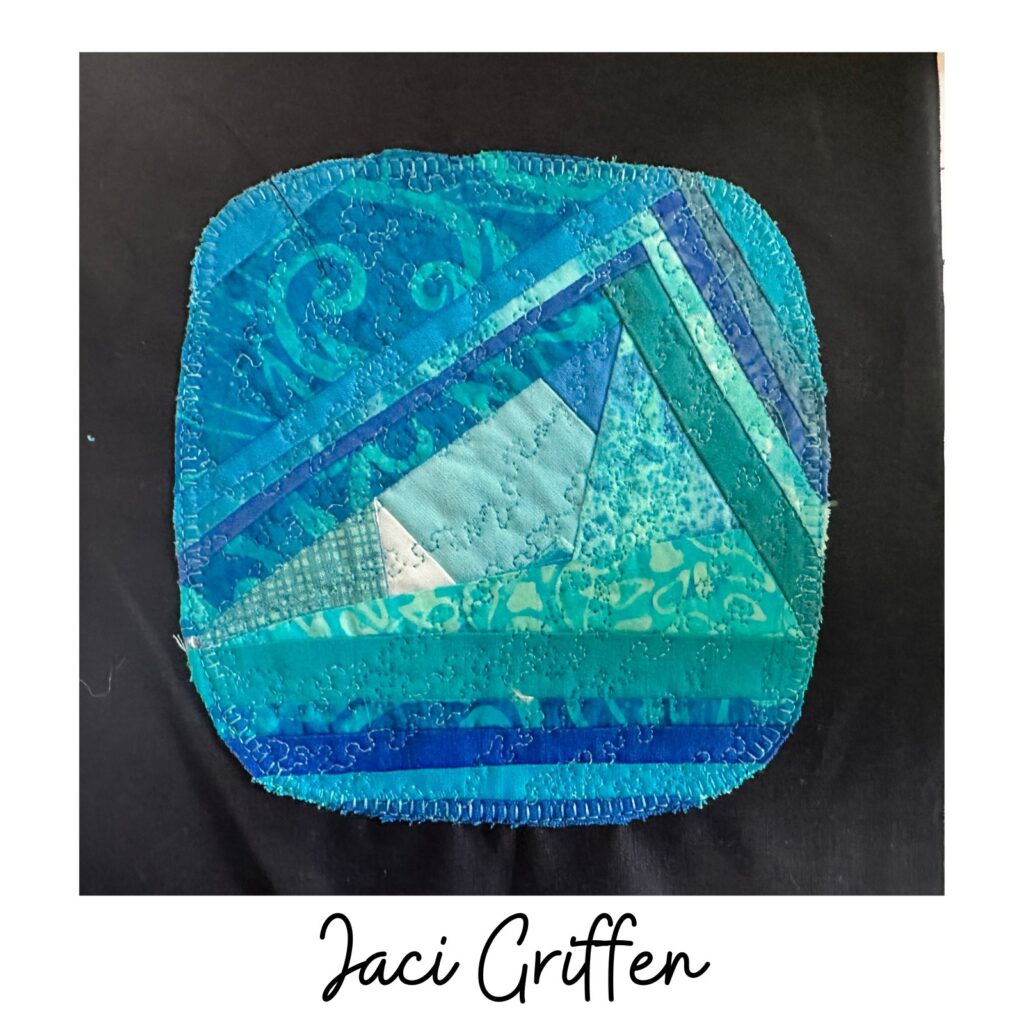
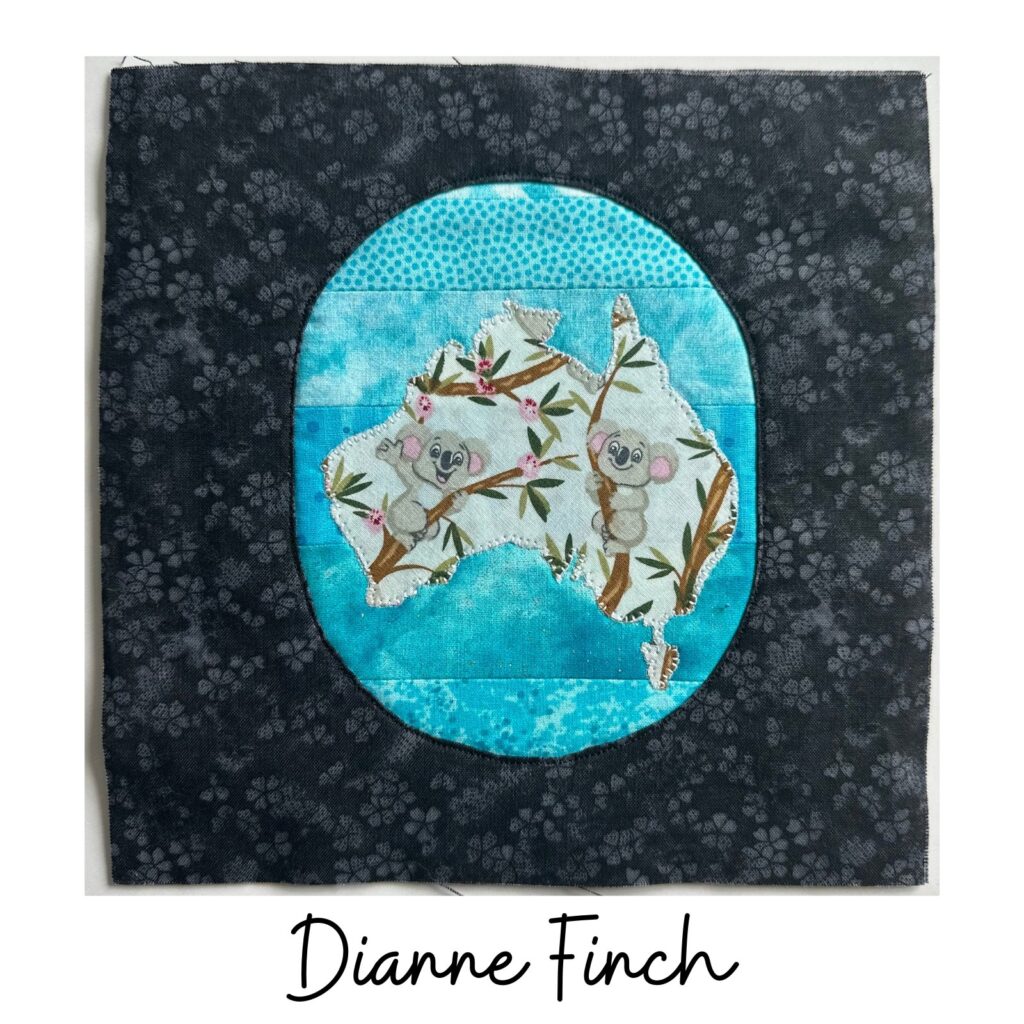
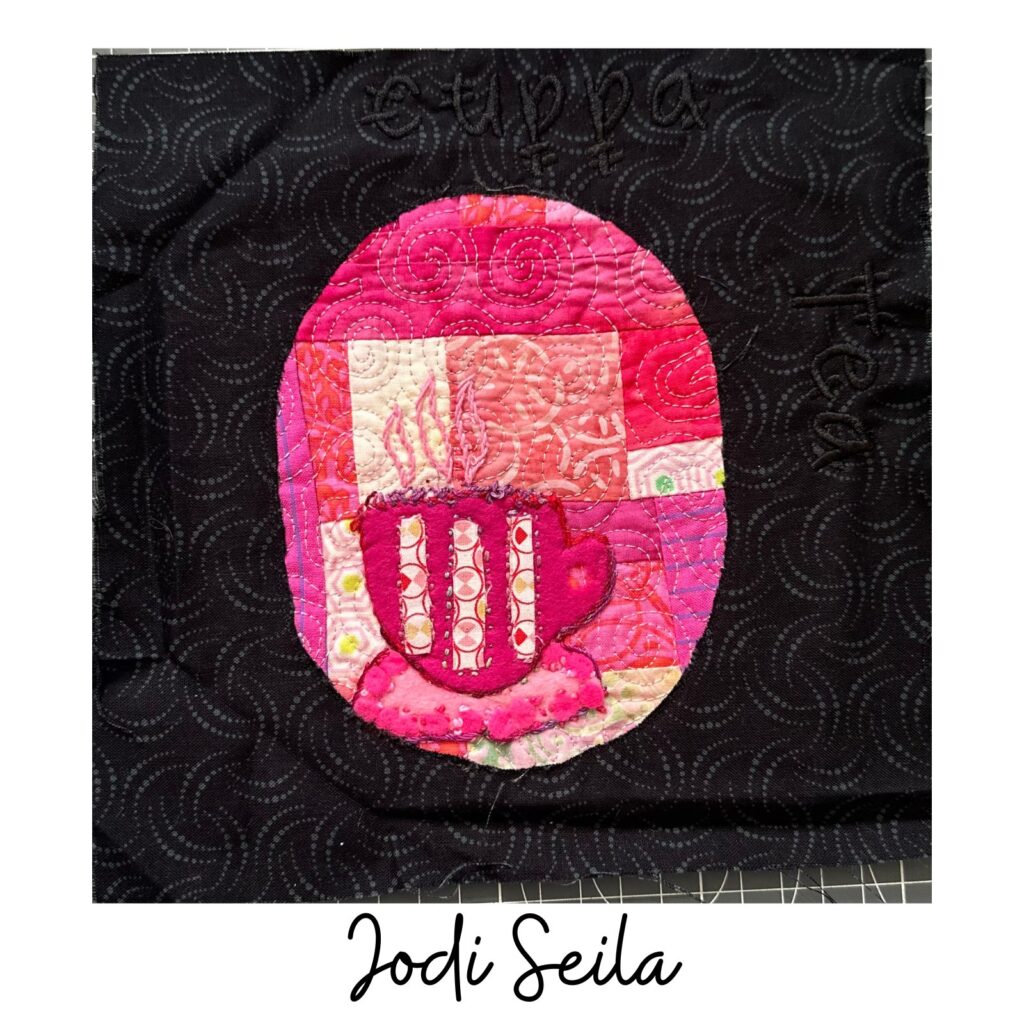
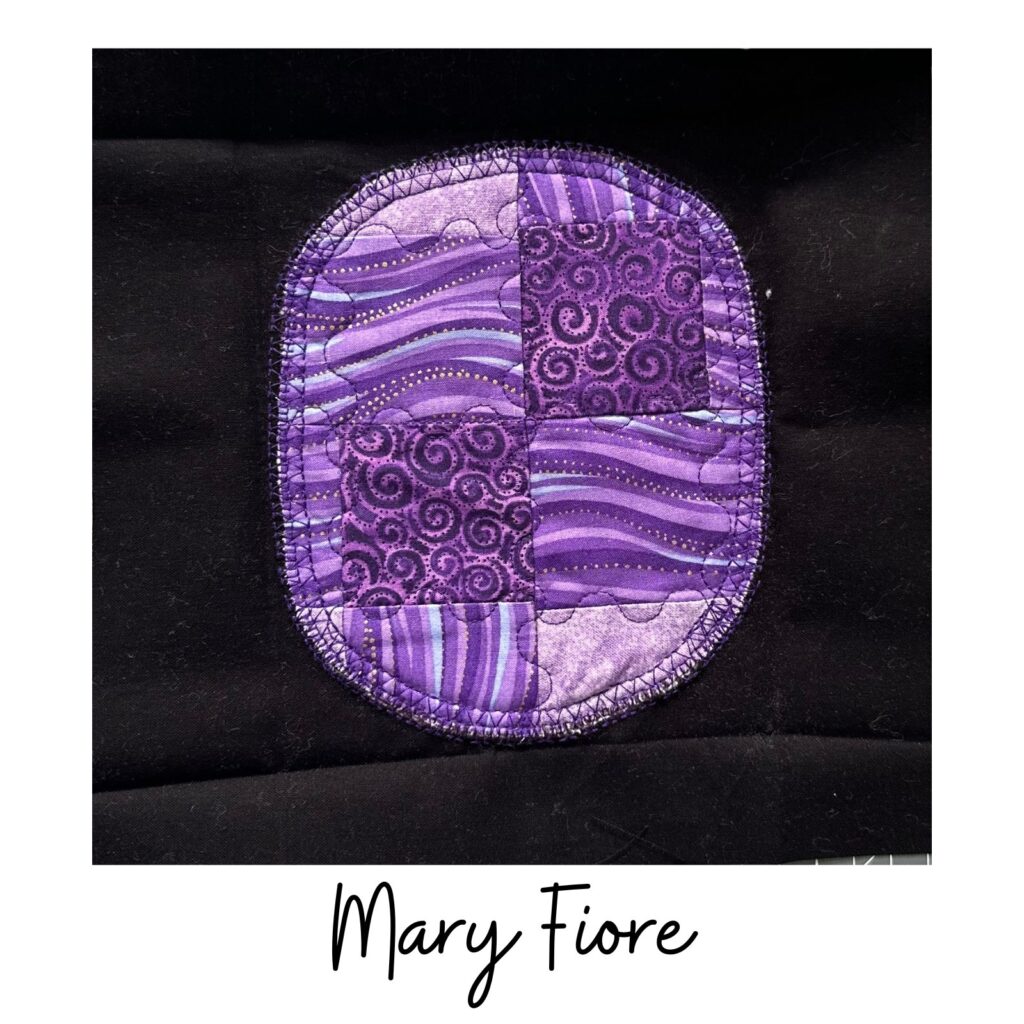
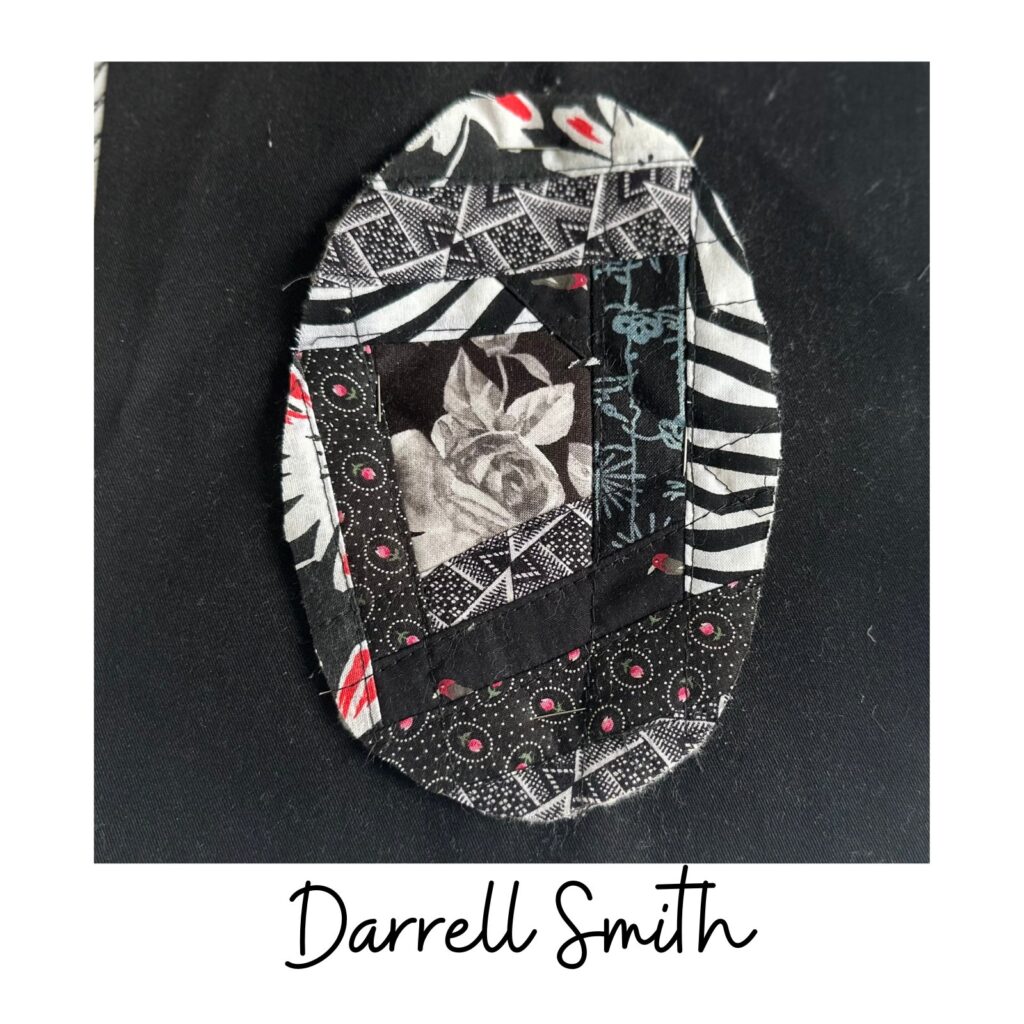
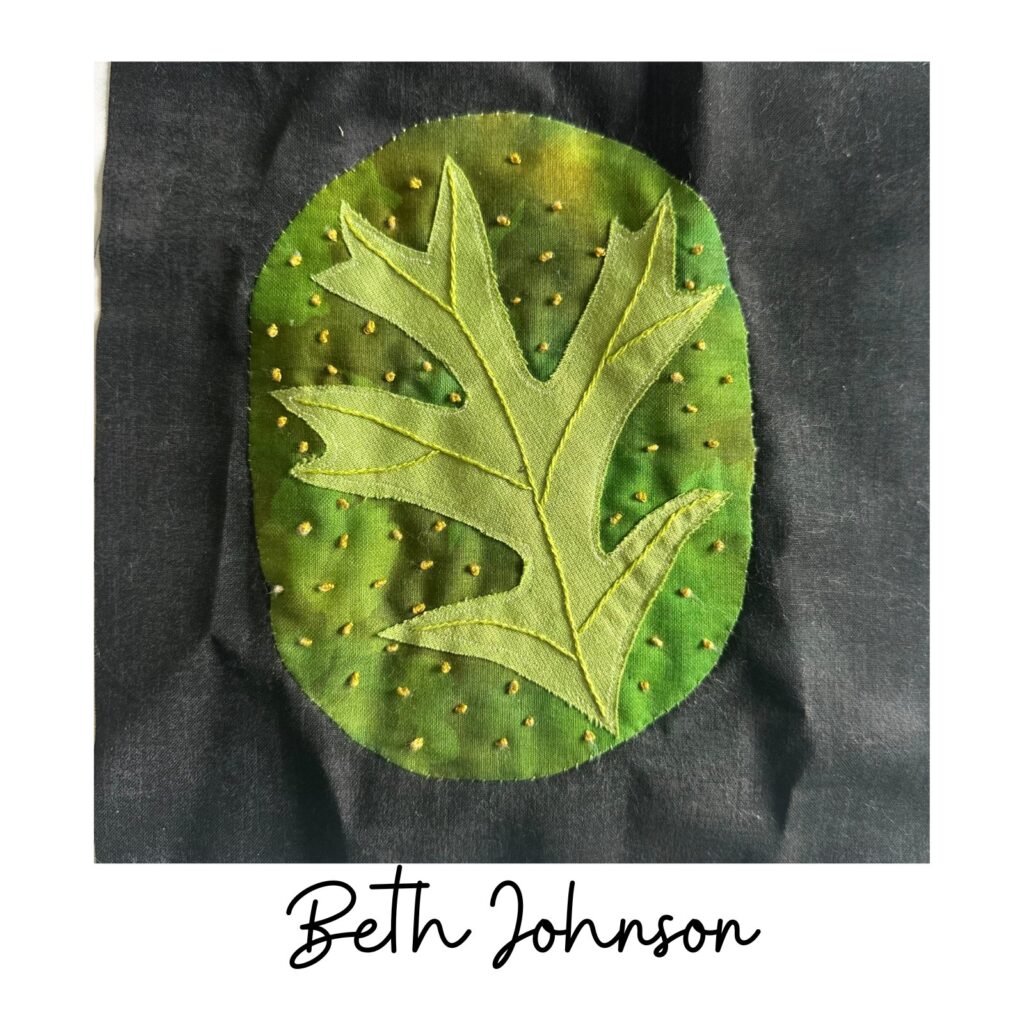
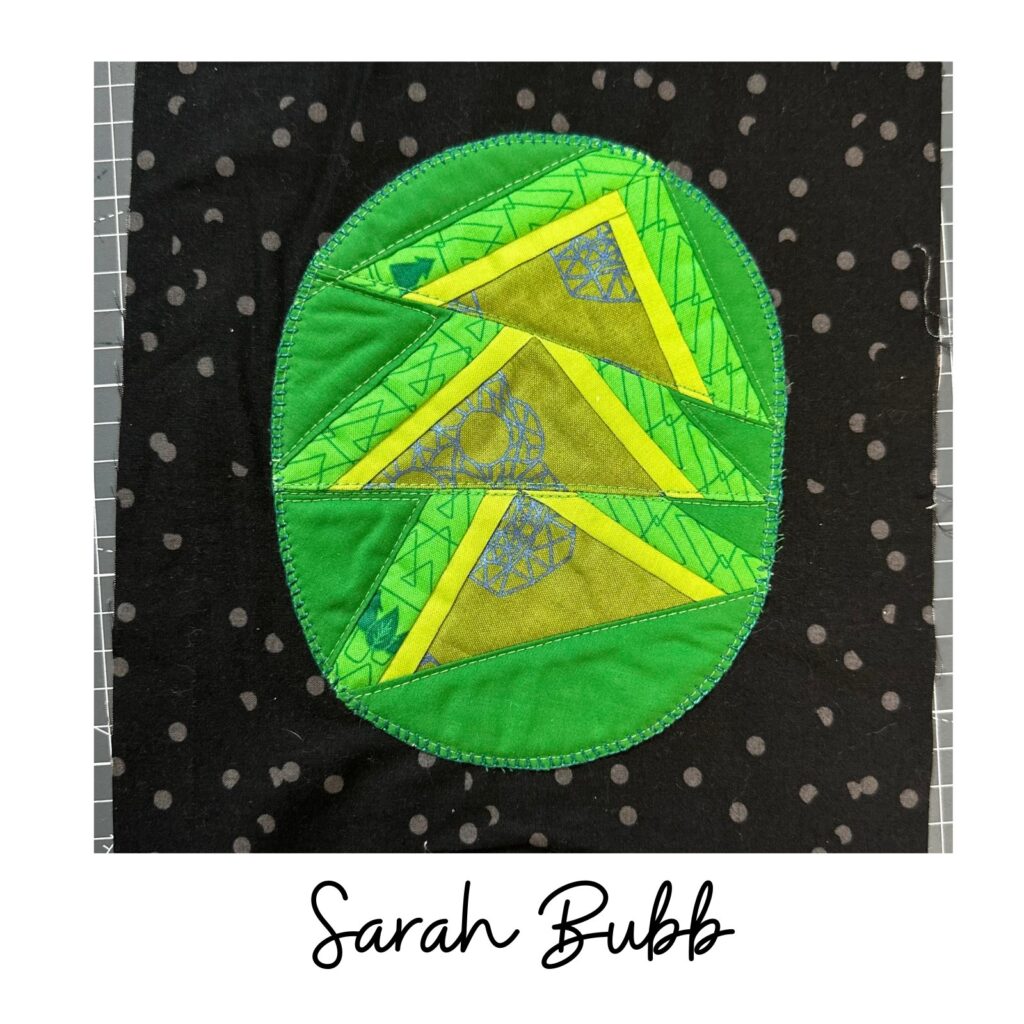
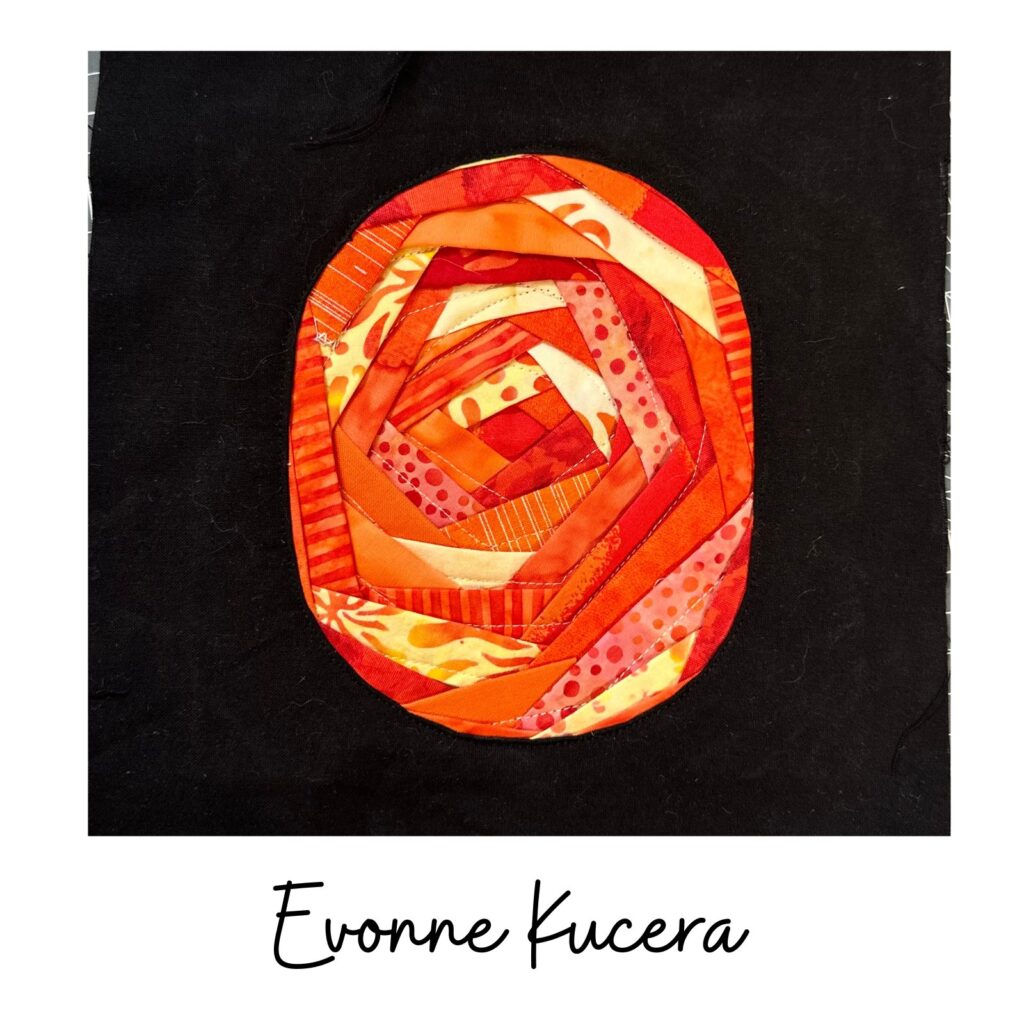
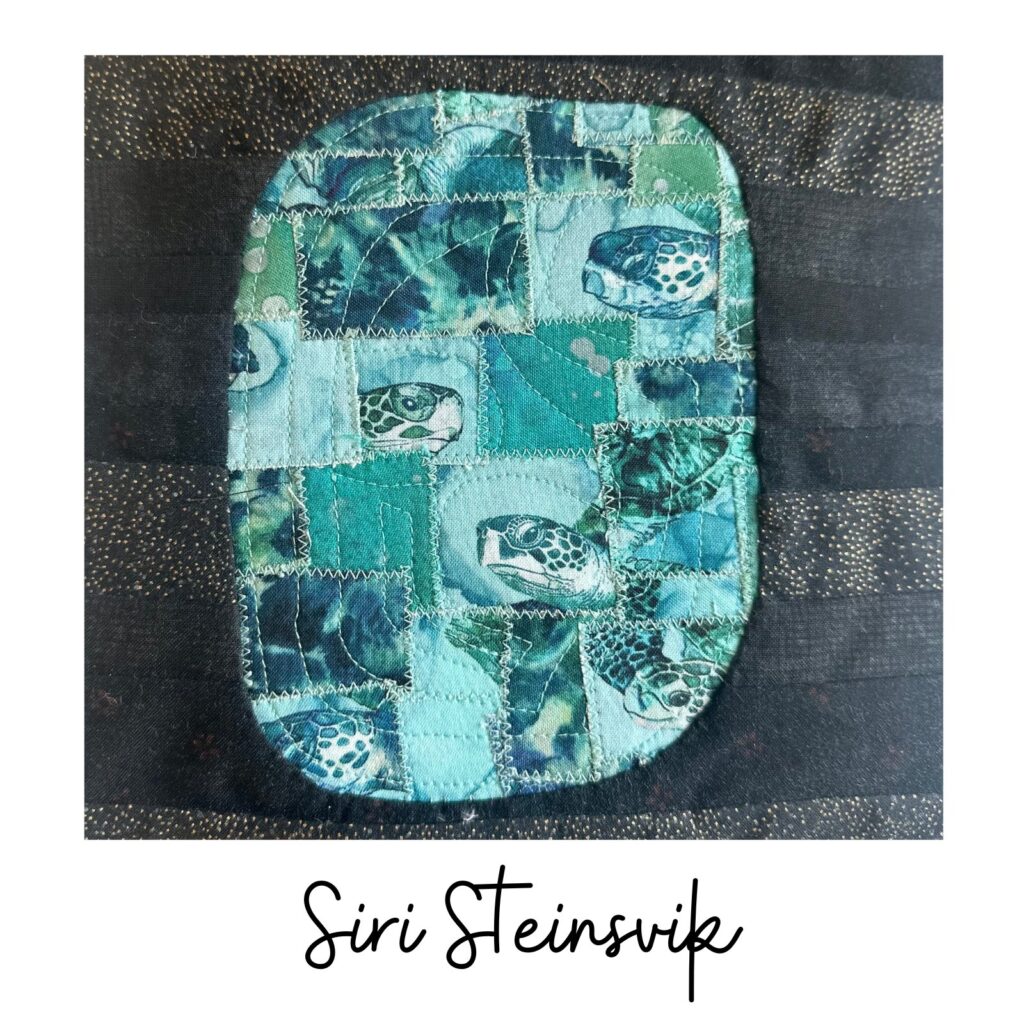
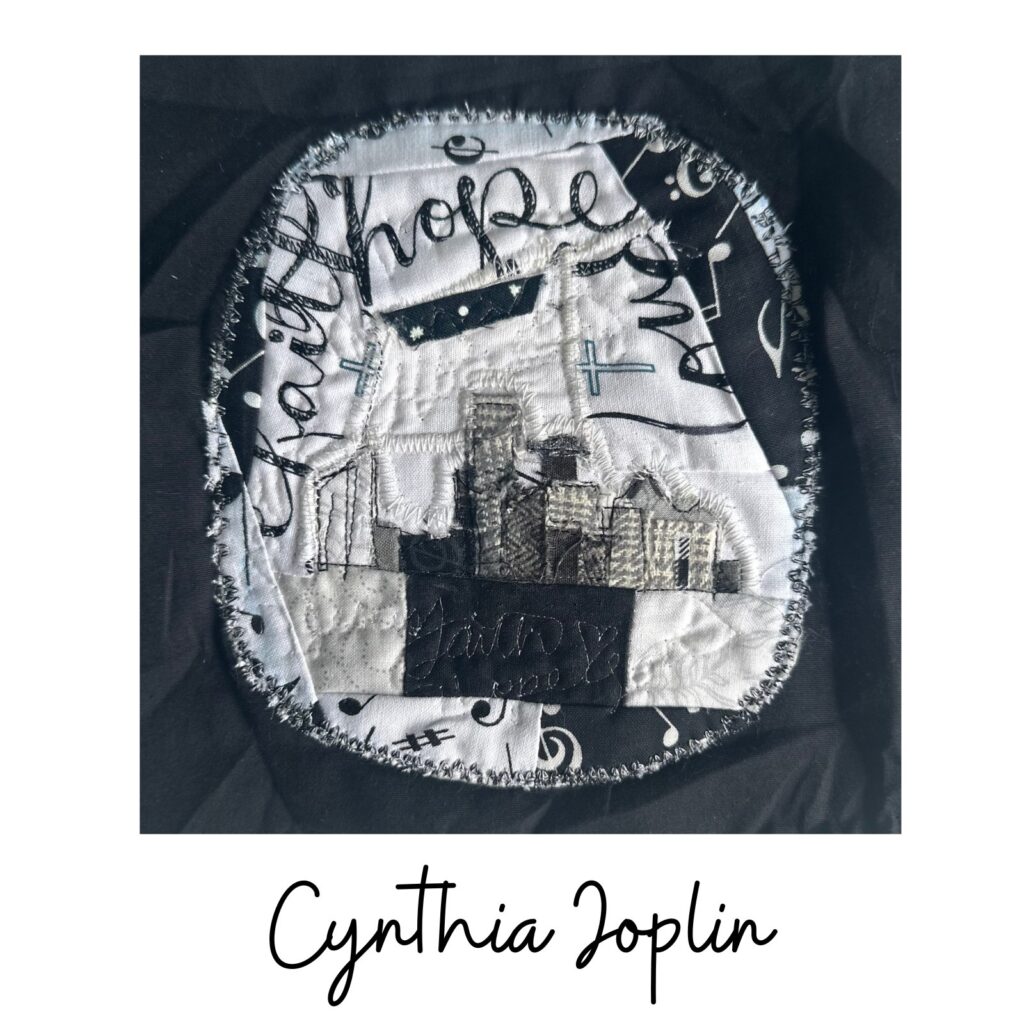
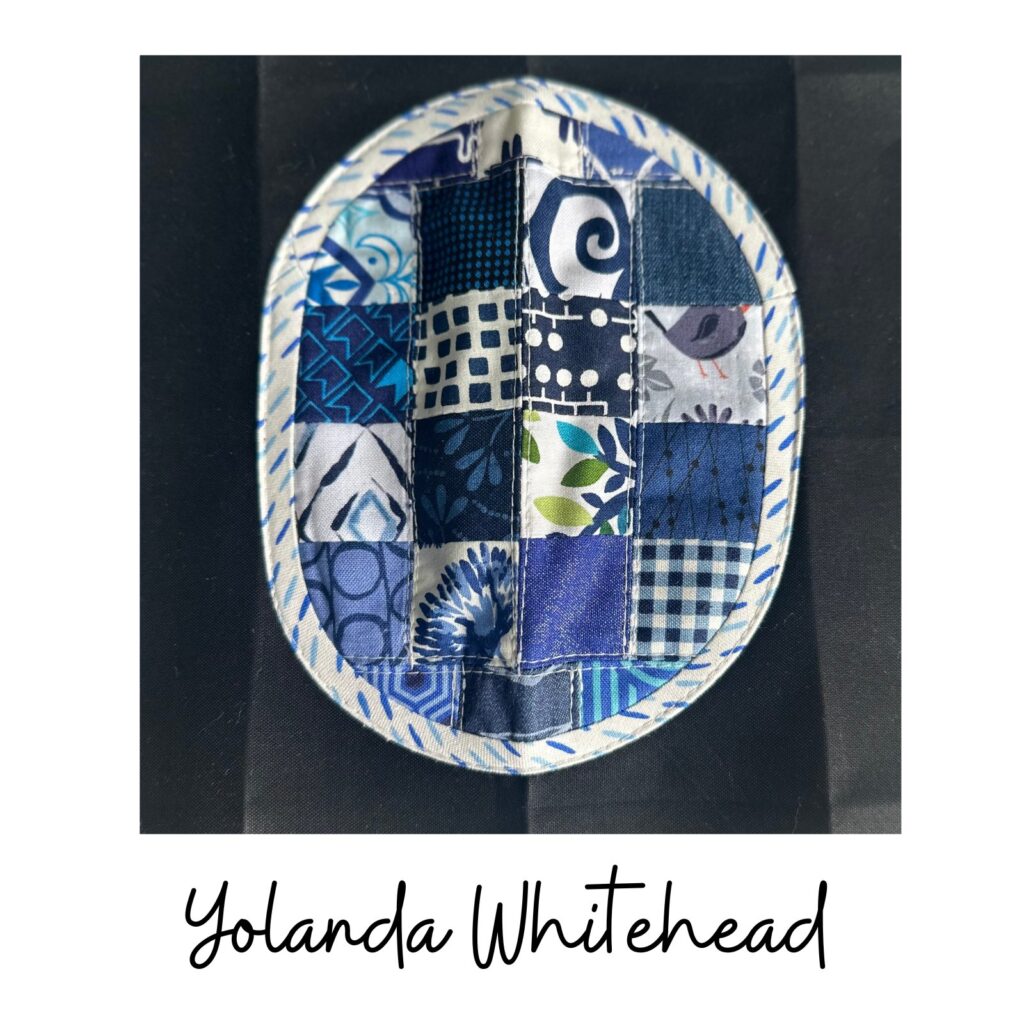
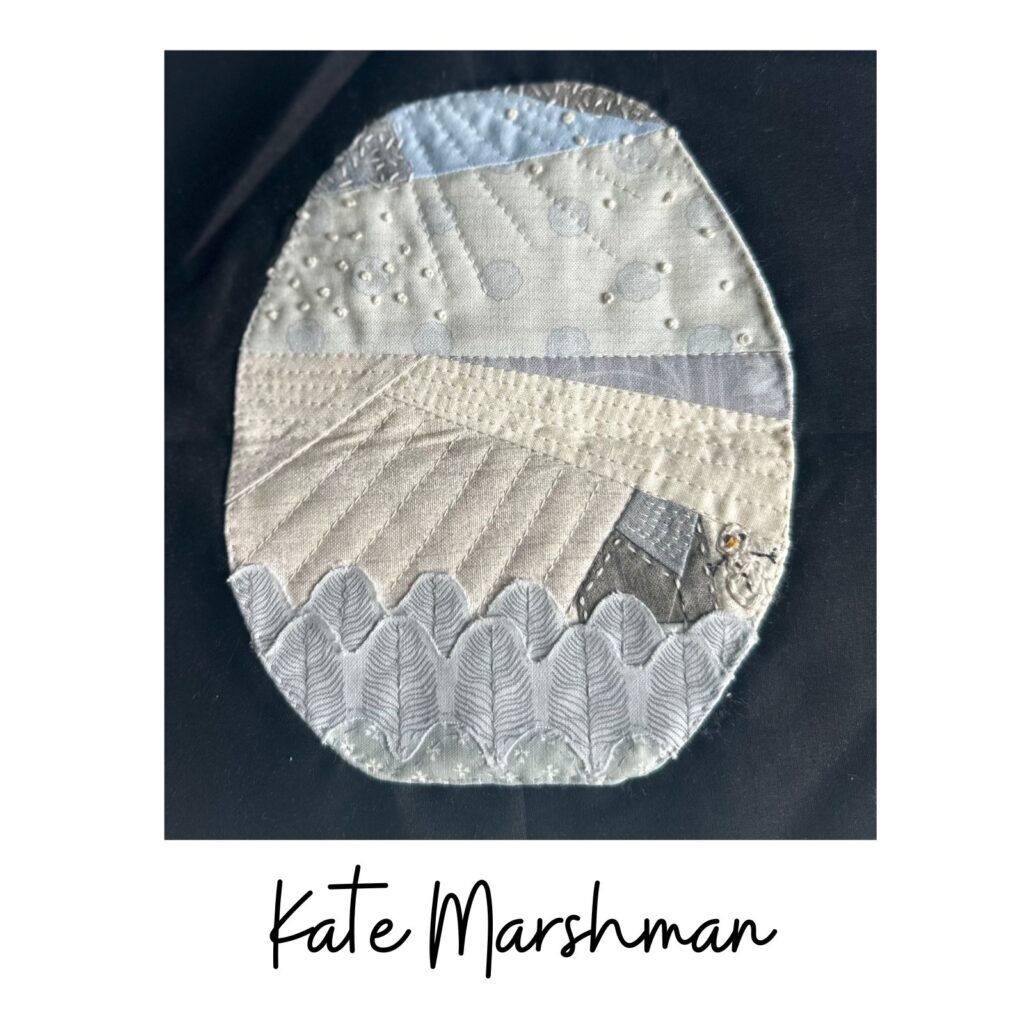
Below are the photos I took of the blocks as they came in along with the name and country of the contributing quilter in the photo captions.
NOTE: The blocks are wrinkled as the photos were taken straight out of the packaging and often they were folded up to keep postage costs low as these blocks came from far & wide!
These photos are in the order I received the blocks.


Putting the Quilt Top Together
Once the deadline for receiving the quilt blocks had past I played with a number of quilt layouts and shared them with the group during one of our Scrap Club Meetings.
We agreed that the layout options with a bit of negative black space and an irregular layout of the blocks was preferred.
I then went to work – improv style – grouping the blocks by color and finding a layout that looked pleasing.
I had a few false starts and moved a lot of blocks around but eventually landed on a layout that both grouped the ovals by color but also allowed some blocks that weren’t the same color but clearly felt like they had a relationship with each other to be next to one another in the quilt.
The result to me looks like a series of airplanes passing each other in the night or even sewing rooms with their lights on dotted on a map of the world at night with the black sea between us all…..but we don’t need to take any of that too literally. I also just like it as a somewhat modern and unusual layout.
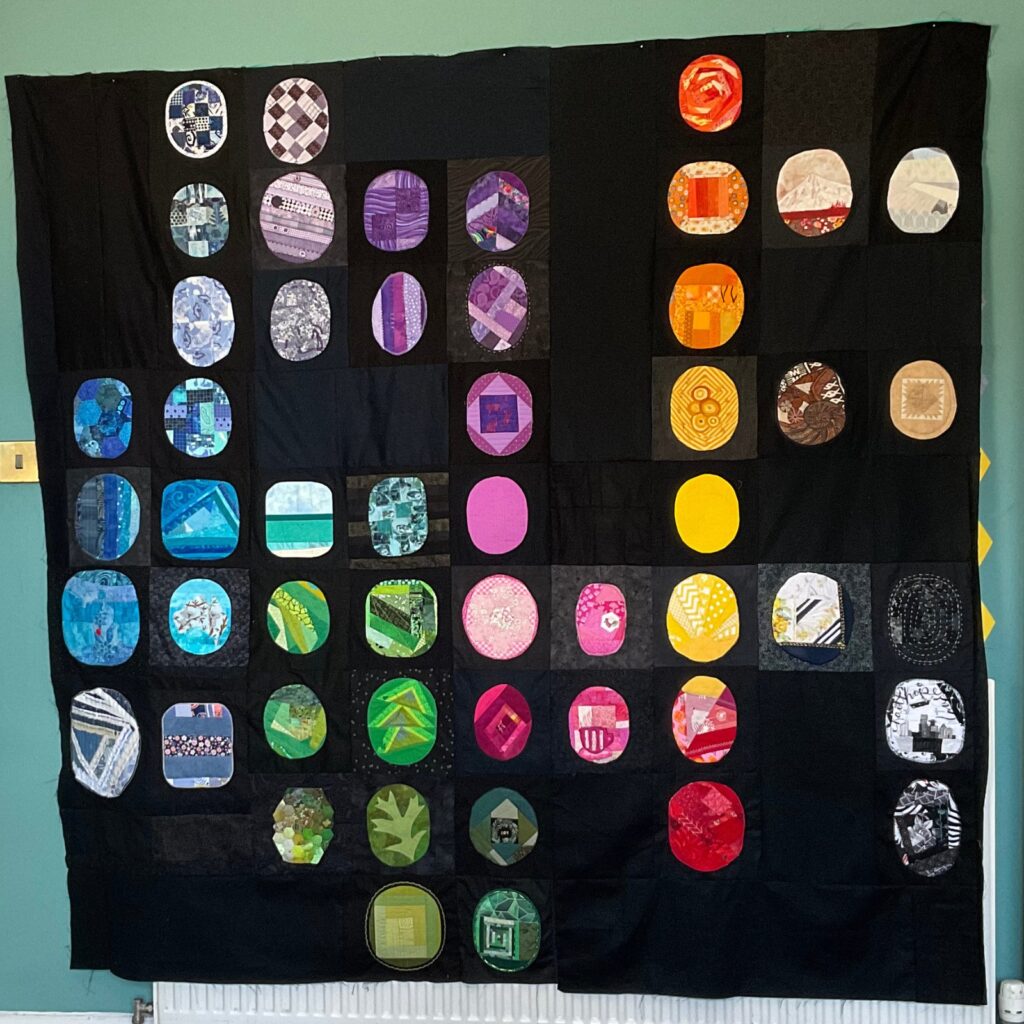
I plan to add more black fabric all the way around the quilt top before I quilt it – to give more negative space and to give me some ‘insurance’ that I can square the quilt up when I am done quilting it.
The Quilting Plan
My plan is to stitch just outside the ovals with black thread and to put straight lines in the black background so that the ovals – many of which have already been quilted and have that additional batting – will feel like they are the stand out stars of the quilt with the background fading behind.
Celebrating the Quilt
In order to celebrate our join efforts I will be entering this quilt into the Scottish Quilting Show in Glasgow in March 2026. It will be in the group category.
This will be a great chance to take photos and just have a moment of celebration that we made this quilt together.
I will add more photos of the finished quilt and the quilt hanging in the show to this post once that event has happened.
Who Keeps the Quilt?
Once the quilt is back from the Scottish Quilting Show I will hold a raffle inside Scrap Club to draw a name from the Scrap Club Members who submitted a block (we have many more members of Scrap Club who participate in the group in other ways!).
I will post the quilt to the lucky winner wherever they are in the world and hopefully they will treasure it and remember the connections they have formed with the other lovely quilters who took part.
Future Plans
The plan is for us to do at least two group quilts per year and we have already begun our next quilt – the Just Wing it! Quilt. This is a ‘choose your own adventure flying geese quilt’.
I explained more about it in the video version of this post below and you can find out more and participate yourself by joining us inside Scrap Club!