How to Sew Scraps to Adding Machine Tape – Fabric from Scraps Part 3
This tutorial is the next in my series about how to make new fabric pieces from leftover scraps.
If you’re like me, you’ve probably got lots of fabric scraps, strips, pieces, fragments, trimmings, crumbs, and other odd bits of fabric in your sewing room from other projects.

Why throw away perfectly good fabric when you can upcycle it into something new?
With this sewing project, you’ll create pieces of fabric that are suitable for all kinds of projects. While these scrappy strips work especially well for quilt blocks, you can use them anywhere you need long strips of fabric.
I’ve also designed my own free quilt pattern using these scrappy strips on adding machine tape you can find it here:

- How to Make Fabric from your Scraps – Part 1: Irregular Shaped Scraps
- How to Make Selvedge Fabric (Make Fabric from your Scraps Part 2)
- Scrappy Improv Quilt Squares
What Can You Do with Scrappy Strips?

There are so many things you can do with scrappy strips. If you had the patience (and that many scraps), you could make a strip quilt top out of nothing but these strips.
Unfortunately, I don’t have that much patience, so I use them in smaller amounts in my projects.
I’ve actually been working on some free quilt patterns — one of which was designed specifically to highlight these scrappy strips in all their glory. I popped the link above but in case you missed it you can find the free quilt pattern for scrappy strips here.
It is a a beginner project using simple foundation paper piecing.
Anyway, here are some other ideas of what you can do with these versatile scrappy strips:
- Quilt blocks and other larger blocks
- Quilt borders or sashing strips
- Clothing patches (cut as needed to fit)
- Bookmarks (here’s another clever idea for using leftover fabric and ribbon)
- Soft toys
- Picture frame borders
- Pillows and cushion covers
- Mug rugs
- Joining strips for quilt backing fabric
- Scrapbooking and junk journals (notice the similarity to snippet rolls?)
- Any other project that calls for long, thin fabric strips
Materials Needed
This post contains affiliate links – please see my disclosure policy for more details.
- Adding machine tape, old store receipts, or other thin paper
- Fabric remnants in the colors or patterns of your choosing
- Cutting mat
- Rotary cutter to trim edges after sewing
- Ruler to maintain straight lines while trimming
Video Tutorial: Sewing Scraps to Addining Machine Tape
Step 1: Set Up Your Paper Strips and Sewing Machine

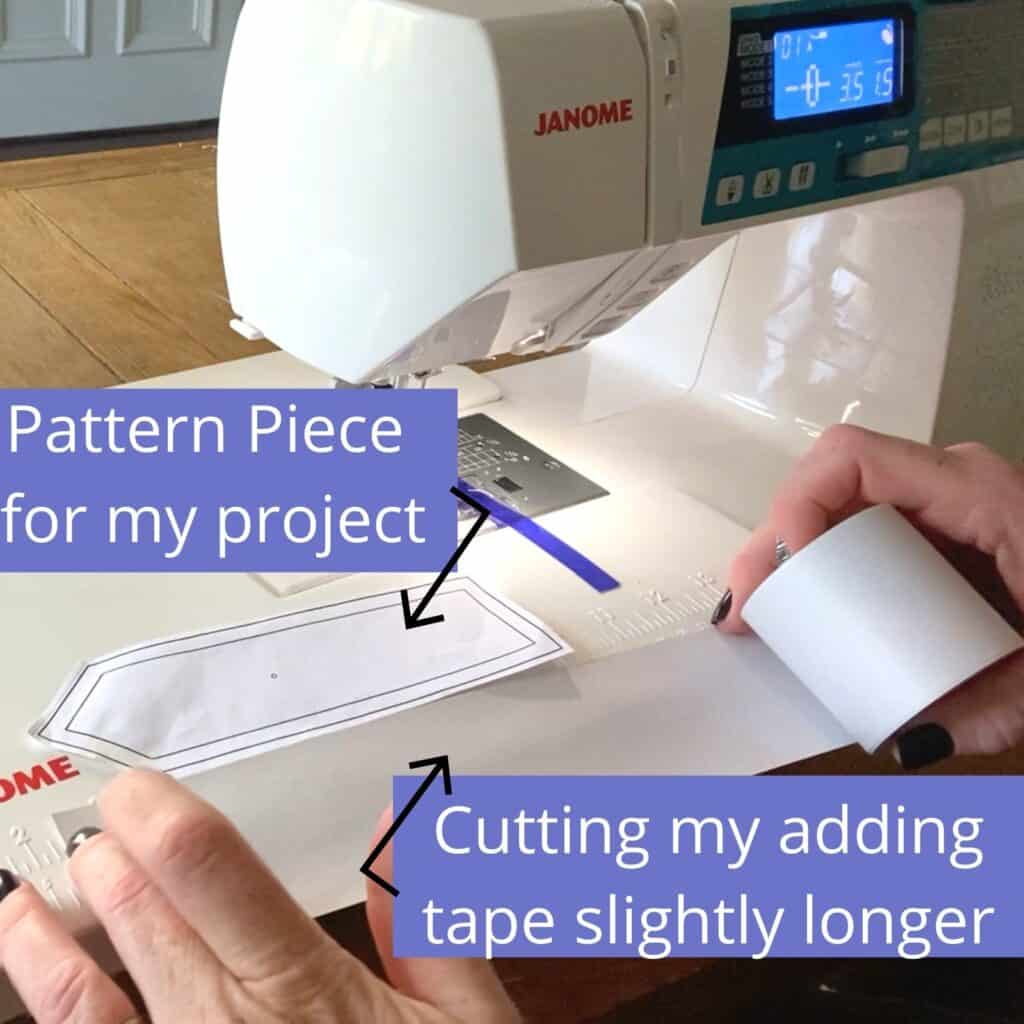
To create the backing of our scrappy strips, we’ll use adding paper or some other thin type of paper.
If you’ve got old store receipts lying around, they’re great to use too.
(Don’t want to use paper? Gypsy Quilter scrap tape, a soluble stabilizer that washes away in water, is another option!)
When using cash register tape, decide on a length for your scrappy strips. If you don’t already have a project in mind, six to nine inches is a good size that will work for many types of crafts.
If you’re using another type of thin paper, you could even create scrappy blocks or squares — 5×5-inch squares are a good size.
To save time if I have a particular use for the scrappy strips or I have lots of similar remnants, I’ll grab two or more pieces of adding tape and work on them at the same time.
Set your sewing machine to a 1.5 stitch length so it’s easy to tear the paper backing off when it’s time to use the strips.
Step 2: Plan Your Strip and Pick Out Fabric Remnants
Take some time to think about what you’d like your finished product to look like.
If I have plans for my scrappy strips, I might use similarly colored remnants and follow a specific color scheme, but other times, I might have so many crumbs and different patterns that I go totally random.
When it comes to positioning the pieces on the paper, there are different techniques:
- Sometimes I find fabric pieces that are just wide enough to go across the narrow side of the adding paper
- Other times, I have remnants that are so long that I go horizontal instead (great idea for a scrappy quilt)
- For a bit of visual interest, I’ll position some strips straight across and others diagonally
- And when I have tons of crumbs, I place them every which way — the strip will be an improv piece, just make sure your paper is covered! (Note to self: Link to Crumb Piecing post here)
For this project, I’m using fabric pieces that go across the short side. Decide what you’d like to do, and find scraps of fabric that fit.
Step 3: Sew Your First Pieces

Position your first piece of fabric at the end of the adding paper, with the “right side” (or patterned side) facing up towards you. Place the second piece of fabric over the first, but with the “wrong side” (or non-patterned side) facing up.
Make sure that the fabric pieces go over each edge of the tape, and then sew the pieces together onto the paper with a seam at the bottom edge of the fabric.
Your seam allowance should be tiny — make it too big, and you’ll have to contend with chunky spots from the excess fabric. Stick with a ⅛-inch seam, and you’ll be fine.
Don’t worry about making your lines super straight; being a little messy just adds to the character of the finished product.
When you’re done, snip the thread, unfold the remnants, and press to flatten open. If you’ve got stubborn fabric that doesn’t want to stay flat, unfold the remnants, and then quickly run an iron over the seam.
Step 4: Repeat Until the Paper Strip is Covered

Continue sewing remnants onto your scrappy strips. After every few pieces, use your rotary tool to trim excess fabric from either side of the strip.
Depending on how large your new remnants are, you may be able to incorporate them into the current project.
If they’re not quite wide enough, sew several pieces together to make a wider strip. You can also just save these crumbs in a storage tote for next time.
I’ve you’ve got extra long or large pieces and are working with multiple scrappy strips, I have another tip to save you time: Position the long piece across two or more of the strips, sew the seam, and then use your rotary tool to separate the scrappy strips when you’re done.

Step 5: Trim Your Scrappy Strips

When you’re done sewing remnants onto your scrappy strip, it’s time to trim them up.
But don’t have too much fun with the cutter: Use your ruler to create straight edges on either side and trim off just the raw edges to maintain the size of your strip. This will prep your scrappy strips for future projects.

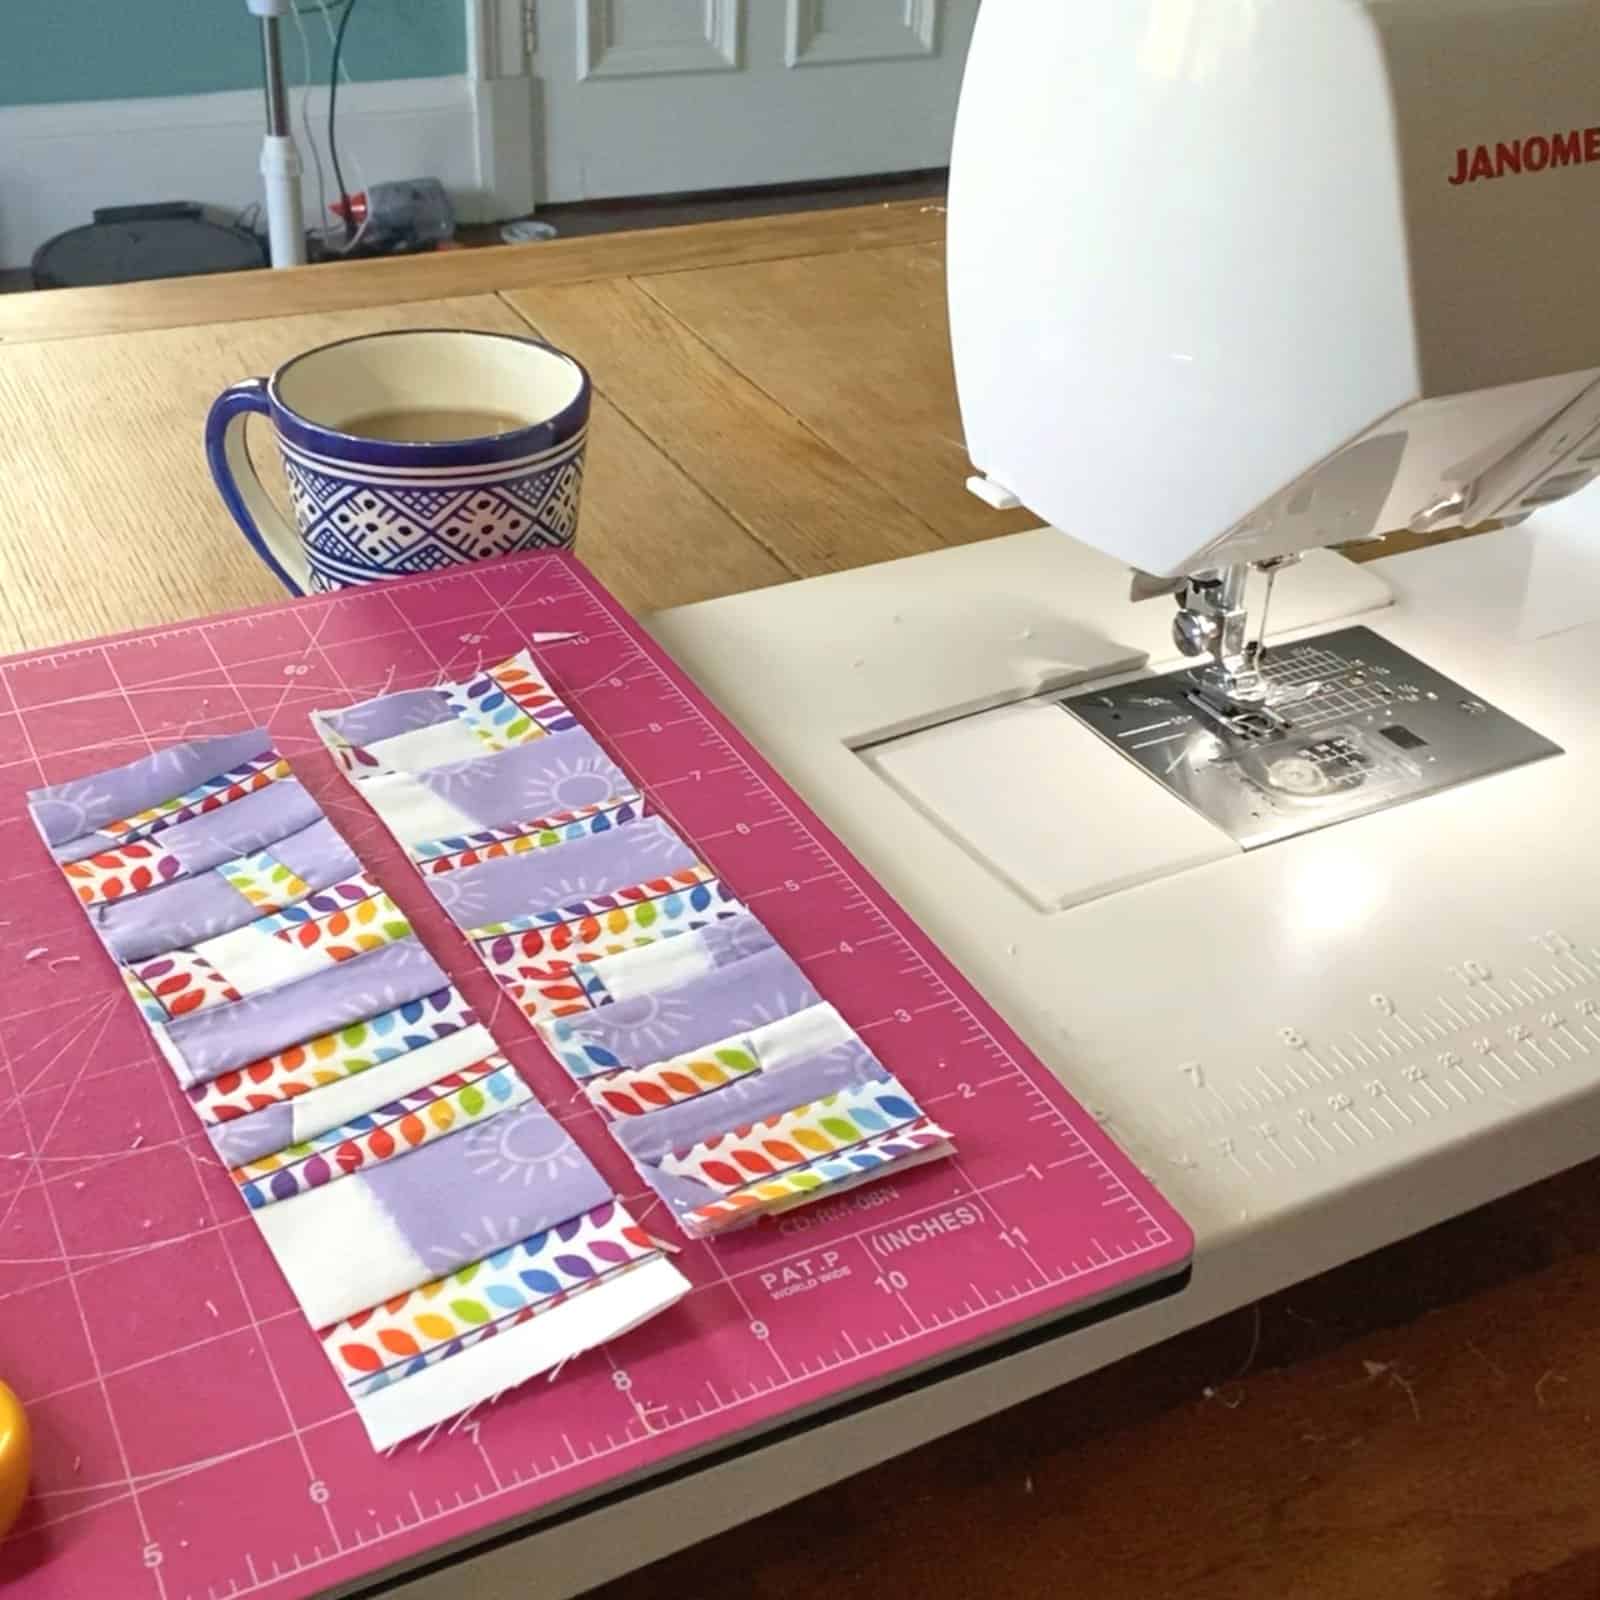
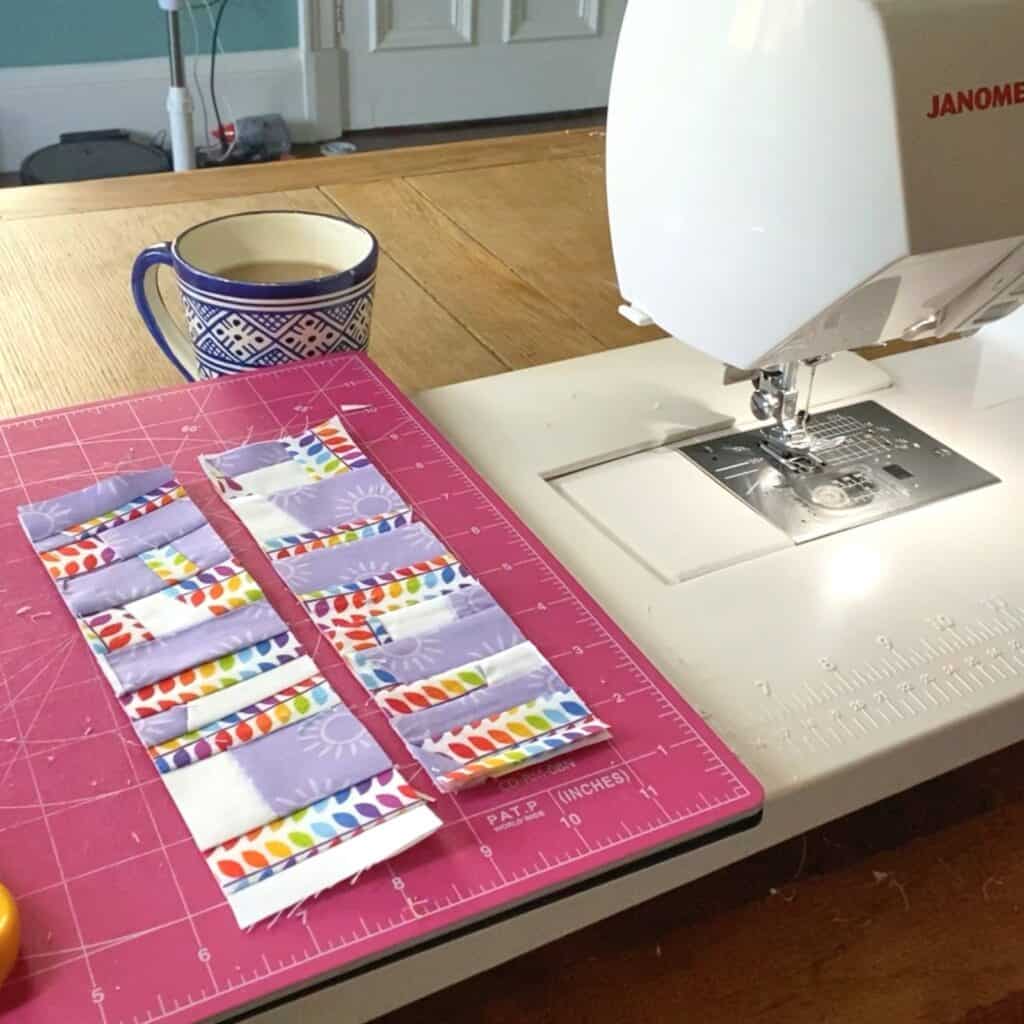
Above are the finished strips from my video tutorial and below are some more ‘scrappy strips’ made using adding machine tape in some test blocks for the free quilt pattern I am developing just now. I’ll add the link here when it’s live!

What would you use scrappy adding machine strips for?
More posts you might enjoy:


